AR Body Tracking Tutorial: Build Body AR with Kivicube, No Code
Below is a written walkthrough of how to create a Body AR scene using Kivicube (no code). Follow the steps to build a custom AR body tracking experience from scratch.
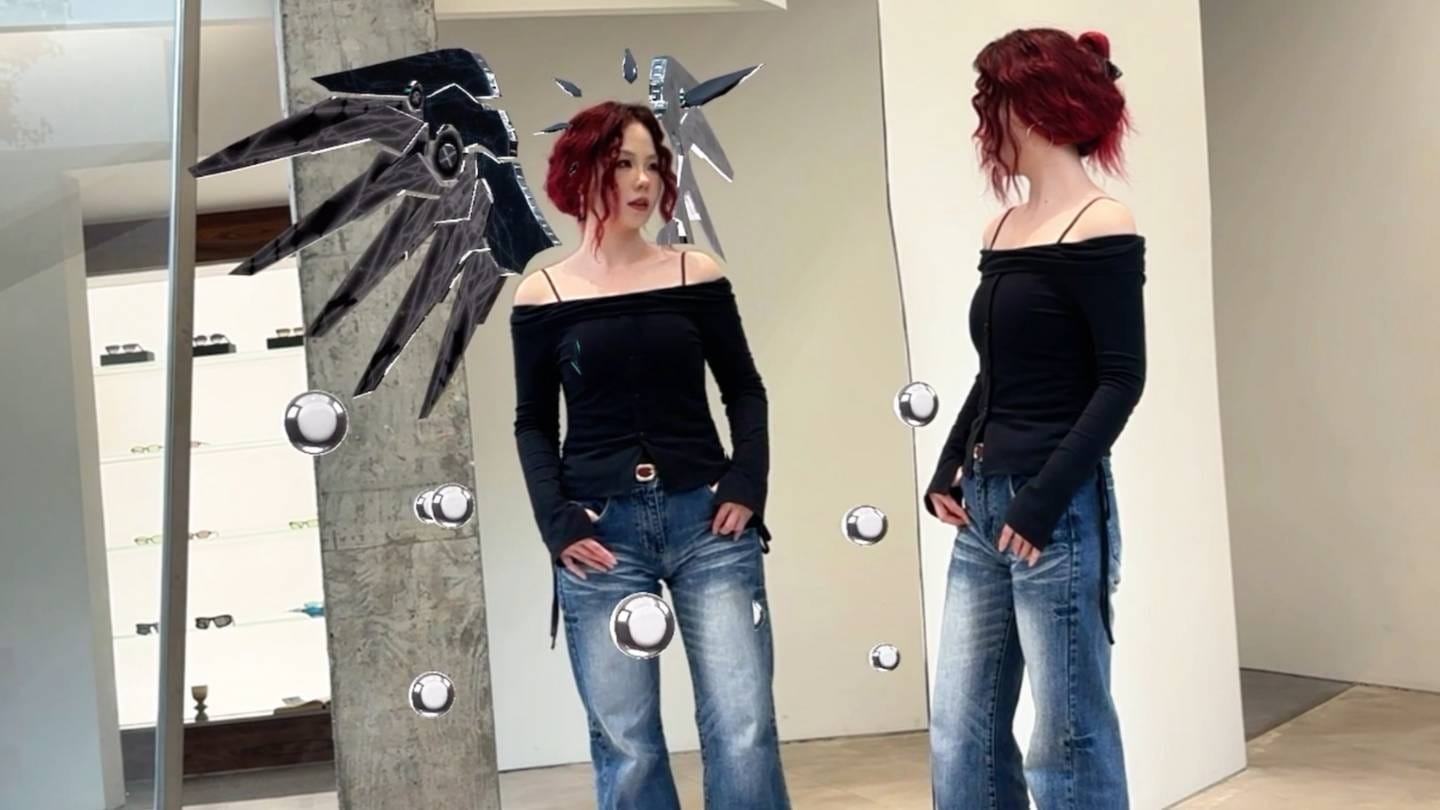
AR (augmented reality) body tracking is changing how brands, creators, and marketers design interactive experiences. From digital fashion and virtual accessories to immersive product showcases, Body AR allows digital content to move naturally with the human body—creating engaging, shareable moments that feel alive.
With Kivicube, you can build AR body tracking experiences entirely in the browser, with no coding and no app download required. This tutorial walks through both a quick template-based approach and a step-by-step guide to building a custom Body AR scene from scratch.
What is AR Body Tracking?
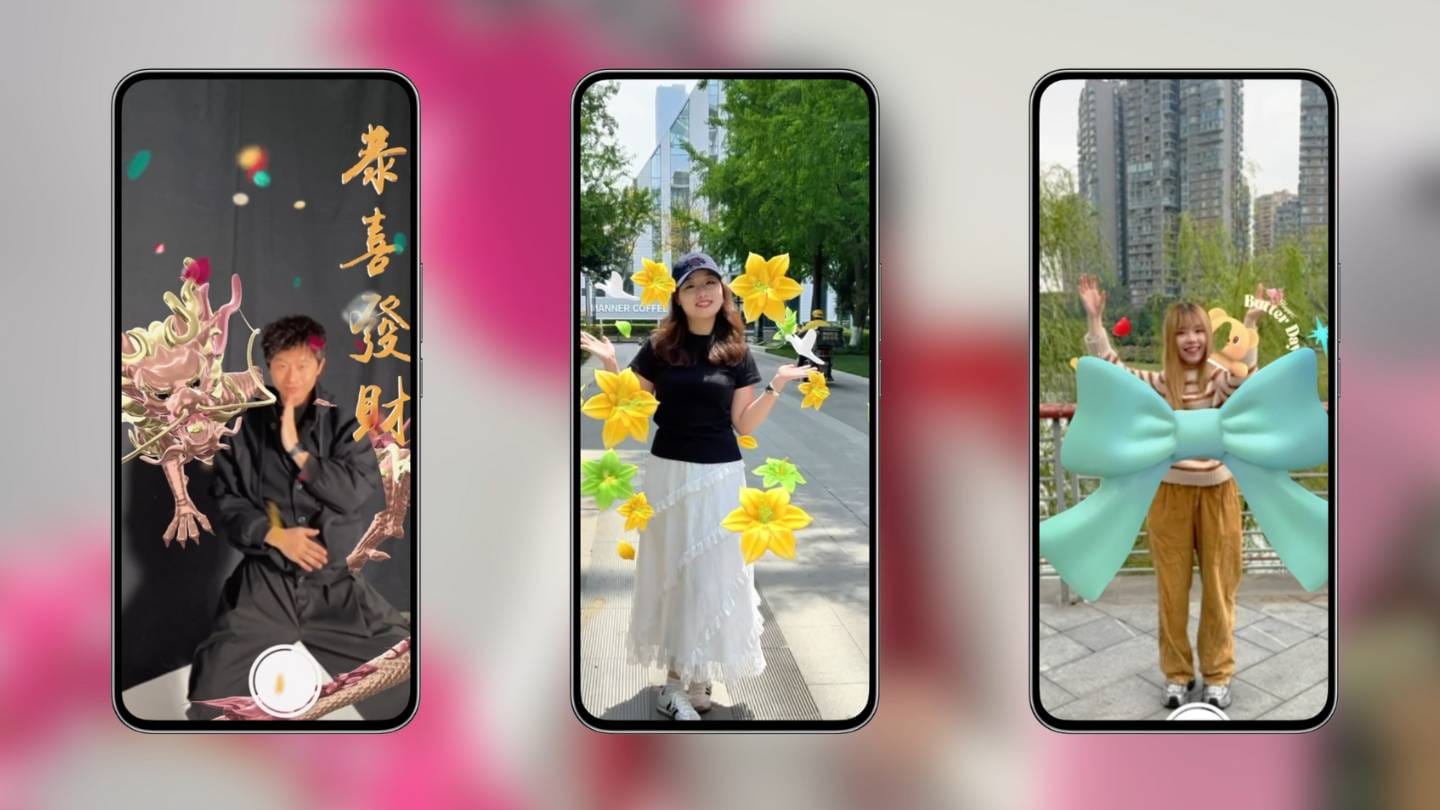
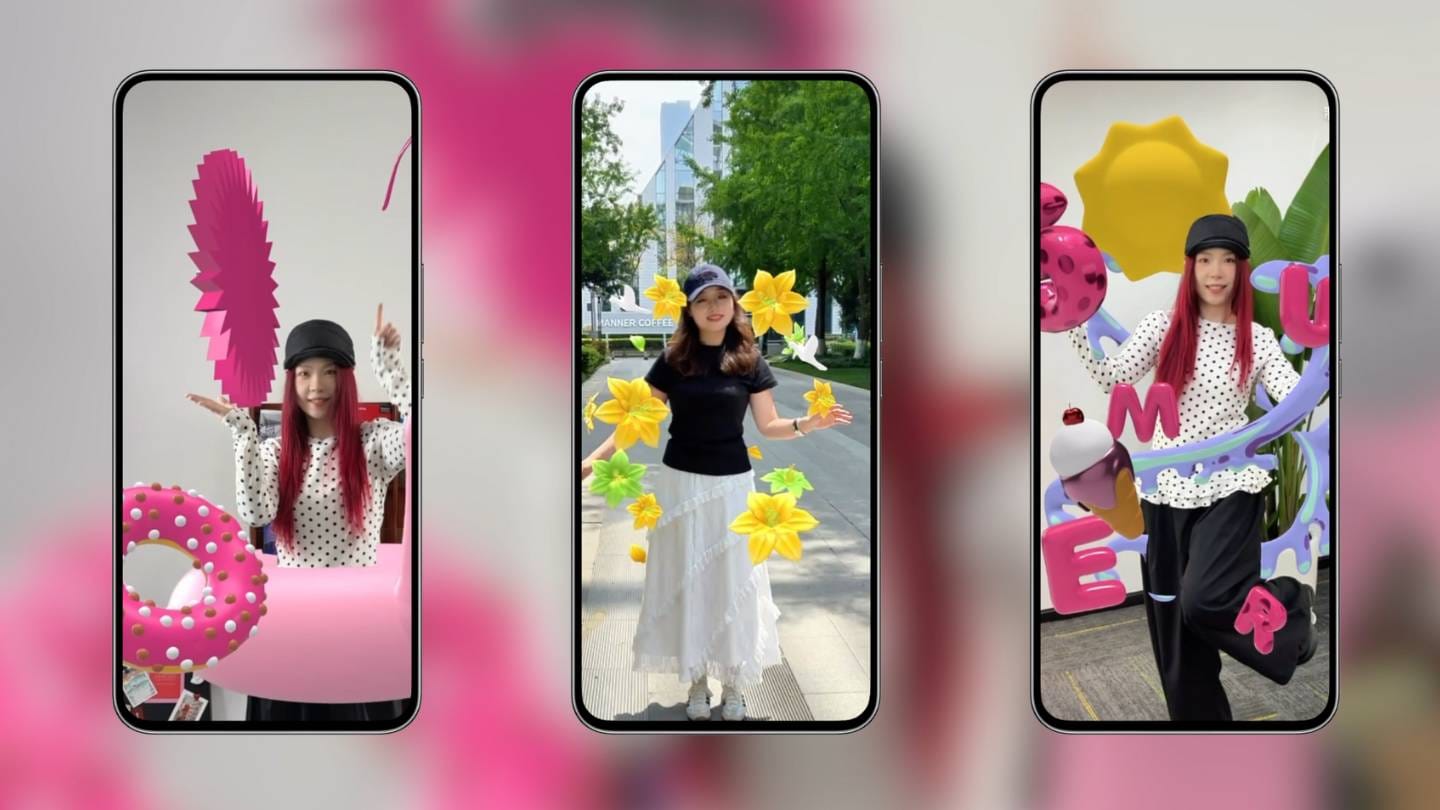
AR body tracking enables digital assets to follow real human movement in real time. When a user scans a QR code and opens the experience, the camera detects the body and anchors virtual elements—such as wings, accessories, or visual effects—to specific body positions.
This technology is widely used for:
● Digital fashion and virtual wearables
● Influencer and creator content
● Brand activations and social campaigns
● Interactive product visualization
Kivicube’s Body AR makes these experiences accessible without technical barriers.
Watch the Video Tutorial
If you prefer a visual walkthrough, you can watch the full AR Body Tracking video tutorial below. The video demonstrates how to create a Body AR experience in Kivicube—from using templates to building a custom scene with 3D models, lighting, and real-time body tracking.
👉 Watch the video tutorial here:
If you’d rather follow along step by step, continue your reading. Each section below includes screenshots and explanations to help you recreate the AR body tracking experience at your own pace.
Try a Body AR Template (Fastest Way to Get Started)
If you want to experience AR body tracking immediately, starting with a template is the fastest option.Kivicube dashboard with Body AR tag selected
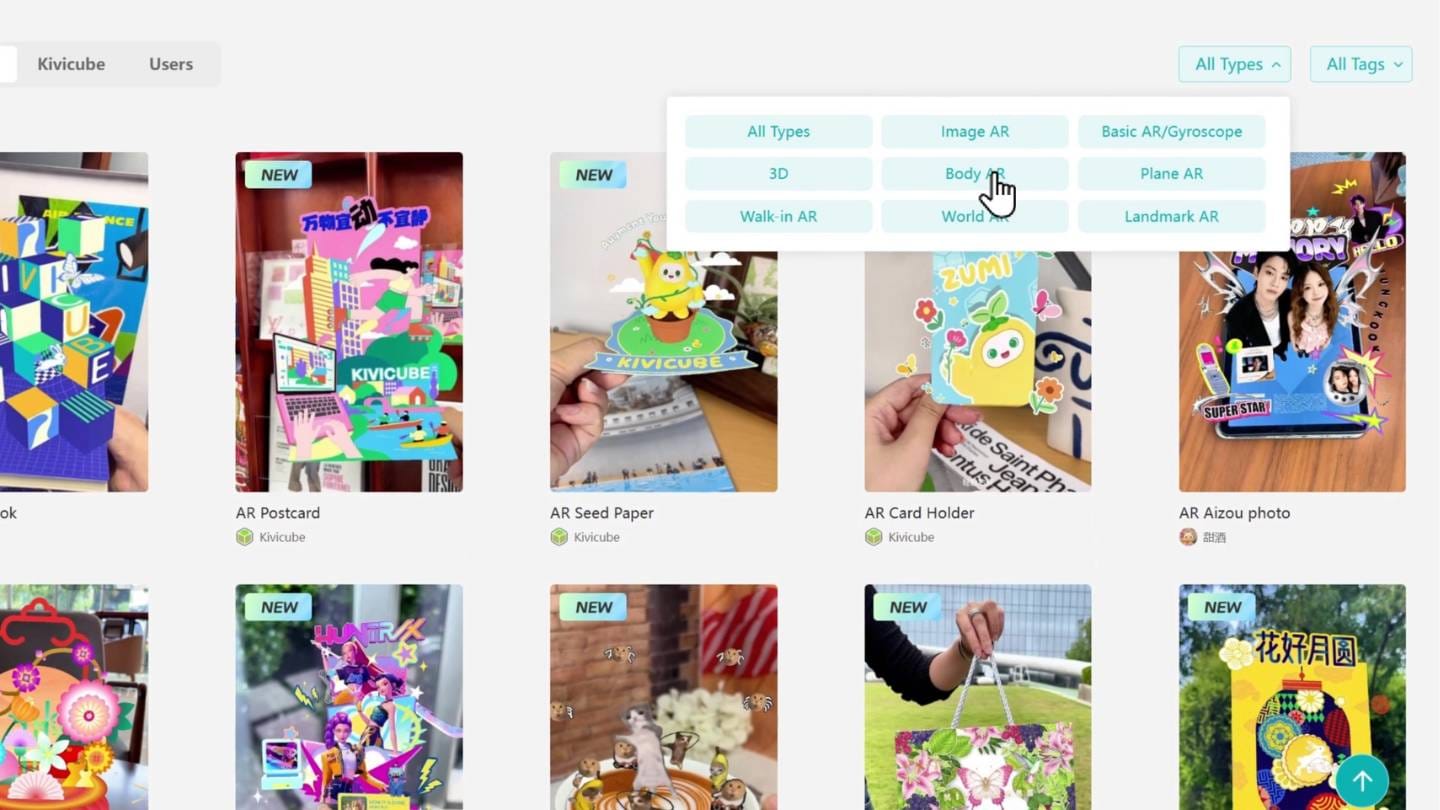
From the Kivicube dashboard, use the Body AR tag in the top-right filter area. You’ll see a selection of ready-made Body AR templates. Choose one, click Experience, and scan the QR code with your mobile device. The AR effect will appear instantly and respond to body movement in real time.
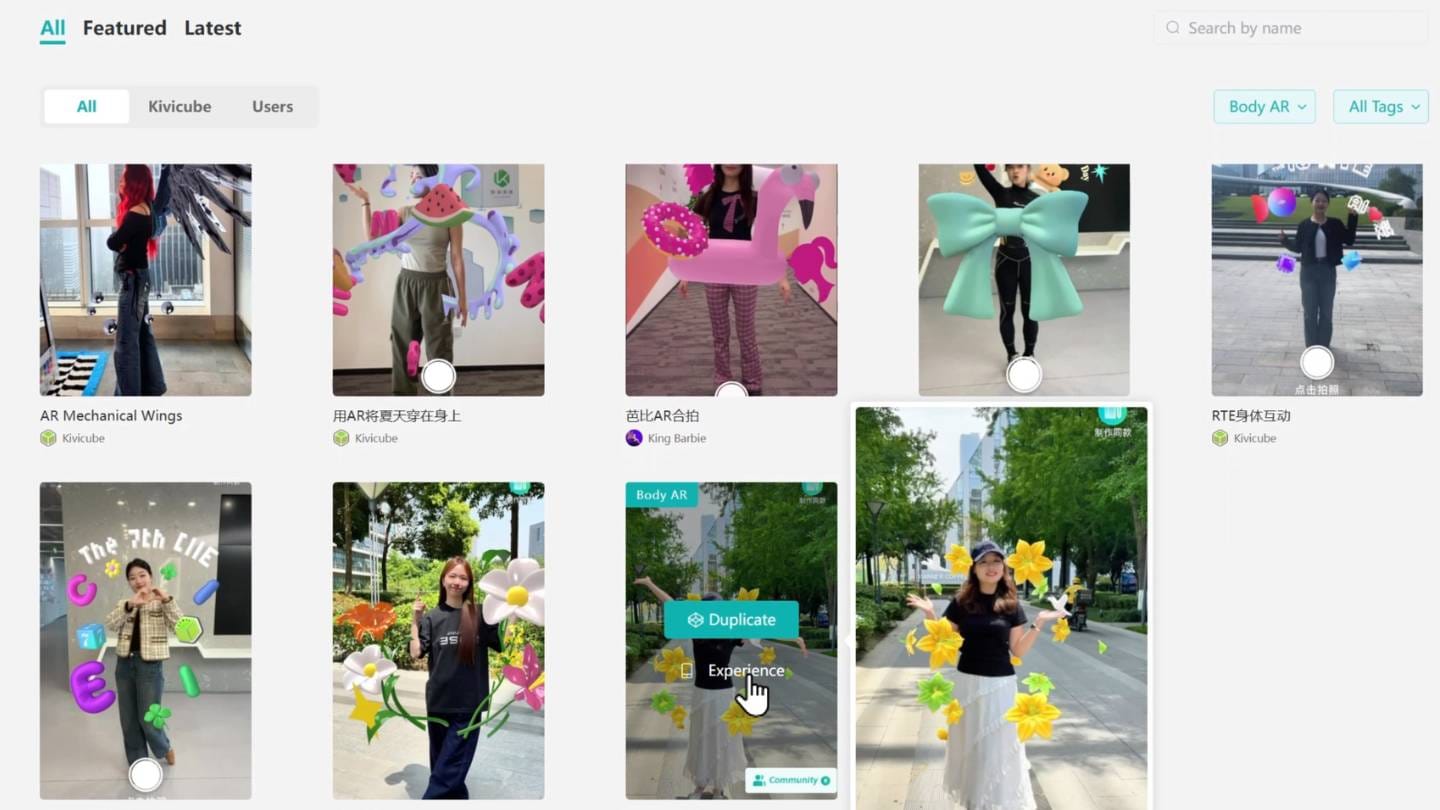
If you like the template, click Duplicate, give your scene a name, and it becomes your own editable version.
You can replace any element by selecting it and dragging a new asset into the replacement zone. In just a few minutes, you’ll have a customized Body AR experience.
Once you’re comfortable, you can move on to building a scene from scratch.
Step-by-Step Guide: Building an AR Body Tracking Scene
Step 1: Create a New Body AR Scene
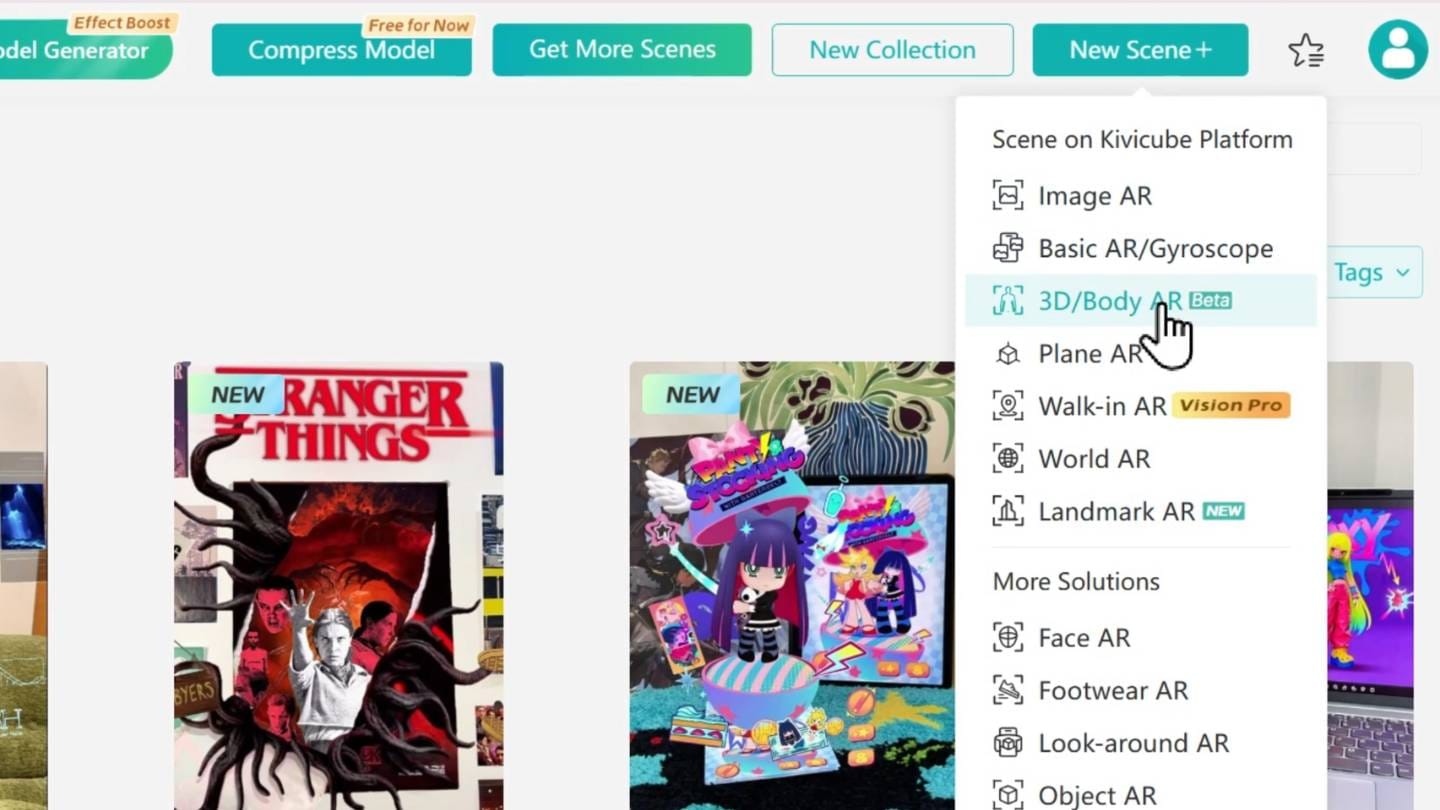
Click New Scene in the top-right corner of the dashboard. Choose 3D / Body AR, then name your scene.
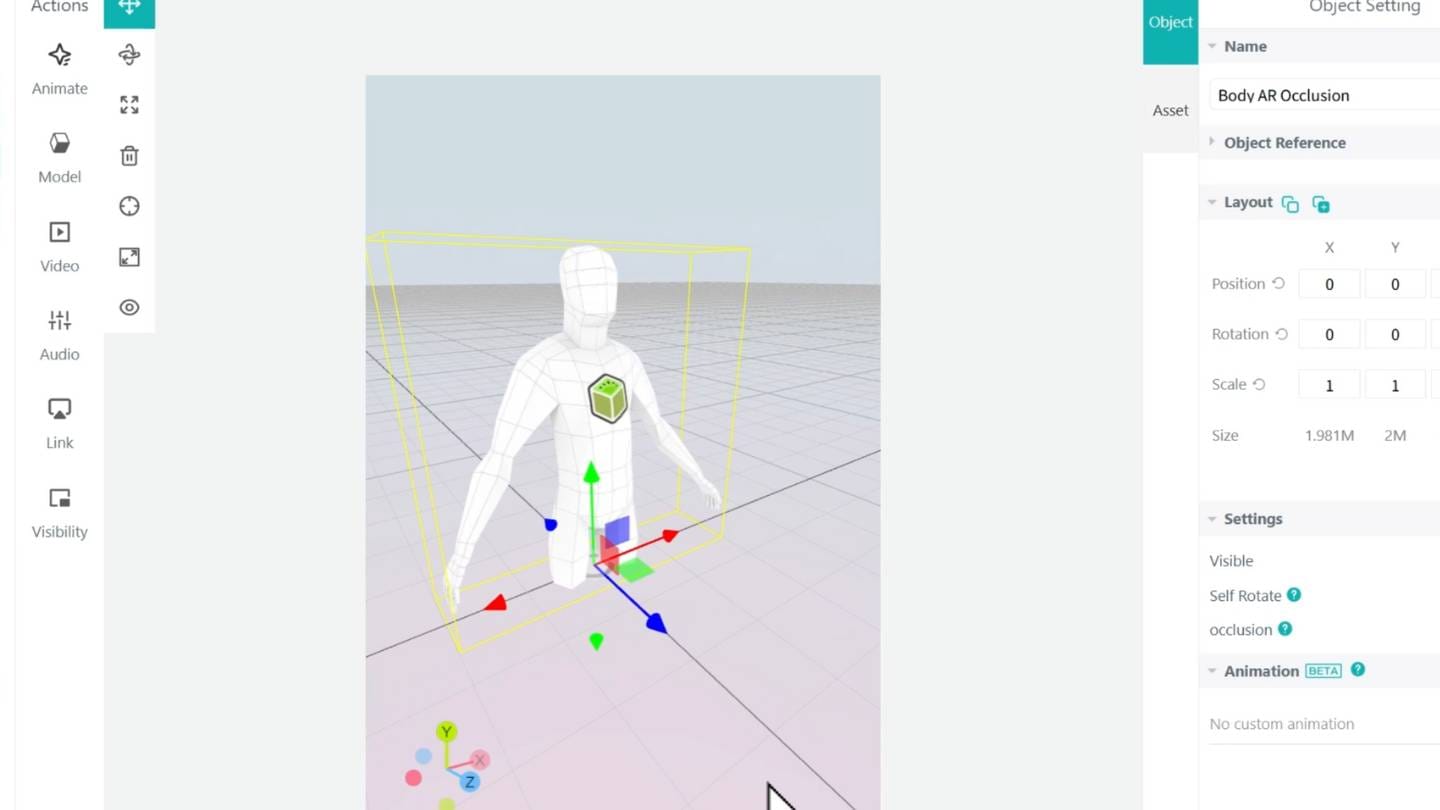
Once the scene opens, you’ll see a body model in the editor. This model acts as the tracking base for all body-attached assets.
Step 2: Upload and Prepare a 3D Model
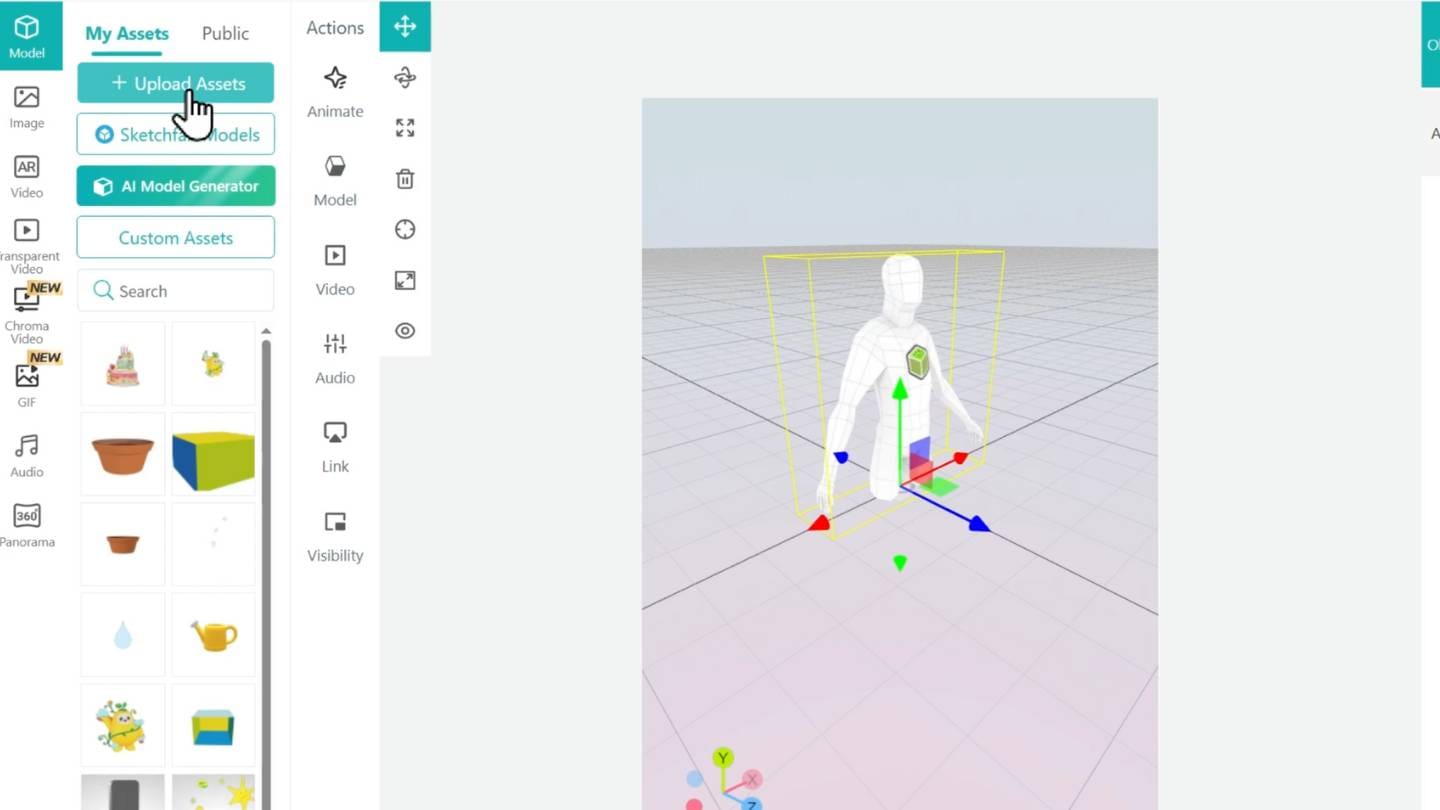
In the left panel, open Model and click Upload Assets.
For best results, use Content Editor Upload.

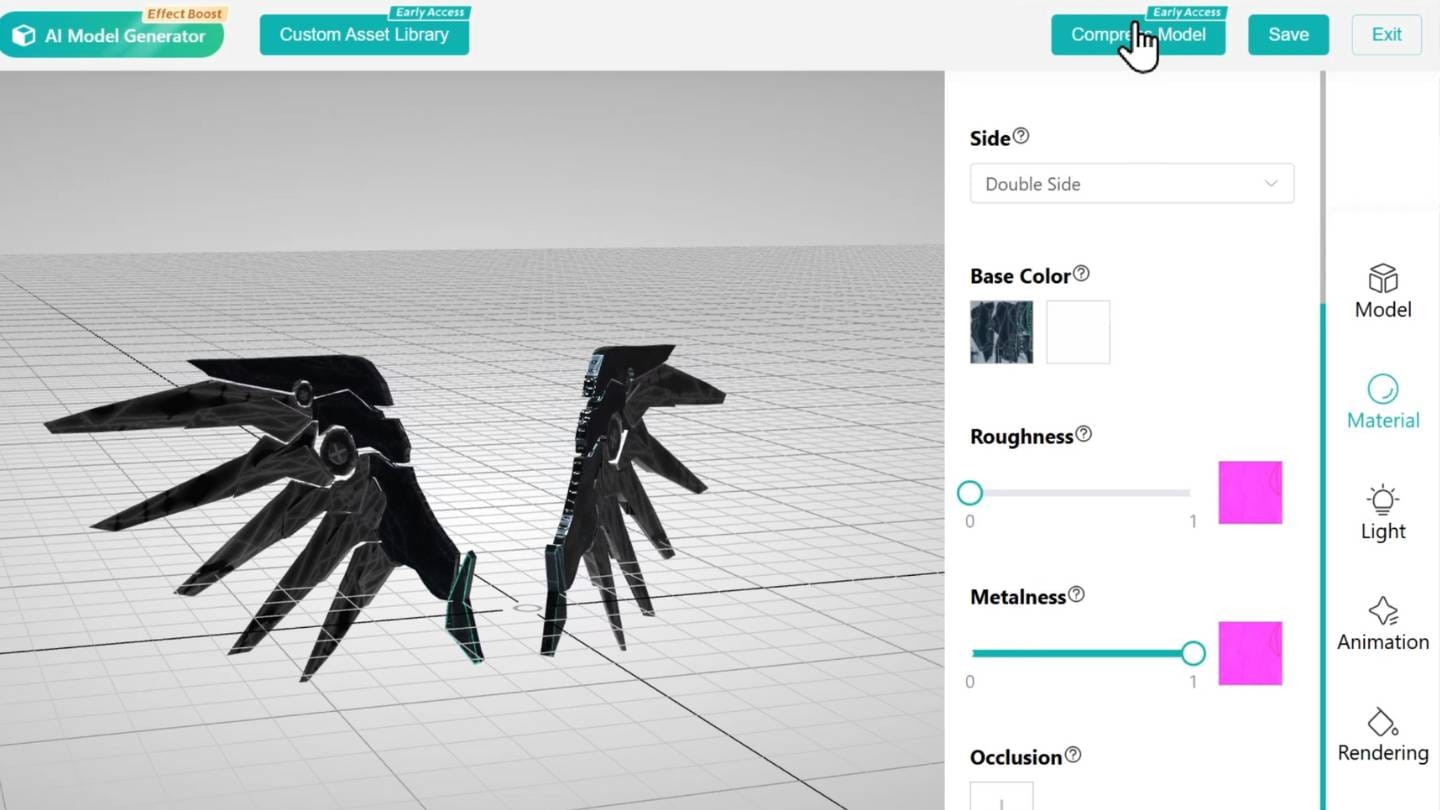
After uploading, you can fine-tune the appearance in the Material panel on the right. Here, lighting response, metallic properties, and surface roughness can be adjusted to match your visual style.
Before finishing, use Compress Model in the top-right corner to optimize performance. Click Save & Exit, and the model will appear in the scene.
Use the Transform tools to position the model correctly on the body.
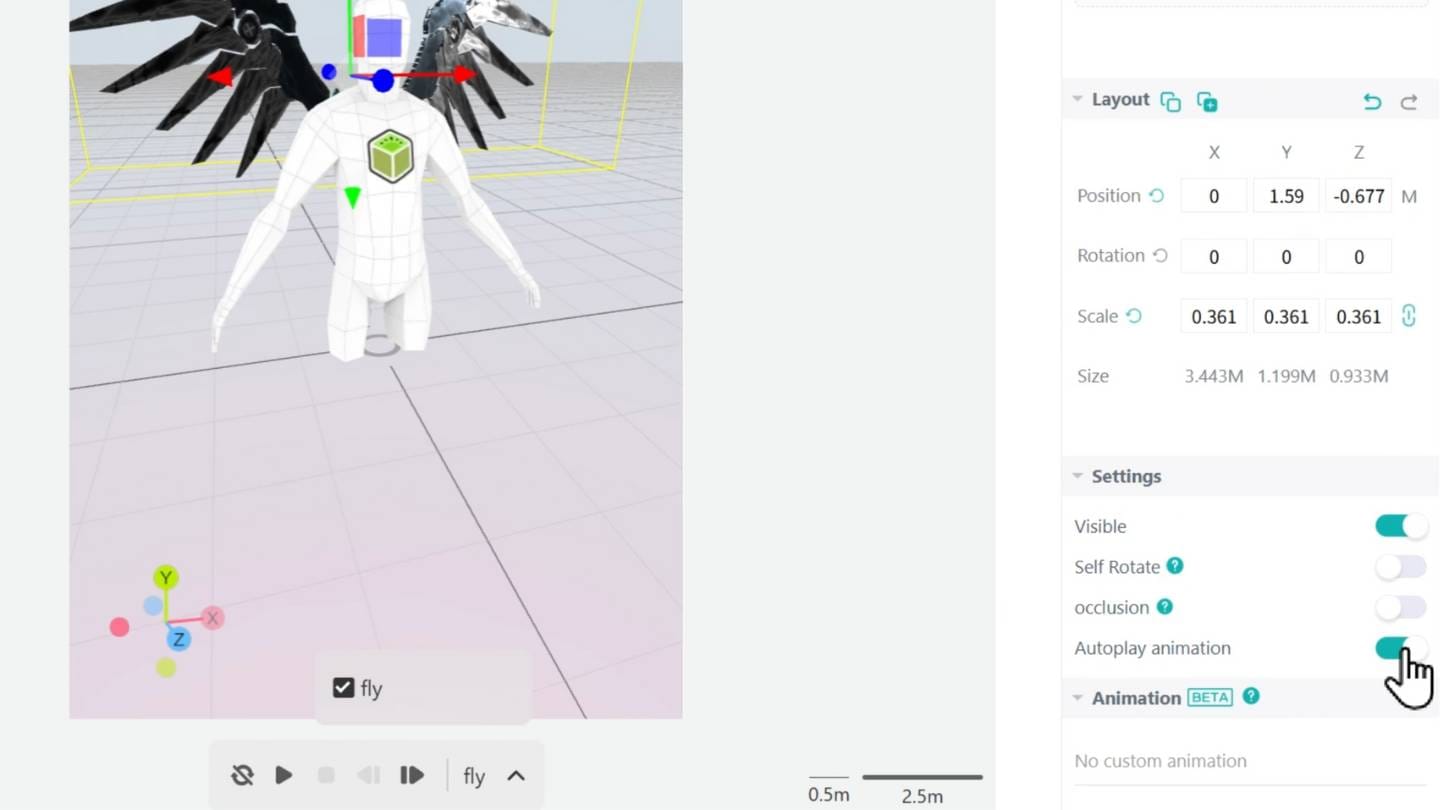
If the model includes animation, enable Autoplay Animation, select the animation clip, and set the loop option to infinite. This ensures continuous motion during the experience.
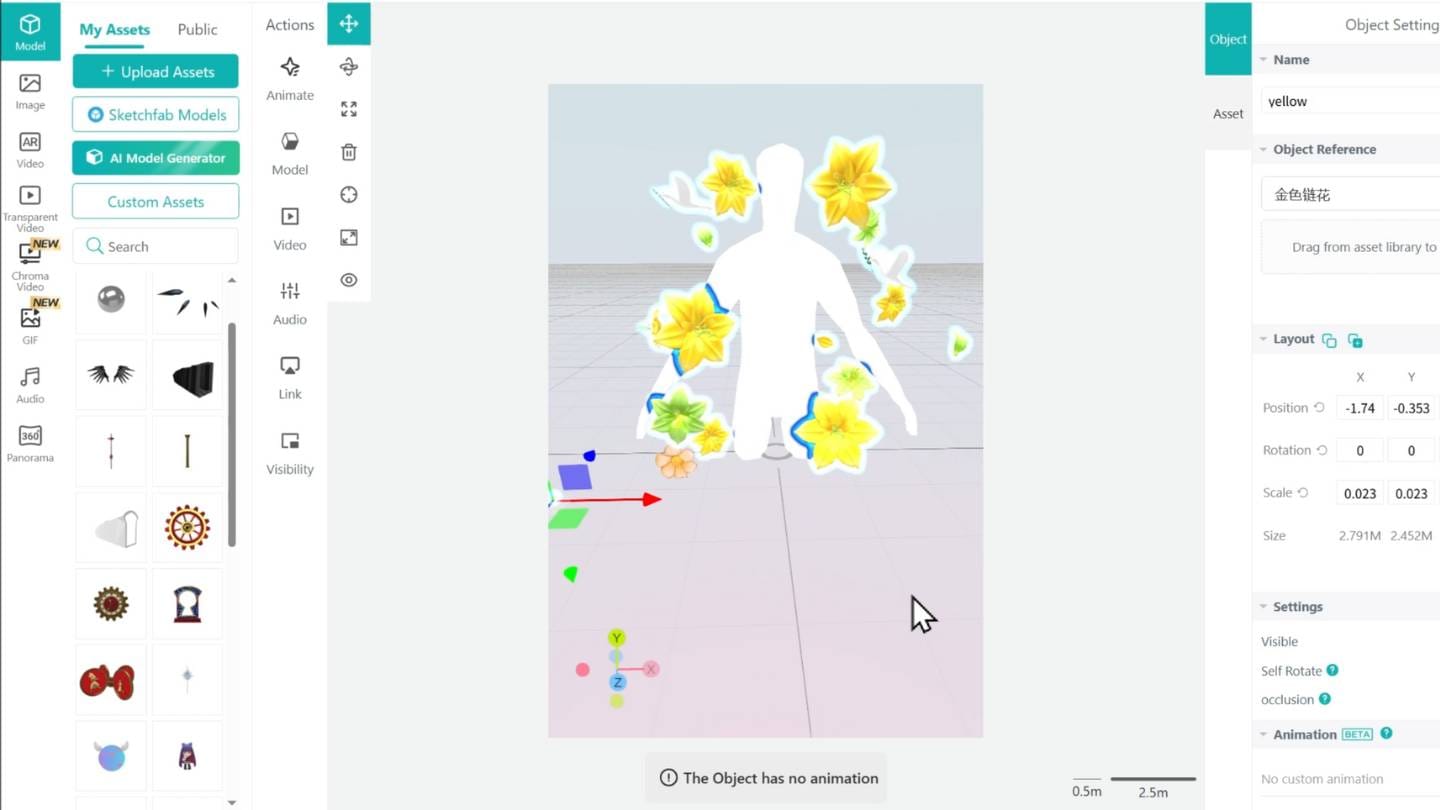
Step 3: Use the Custom Assets Library (No Modeling Required)
If you don’t have your own 3D models, Kivicube’s Custom Assets library provides ready-to-use elements.
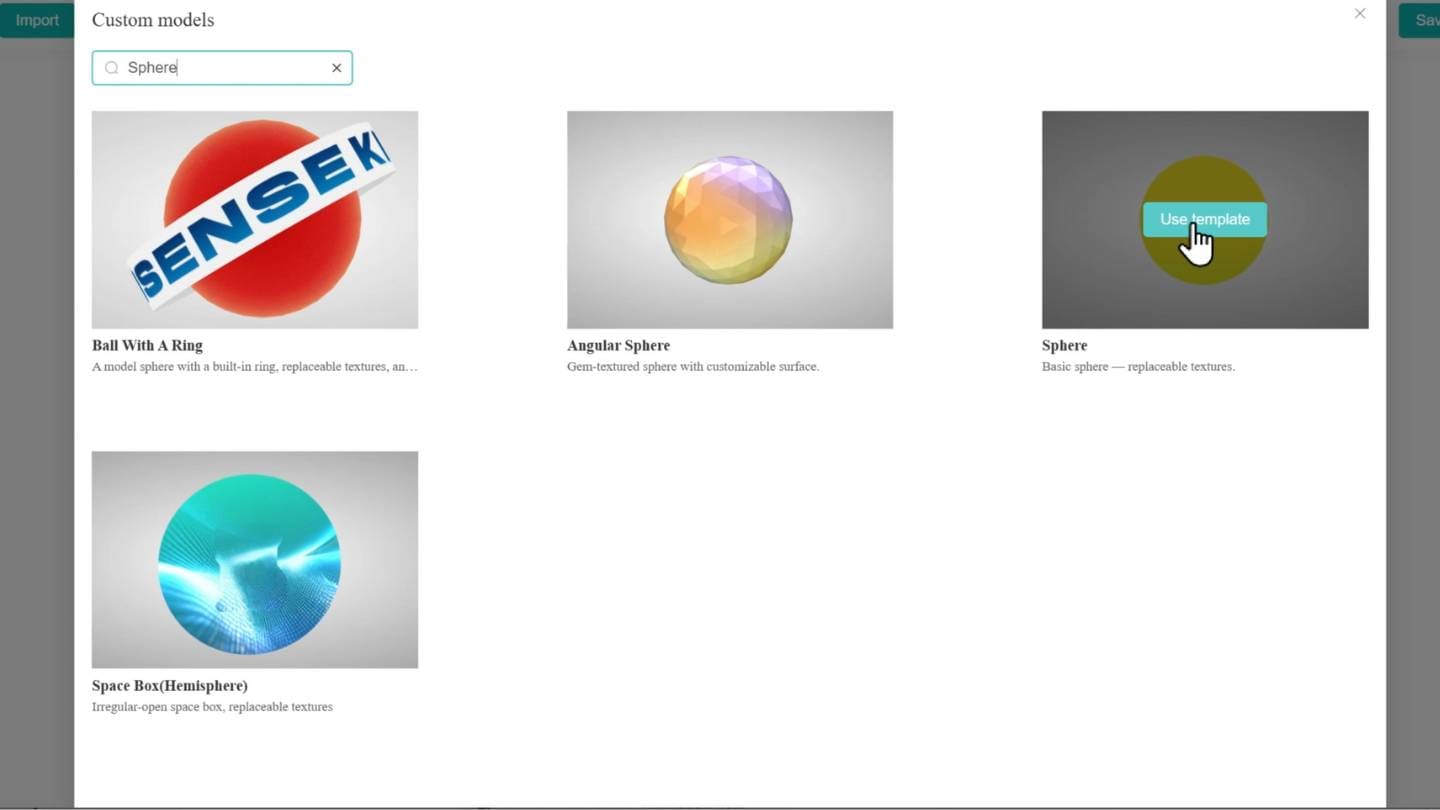
Browse or search the library and click Use Template to open an asset in the Content Editor. From the Material panel, you can customize individual parts, choose lighting styles, and adjust colors or textures.
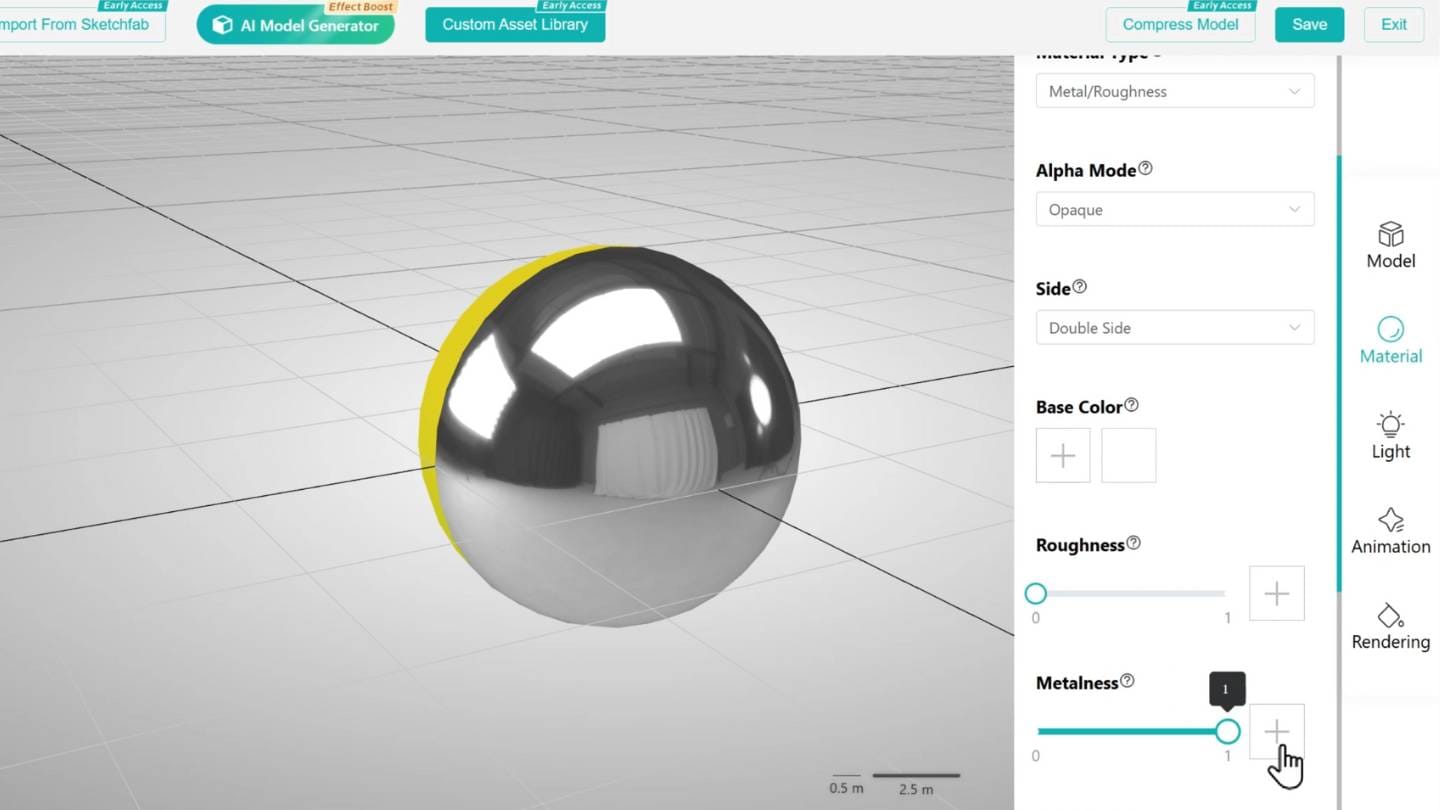
For example, to create a metallic surface, remove any texture, set the base color to white, reduce roughness to zero, and increase metalness to one. The result is a reflective, polished material.
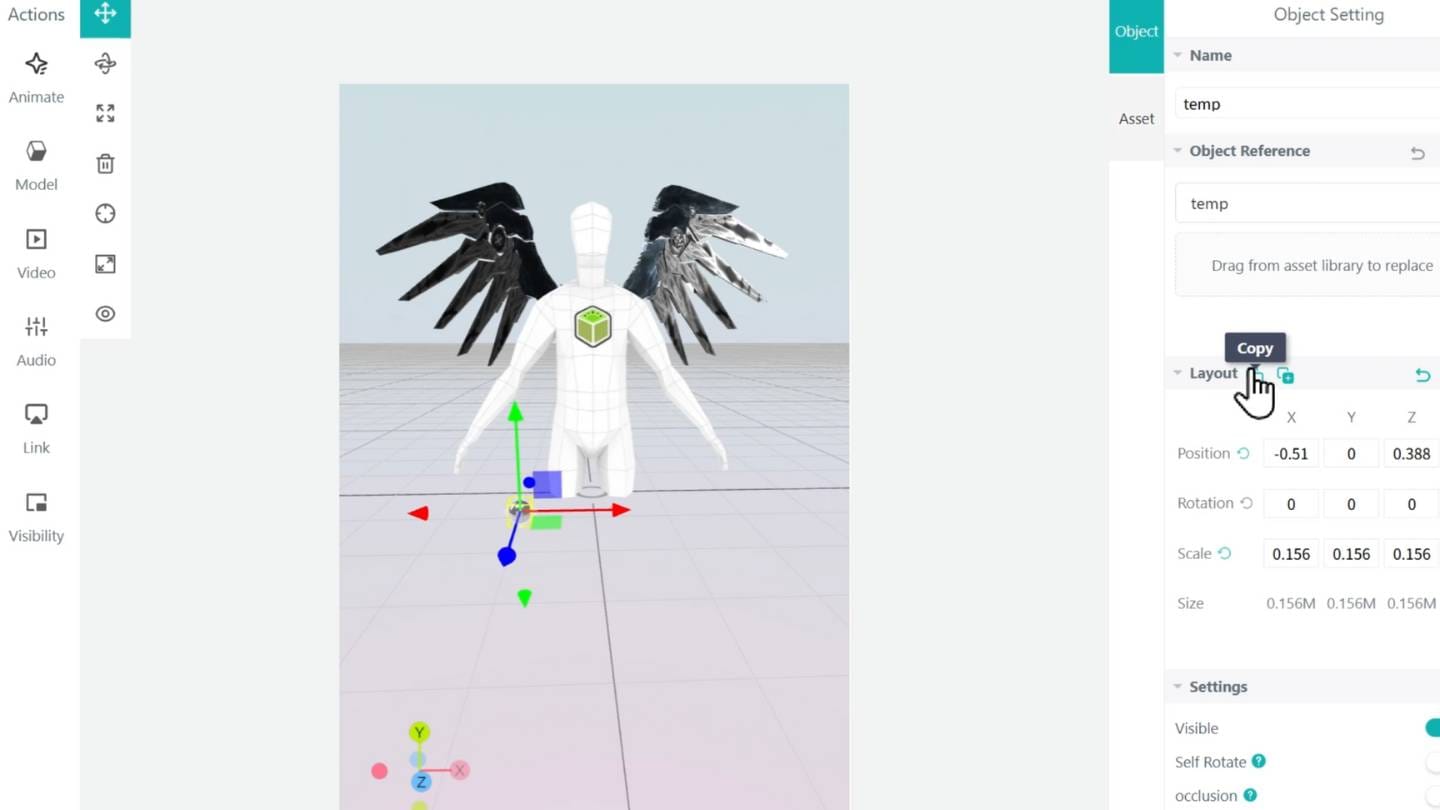
After saving, return to the scene editor and place the asset on the body. When placing multiple similar elements, the Copy and Paste function in the Layout section helps speed up the process significantly.
Step 4: Adjust Scene Lighting
Once all assets are positioned, open the Lighting panel at the top of the editor.
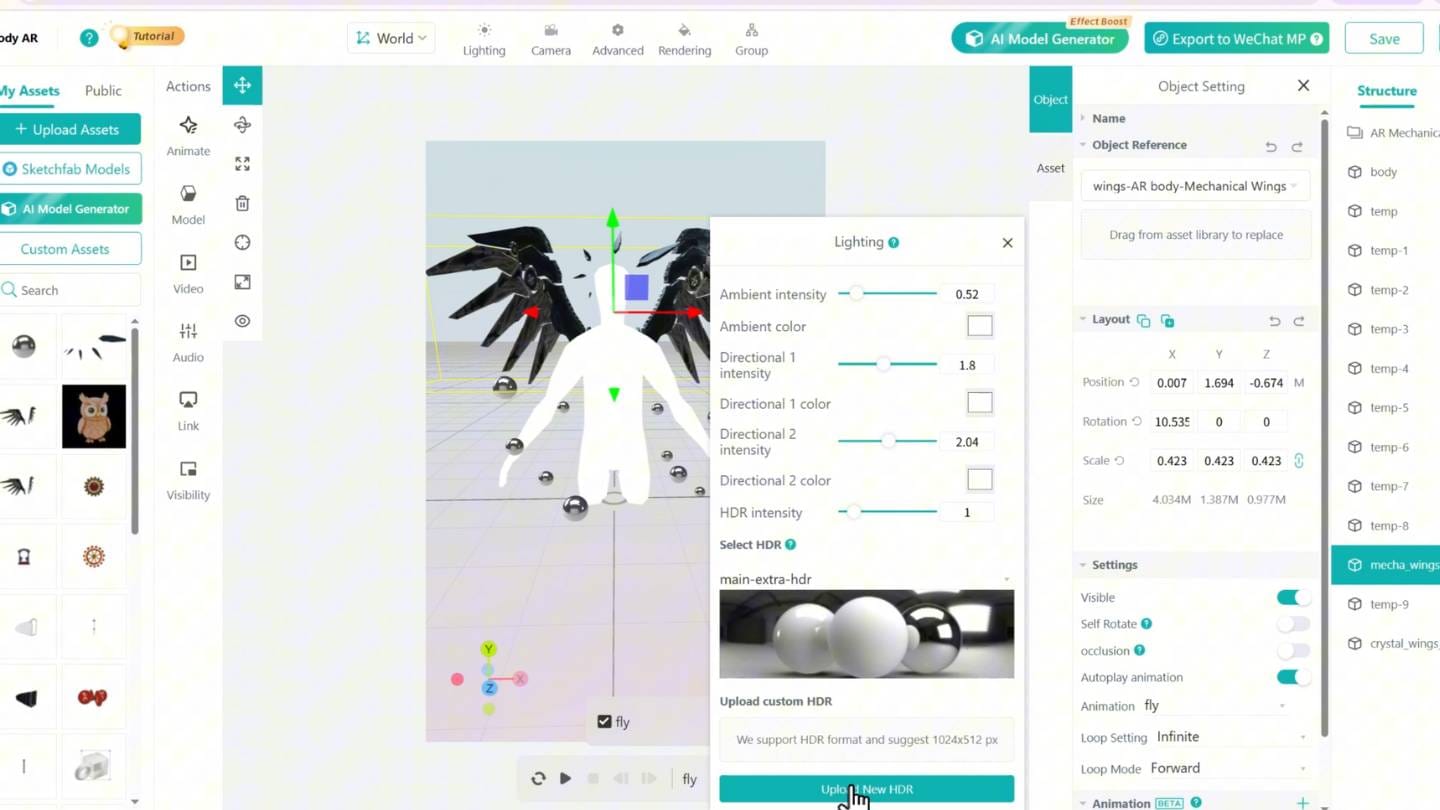
You can adjust light intensity, select a built-in HDR environment, or upload a custom HDR to enhance realism and depth. Proper lighting plays a key role in making AR body tracking feel believable and visually polished.
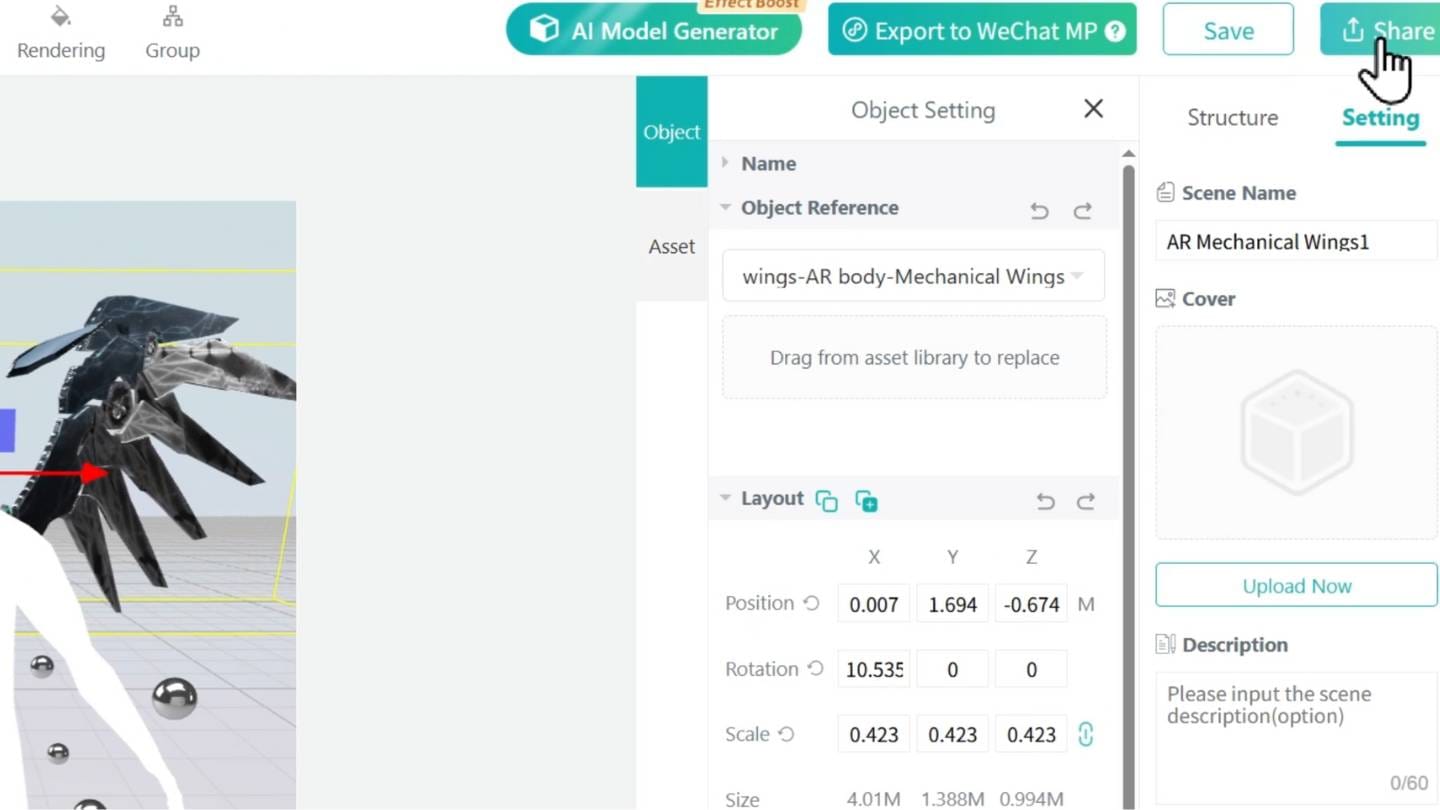
Step 5: Save, Share, and Experience
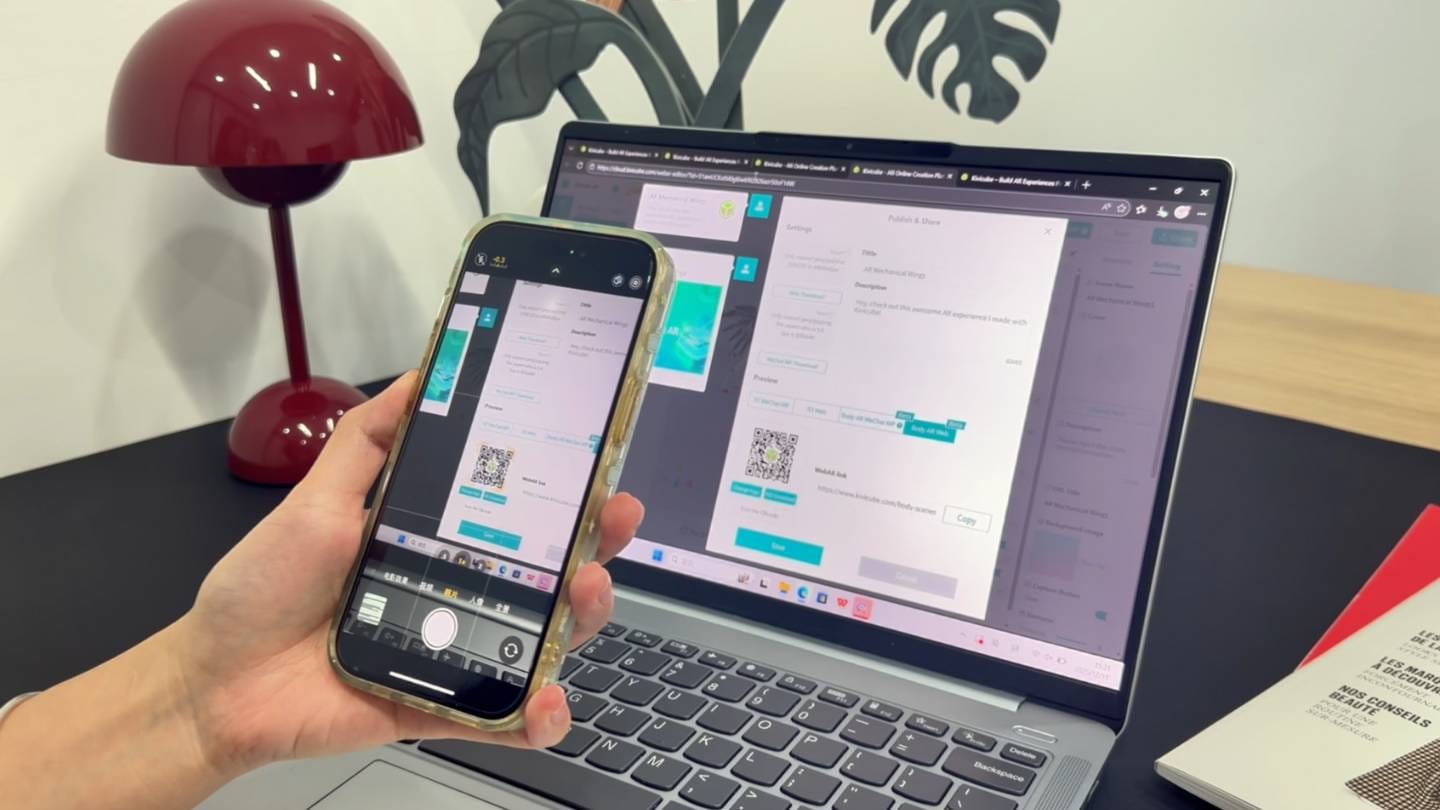
When the scene is ready, click Save & Share in the top-right corner.
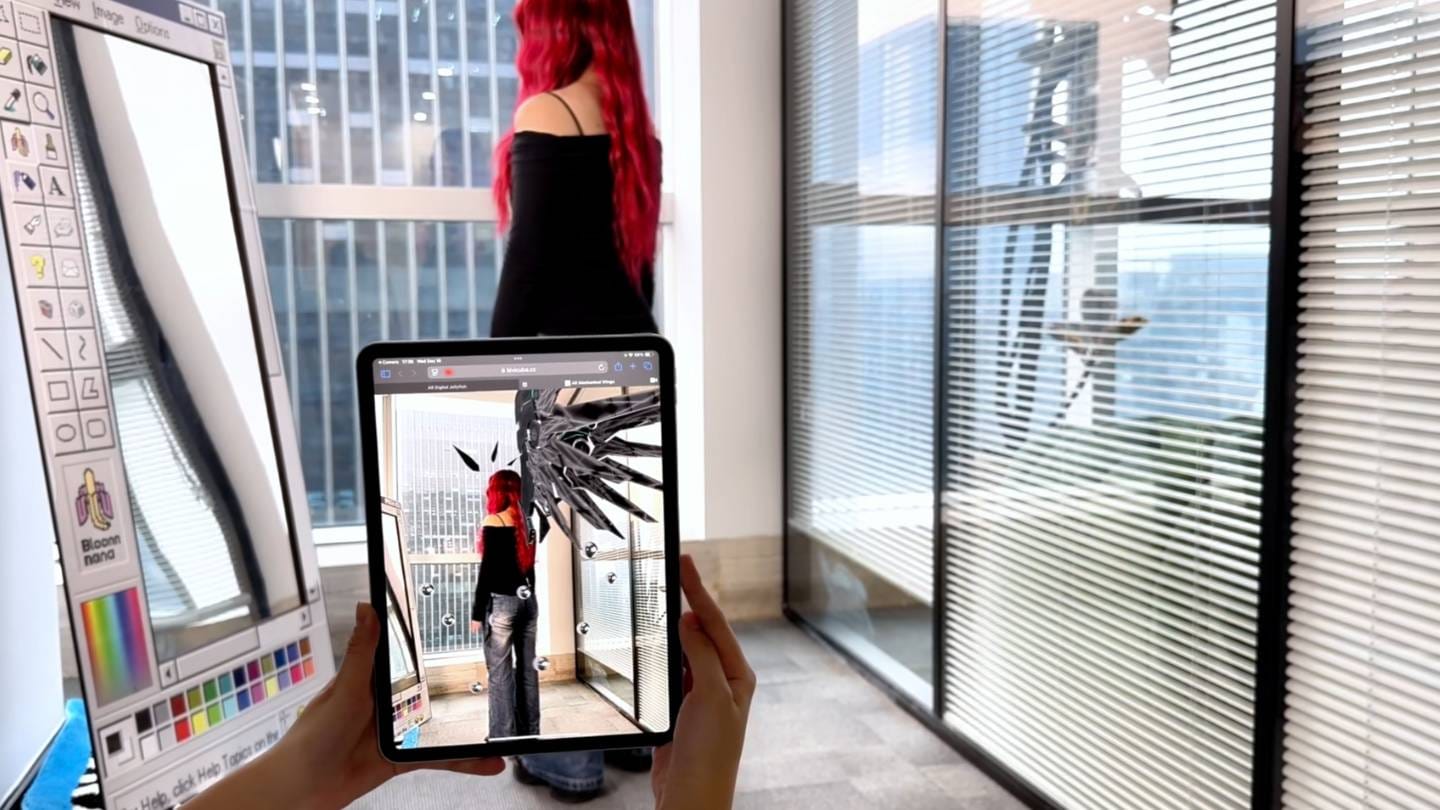
Scan the generated QR code, point your camera at a person, and watch the AR content follow body movement in real time.This is the moment where AR body tracking truly shines—dynamic, intuitive, and immediately engaging.
Why Use AR Body Tracking for Campaigns and Content?
Body AR experiences are especially effective because they invite participation. Instead of passively viewing content, users become part of it. This makes AR body tracking ideal for social sharing, influencer marketing, and interactive brand storytelling.
With Kivicube, these experiences can be created quickly and deployed anywhere using a simple QR code.
Start Creating with Kivicube
Kivicube’s web-based editor makes AR body tracking accessible to creators, marketers, and brands of all sizes. Whether you’re experimenting with digital fashion or launching a campaign, Body AR offers a powerful way to connect digital content with real-world movement.
Start building your own AR body tracking experience today with Kivicube—no code required.