From Sketch to AR: Your Practical Guide to Augmented Reality Drawings
Digital artists often ask: How do I make my drawings feel alive beyond the screen? Augmented reality drawings let your art step into the real world—interactive, immersive, and visible on any smartphone. No coding required. This guide will show you how to turn your sketches into interactive AR art.
What Are Augmented Reality Drawings?
Augmented reality drawings are artworks that trigger interactive digital layersanimation, sound, or 3D elements—when viewed through a WebAR platform using a phone or browser.
Augmented Reality drawings are not simple AR filters. They use your artwork as a "portal" or trigger to overlay a persistent, interactive digital layer onto reality.
The core value of Augmented Reality Drawings for artists is:
- Deeper Storytelling: Guide your audience to uncover narrative layers.
- Emotional Connection: Create memorable, personalized immersive experiences.
- A New Experiential Form: Your AR artwork can be "placed" anywhere—from gallery walls to a coffee table.
Planning Your First AR Drawing: A Mindset Shift
A Key Warning: Don't start with your most complex piece. Remember: "Start Simple, Think in Layers."
Step 1: Selection & Deconstruction
- How to choose a suitable drawing for AR? I have two tips. First, select work with clear, separable layers. This makes exporting elements as PNGs and animating them independently in a WebAR platform much easier. Second, prioritize pieces with inherent narrative or scene-setting quality, as AR can magnify their storytelling depth.
- Your First Exercise: Find an old piece in Procreate or Photoshop. Practice exporting it in layers and think about how each layer could move.
Step 2: Narrative Design
- Write a Simple Interaction Script: Plan how the audience will engage. For example: "Once the drawing is recognized, the background fades in first. Then, if the viewer taps the bird in the top-left corner, a birdsong animation triggers."
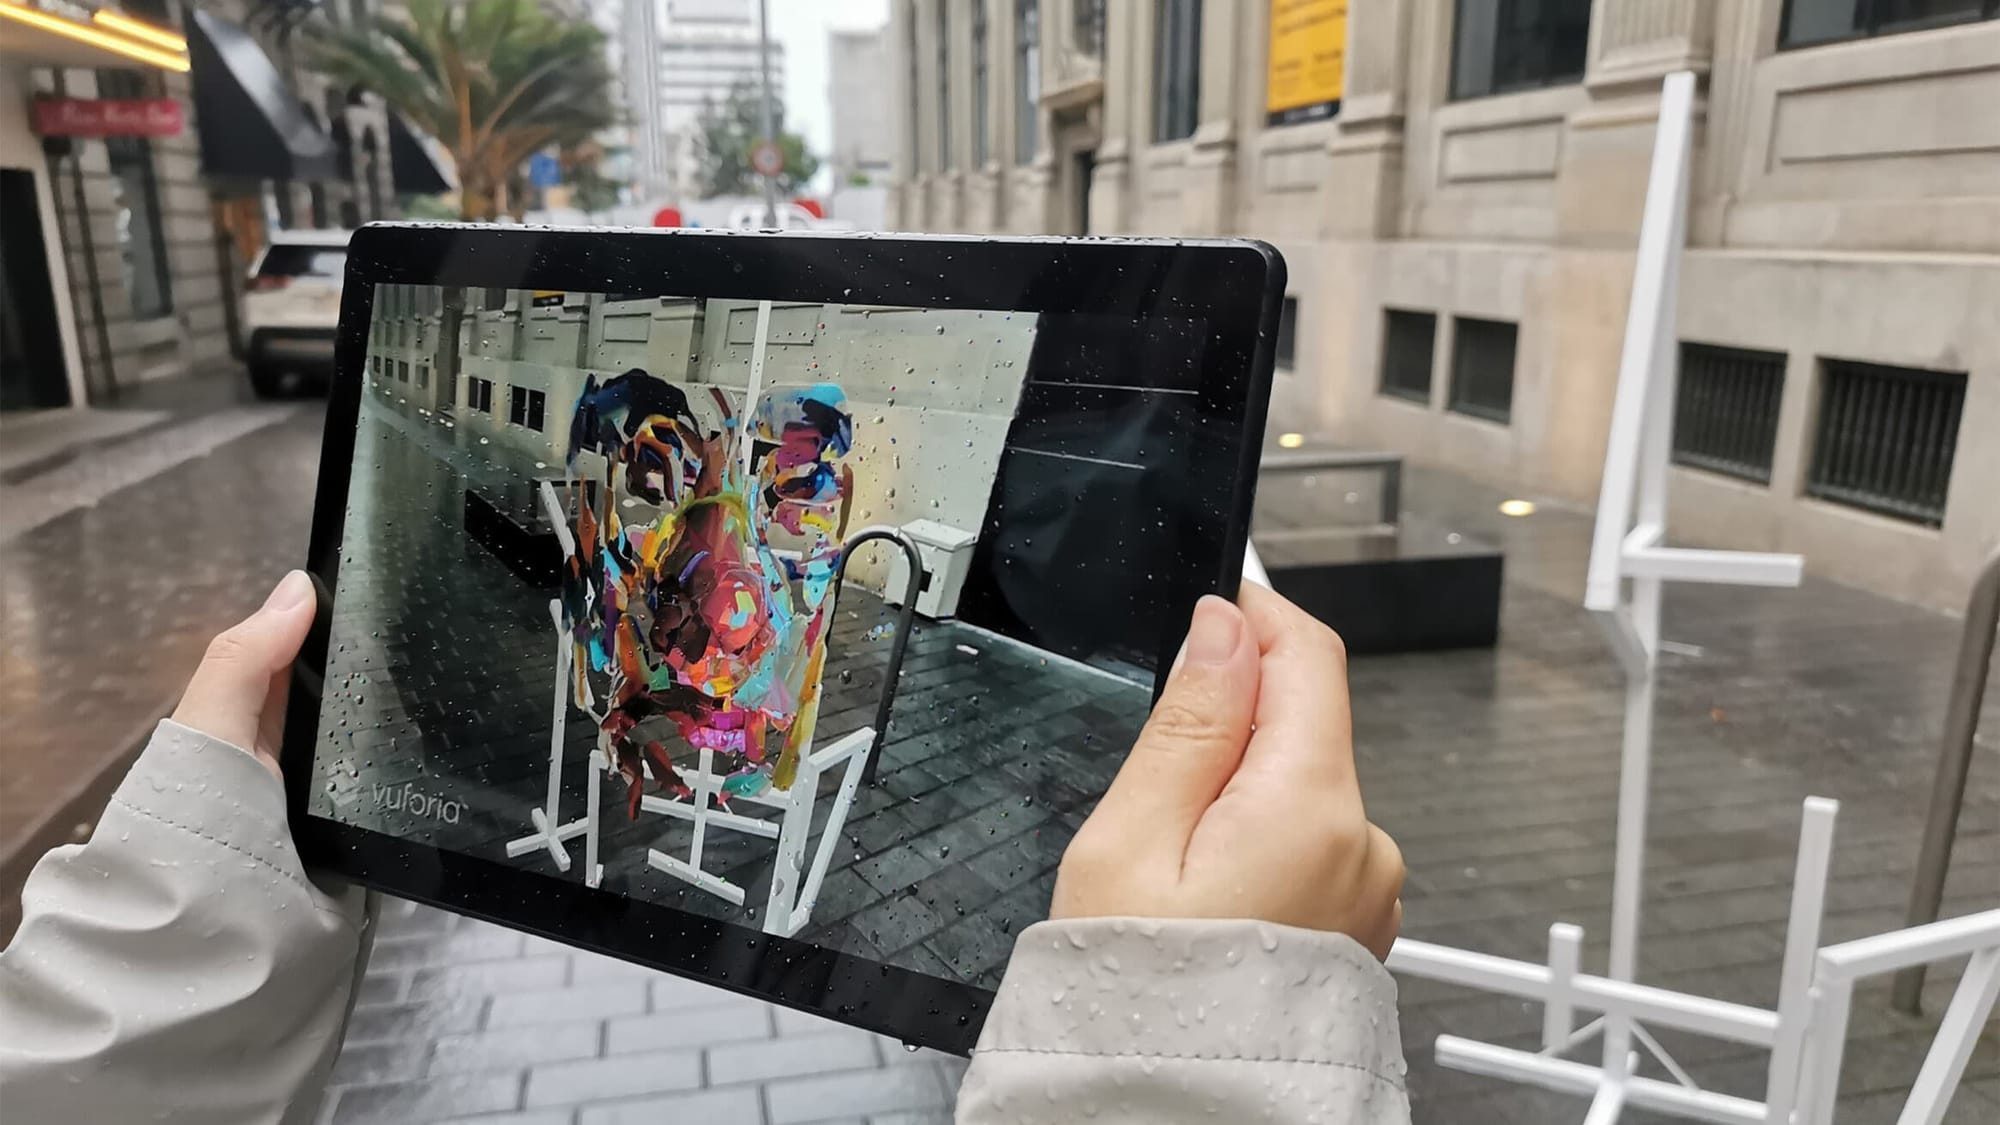
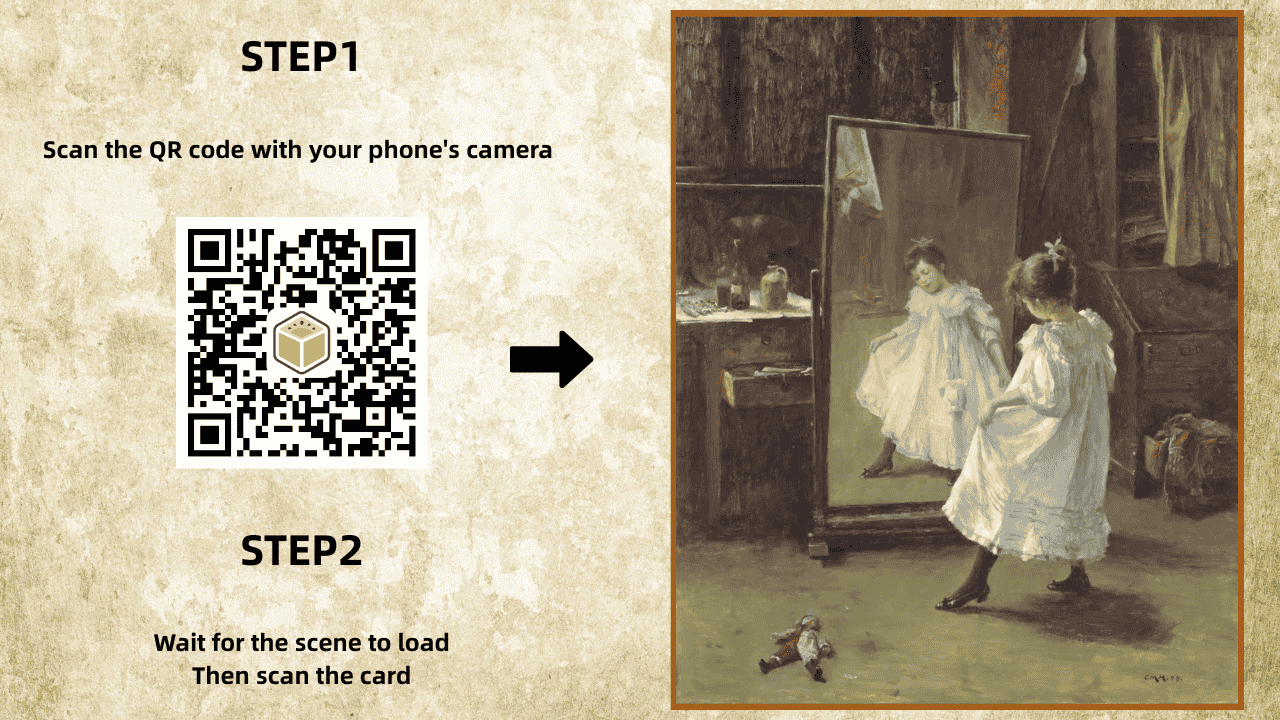
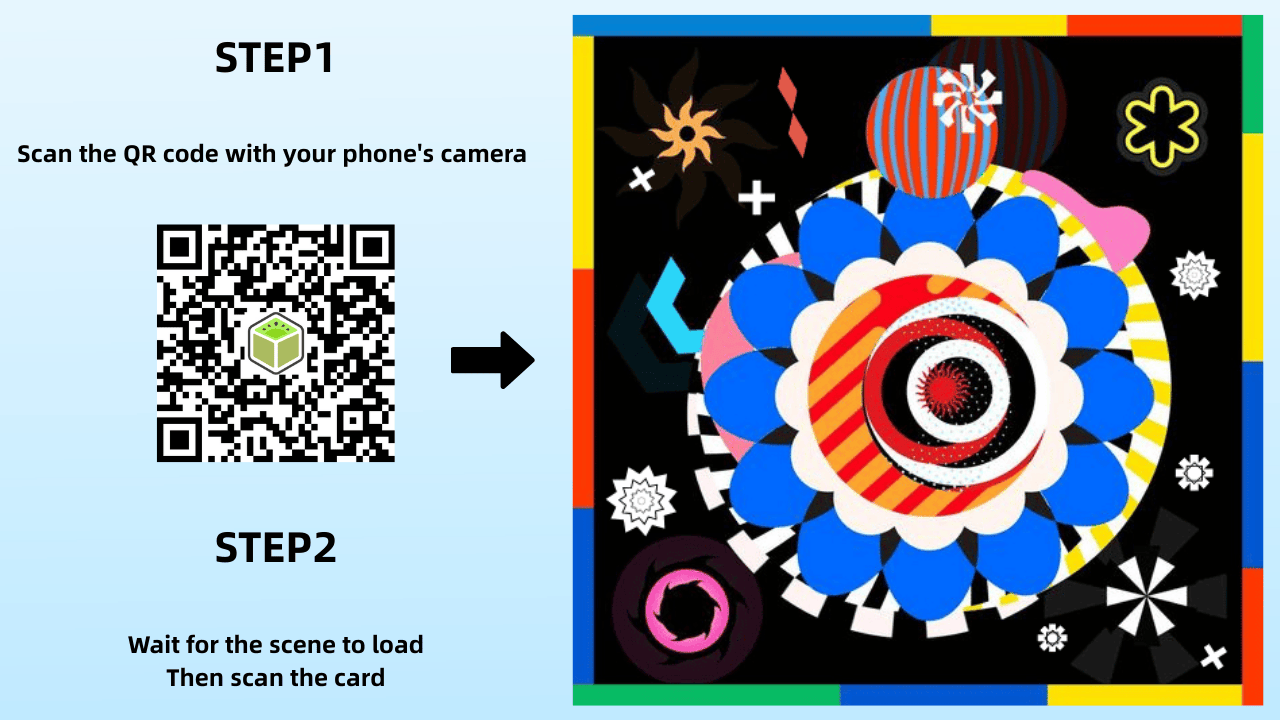
- Choose Your AR Platform and Learn Its Features: I highly recommend a WebAR platform. This allows your audience to experience the AR instantly by just clicking a link or scanning a QR code next to the artwork—no app download needed. Then, explore your chosen augmented reality platform to understand its capabilities and limits for efficient workflow planning.
Two Foundational Paths:
- Environmental Animation: Make elements within your entire piece move, bringing it to life.

- Exploratory Interaction: Your audience triggers different content by tapping on various parts of the drawing.
What is a WebAR platform for artists?
A WebAR platform lets artists publish augmented reality art that runs directly in a web browser, no app downloads required for viewers. Artists need a tool for creative expression, not another reason to learn coding.
Evaluation Checklist for Artists:
- No-Code Required: Is the visual editor intuitive and easy to use?
- Workflow Compatibility: Does it support your standard file formats (e.g., PSD layers, PNG sequences, FBX models)?
- Easy Publishing: Does it generate a simple shareable link, or require complex packaging?
- Cost & Accessibility: Is there a free tier for testing and experimentation?
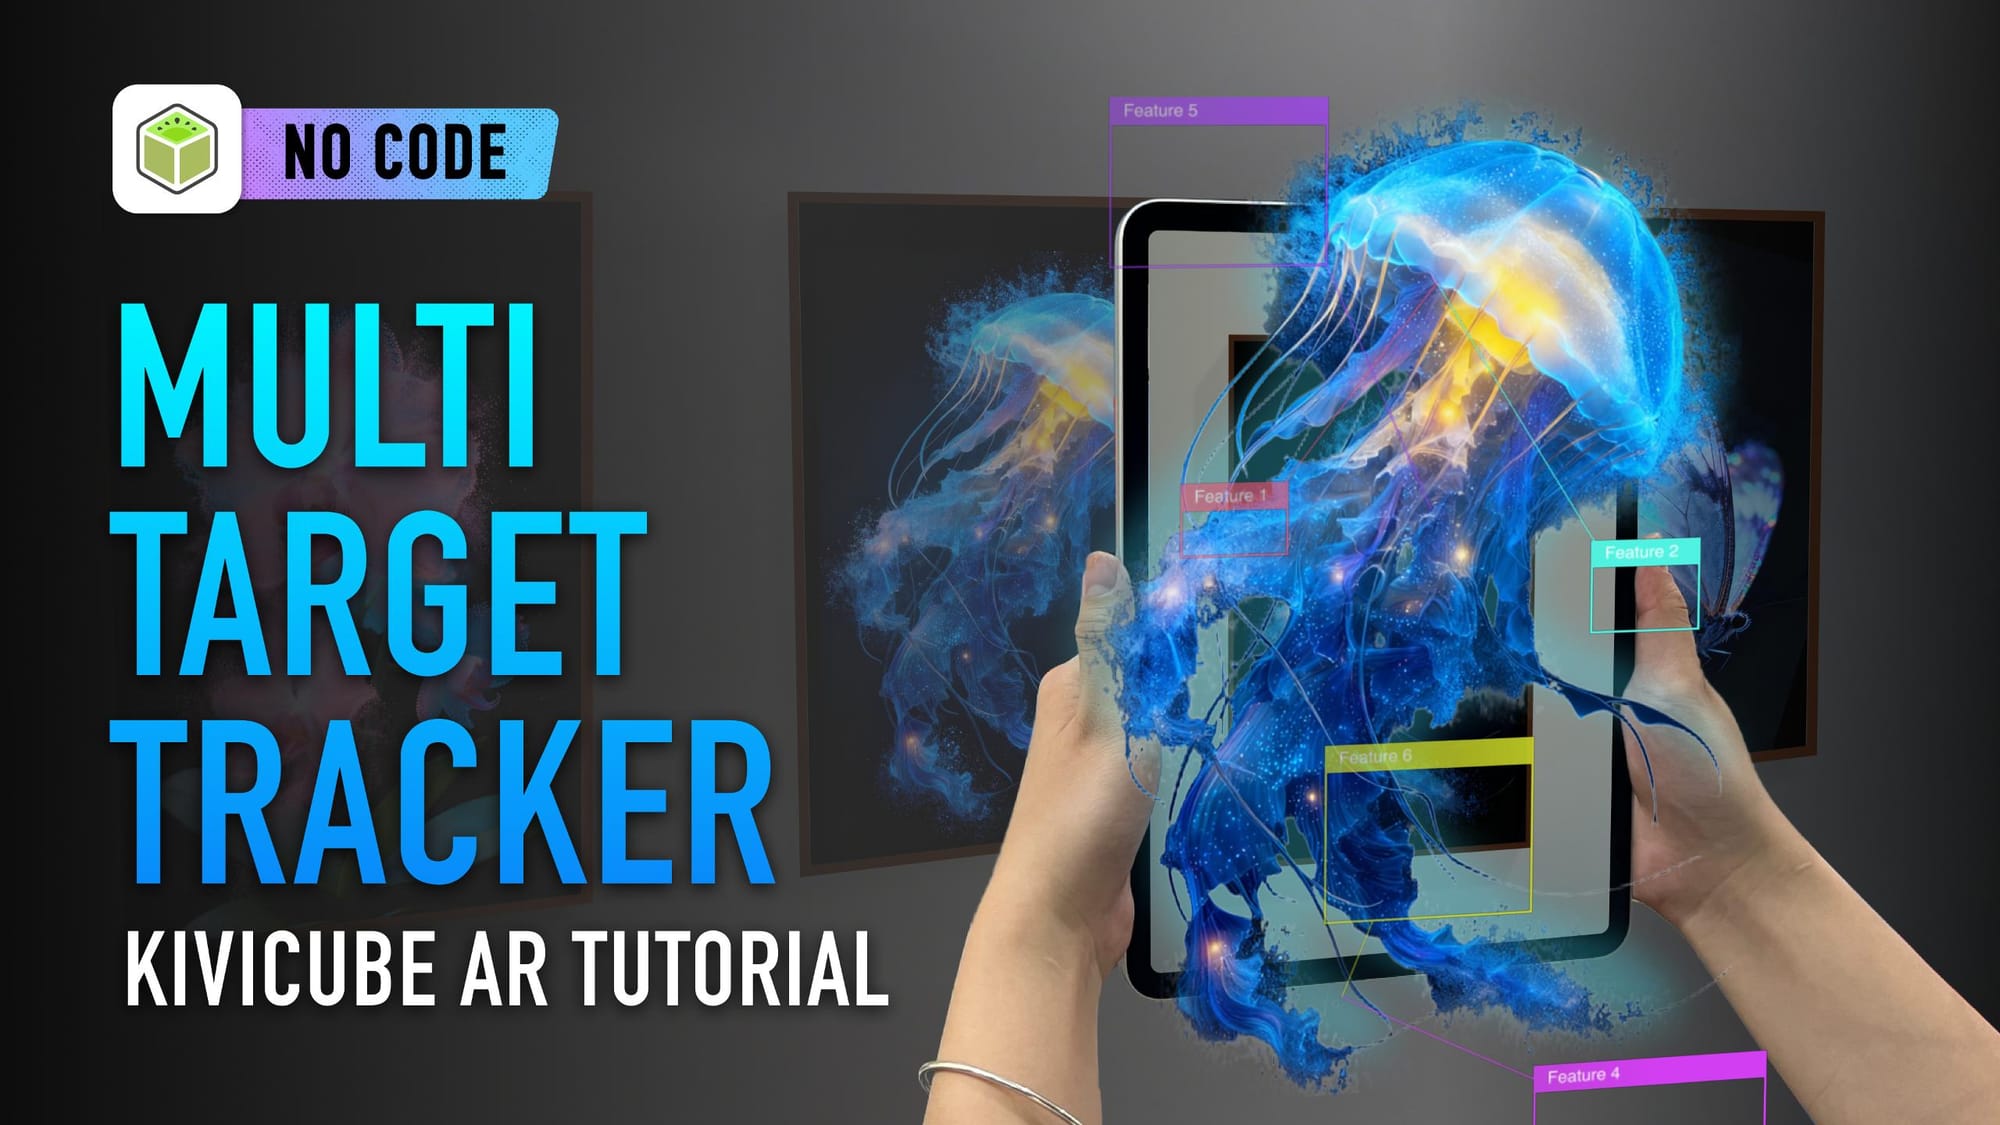
Why Kivicube Fits an Artist's Workflow
Kivicube No-Code AR Editor Capabilities Overview
- Intuitive drag-and-drop layout: After uploading your layered PNG assets, you can drag and drop elements directly onto the scene grid to arrange your AR content—no complex coding required.
- Extensive built-in asset library: Access ready-to-use GIFs, transparent videos, PNGs, and 3D models to embellish your artwork or rapidly prototype ideas, letting you preview how different assets look in your AR art in minutes.
- No-code animation tools: Dozens of pre-built animations are at your fingertips, with a workflow as simple as Canva or PowerPoint—no animation skills needed to bring your drawings to life.
- One-click sharing & distribution: Publish your AR experience to a single shareable link, which you can print on postcards or add to your Instagram bio. Anyone with the link can instantly view your augmented reality drawing.
From Drawing to AR : In a Few Simple Steps
Turning your drawing into a shareable AR experience is easier than it sounds. Follow these actionable steps to bring your art to life:
Kivicube Video Guide| How to create your First AR Drawing
- Prepare your layered artwork: Export your drawing as separate transparent PNG layers (e.g., background, foreground, and detail elements). This ensures you can adjust each part independently in the AR scene.
- Upload layers to the Kivicube editor: Log into your Kivicube, create a new image AR scene, and upload all your transparent PNG layers.
- Arrange layers in 3D space: Drag and drop each layer onto the scene grid to position them.
- Add animations to bring it alive: Choose from custom animations and apply them to individual layers, no animation skills needed. Preview changes in real time to fine-tune the effect.
- Publish and share your AR art: Once satisfied, hit "Save & Share" to generate a single shareable link. Print it on postcards, add it to your social media bio, or embed it on your website. Anyone with the link can view your AR drawing instantly.
Want the full walkthrough with detailed settings and tips? Read the complete step-by-step tutorial here:
Step-by-Step Tutorial of AR Drawing
Just getting started and want something even faster? Try this 2-minute beginner tutorial:
AR Drawing Beginner tutorial
Both guides walk you through the process in the browser — no code, no app, just your art coming to life in AR.
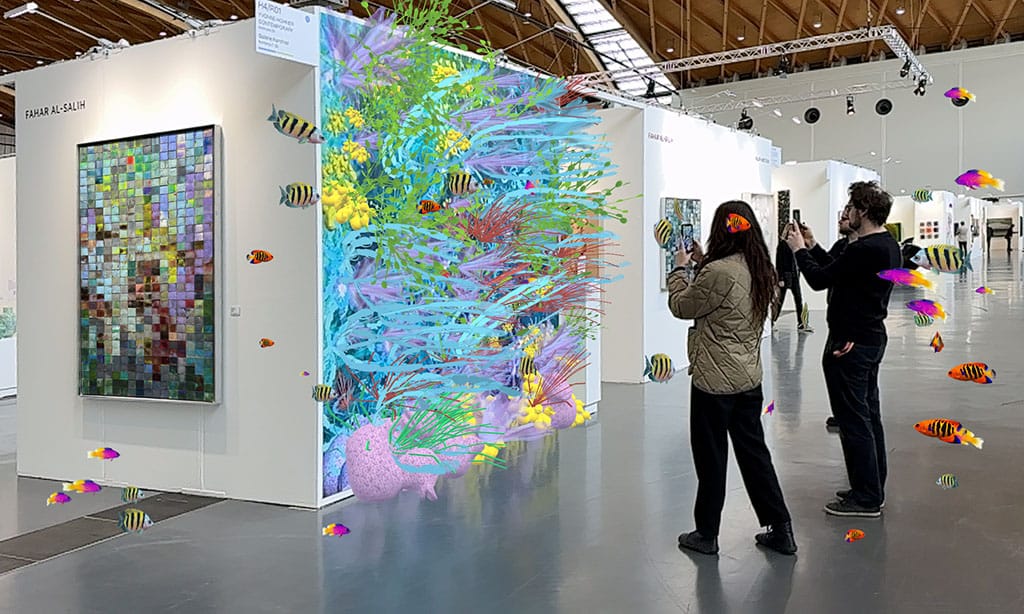
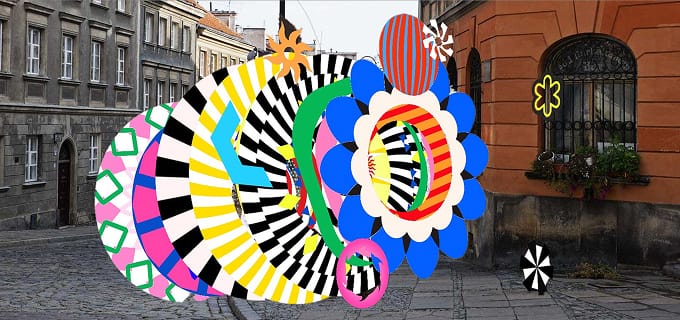
What’s Possible with AR Art?
Artists are already using augmented reality art for:
- interactive children’s books
- AR-enhanced murals
- animated portfolios
- collectible prints
- experimental exhibitions
The format is flexible. The only real constraint is how you choose to invite interaction.
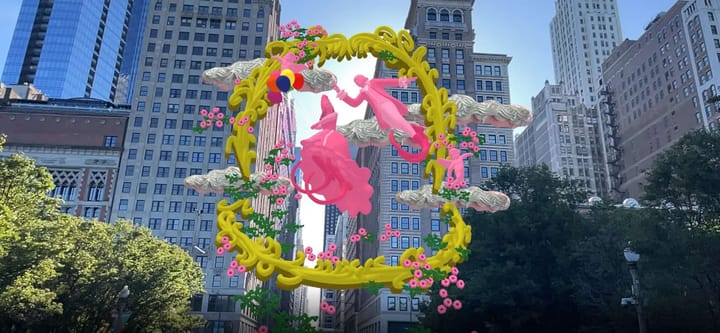
"The Sun" Mural | AR by Kivicube
Artists are already using augmented reality art for endless creative applications—from intimate printed pieces to large-scale installations. Explore all the real-world, artist-approved AR art use cases in our guide to how AR art is the new creative canvas.
Quick Q&A for Your First AR Drawing
Q: Do I need 3D skills to add 3D elements to my AR drawing?
A: No—Kivicube’s AI model generator lets you turn any 2D image into a 3D model in minutes, with zero 3D modeling experience.
Q: How do I share my AI-enhanced AR drawing?
A: Same as your standard AR drawing—Kivicube generates a single link/QR code; print it on your art, share it on social media, or add it to your portfolio.
Q: What if I run into issues while creating my AR drawing?
A: If you need help at any step of your AR creation process, feel free to join our Discord community! Our team and fellow creators are there to support you.
Conclusion: Your Canvas is Now Boundless
In summary, AR isn't meant to replace traditional art but to offer a new dimension for presentation and narrative.
Start thinking in "layers" and "interaction" with your next sketch. Choose a WebAR platform like Kivicube, and spend an afternoon turning an old piece into your first AR experiment.
Ready to extend your canvas into the real world? Start your first augmented reality drawing project for free with Kivicube.