Freely Animate Model/Image/Video with Kivicube Keyframe Animation Update
Discover Kivicube's latest update: keyframe animation. Animate 3D models, images, and videos with custom paths and flexible timing. Read the full guide now.
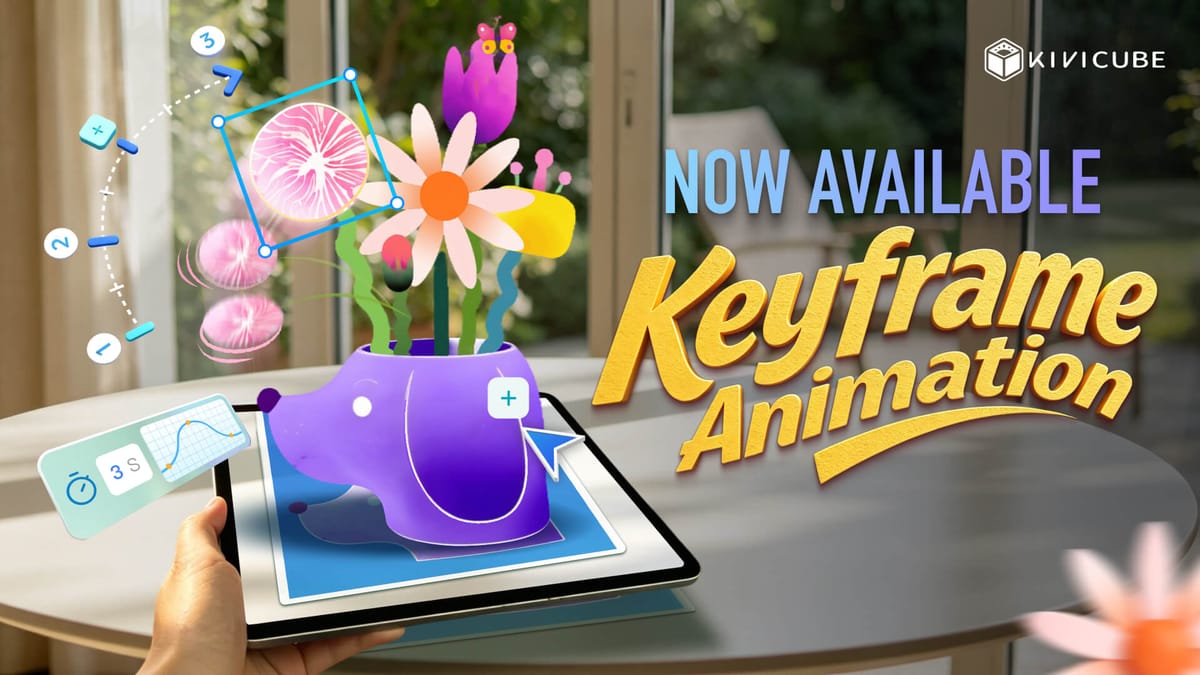
Kivicube keyframe animation is live now. You can fully control motion paths and freely animate your 3D models, images, and videos at ease! This flexibility unlocks greater creative freedom and opens up new possibilities for both entertainment and commercial use. Check this guide to learn more about this exciting feature and skillfully integrate it into your AR creation flow.
What is Kivicube Keyframe Animation
Keyframe Animation is the newest feature added to the Kivicube online AR editor. It enables creators to design custom motion paths by placing keyframes. While the editor already provides preset animations such as rotate, blink, and swing, the keyframe animation takes things to the next level. You can now fully control the movement of every asset frame-by-frame and get a smooth animation effect effortlessly.
Key Capabilities of Kivicube Keyframe Animation
Keyframe animation unlocks infinite possibilities for your AR experience. Along with the enriched animation presets, you are now in complete control of how objects move and behave in your creation.
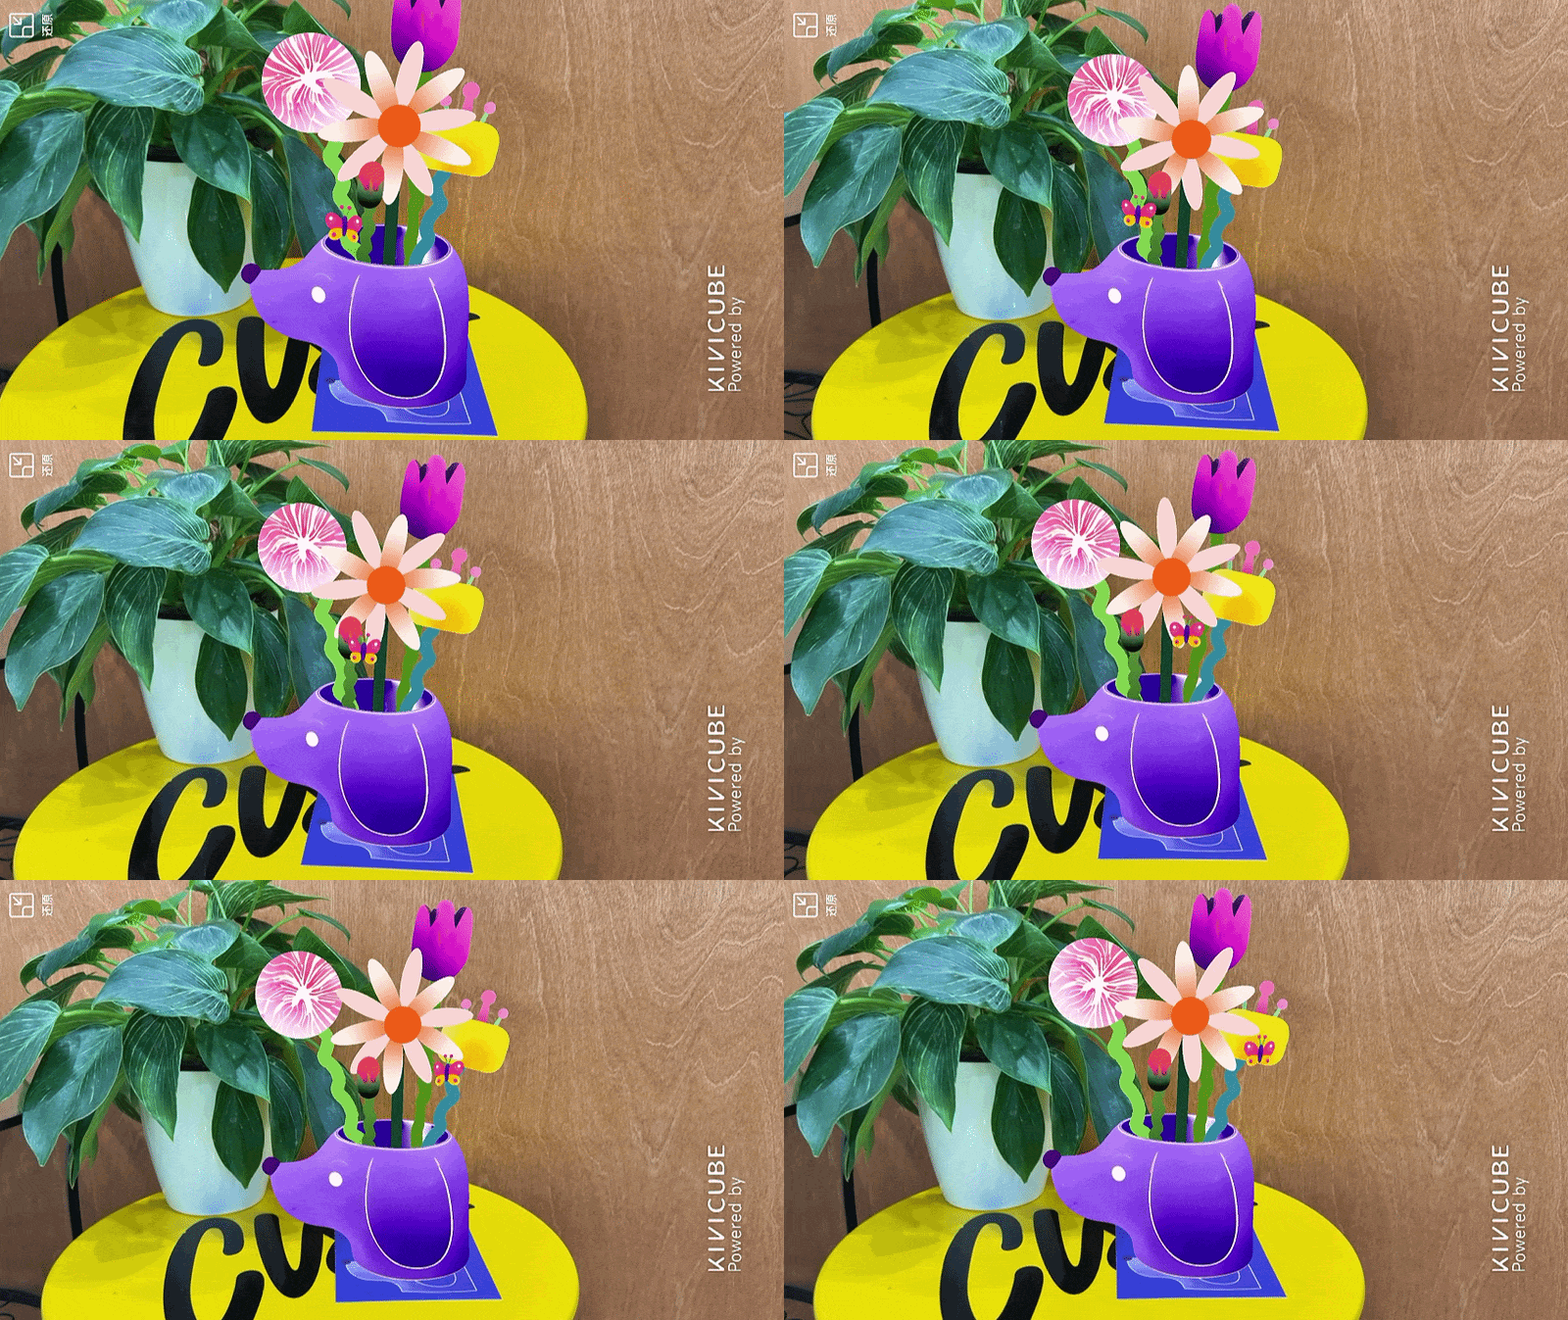
- Freely customize motion paths: Instead of straight lines or preset movements, you can now move your object along any path you imagine. Simply select your asset, drag it to the target positions, and add keyframes along the route.
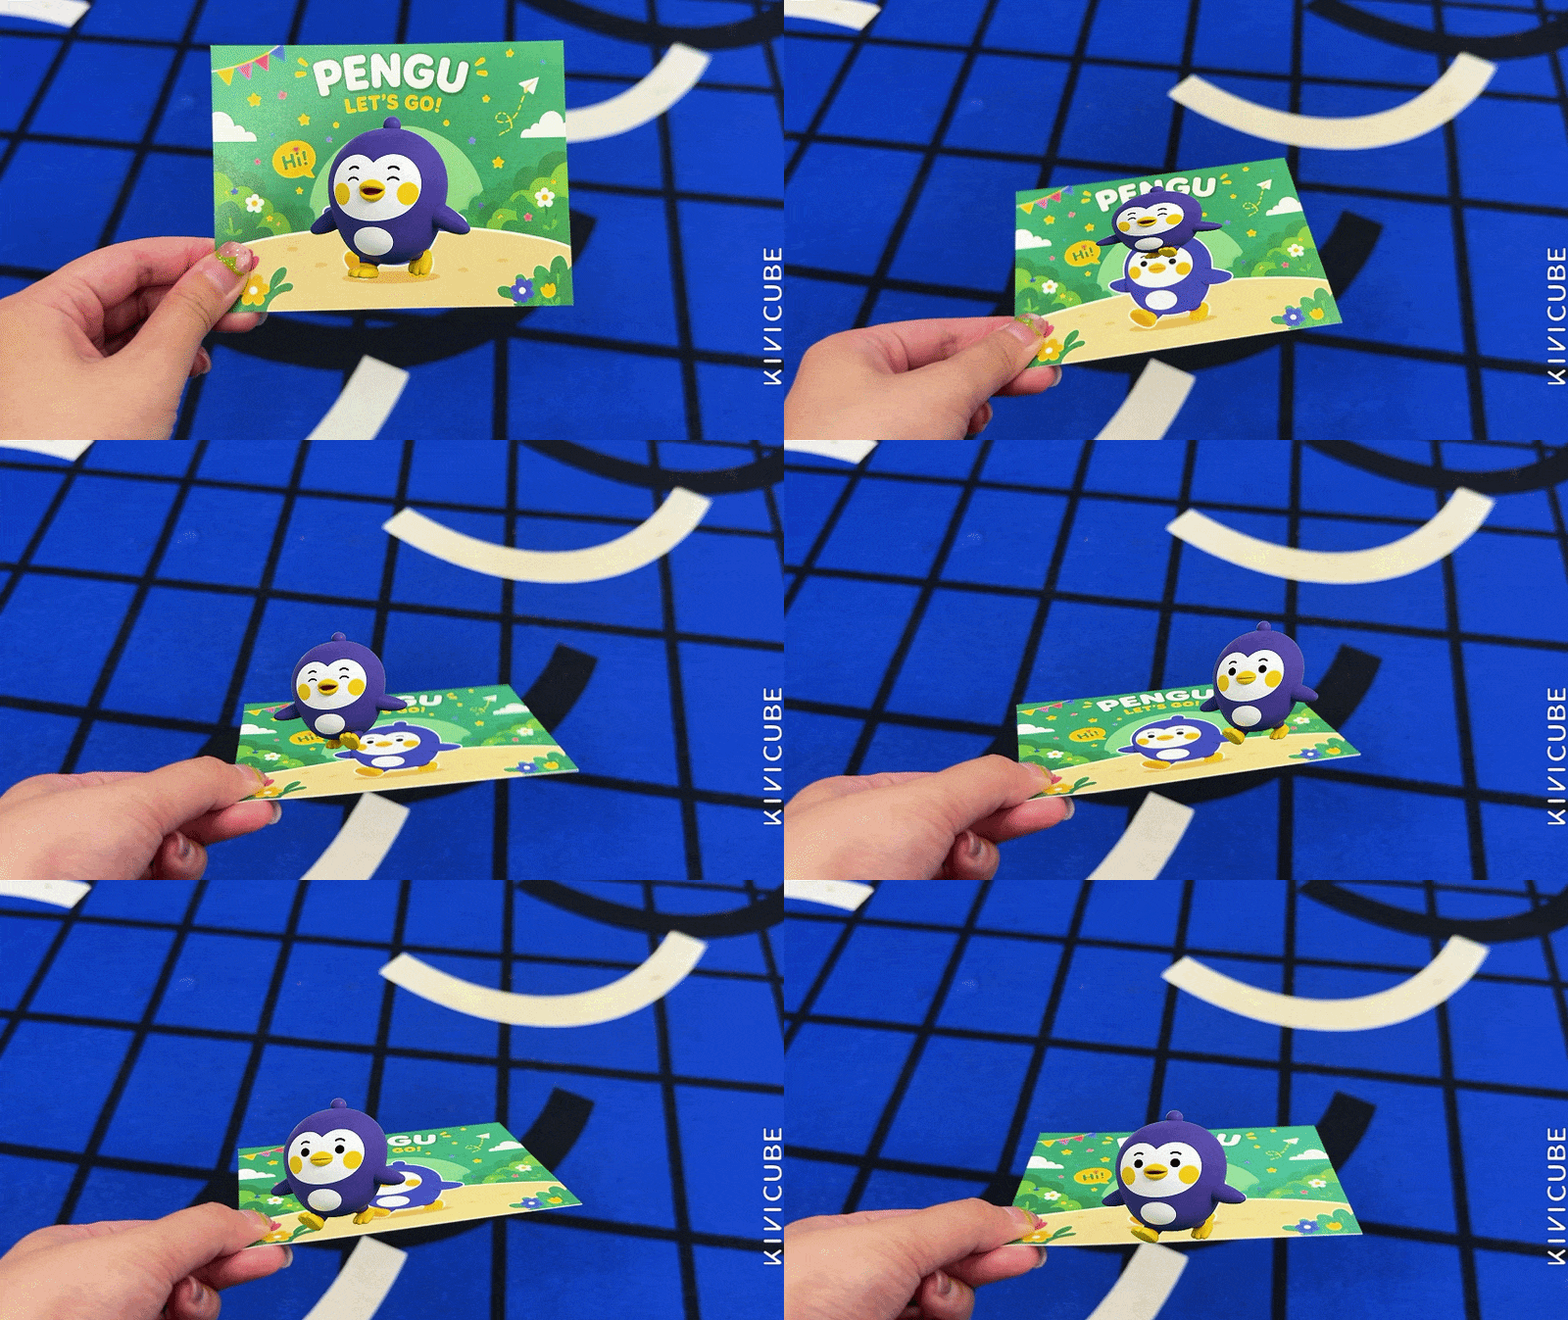
- Full asset support: The keyframe system works across all asset types. You can apply the same powerful animation to your 3D models, images, and video assets.
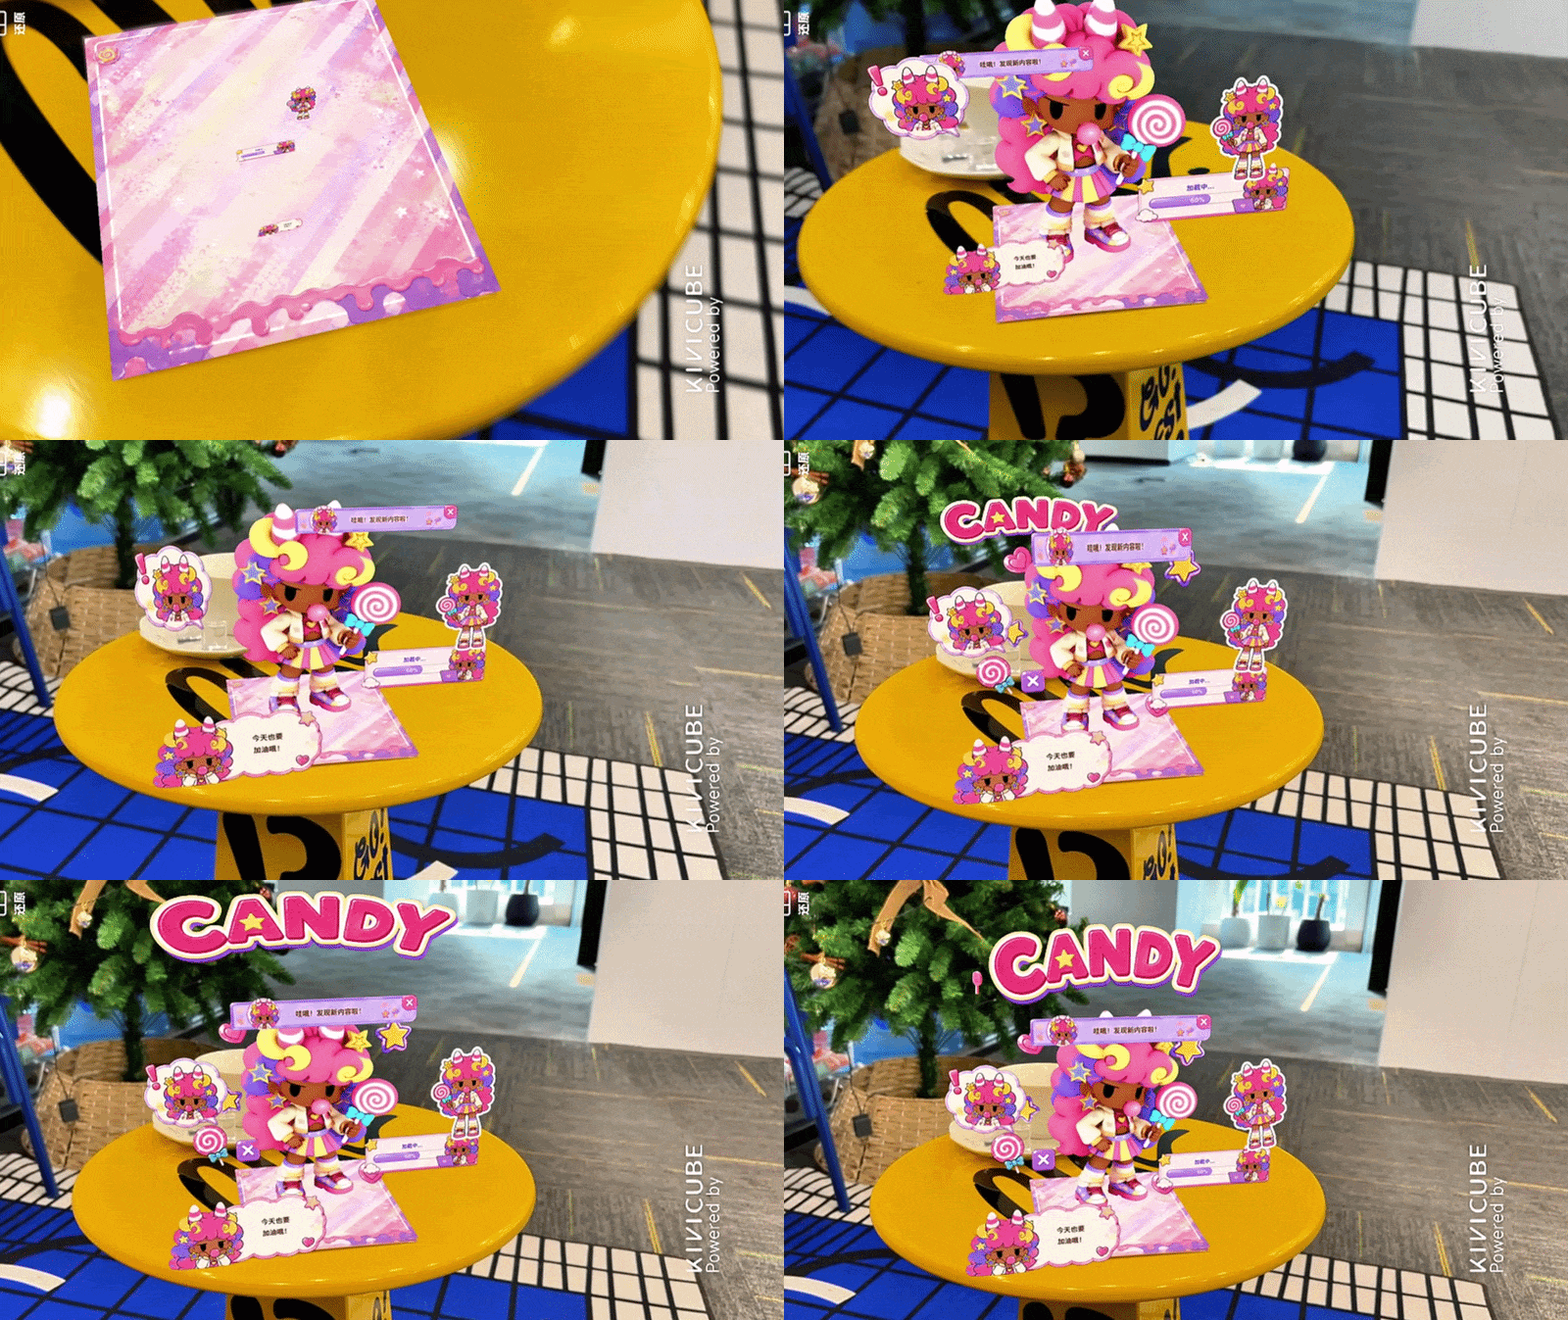
- Complete animation control: Zoom, pop-up, scale, twinkle, swing, and more are all supported now. Creators can combine keyframe animation with other preset animations to embrace even more possibilities.
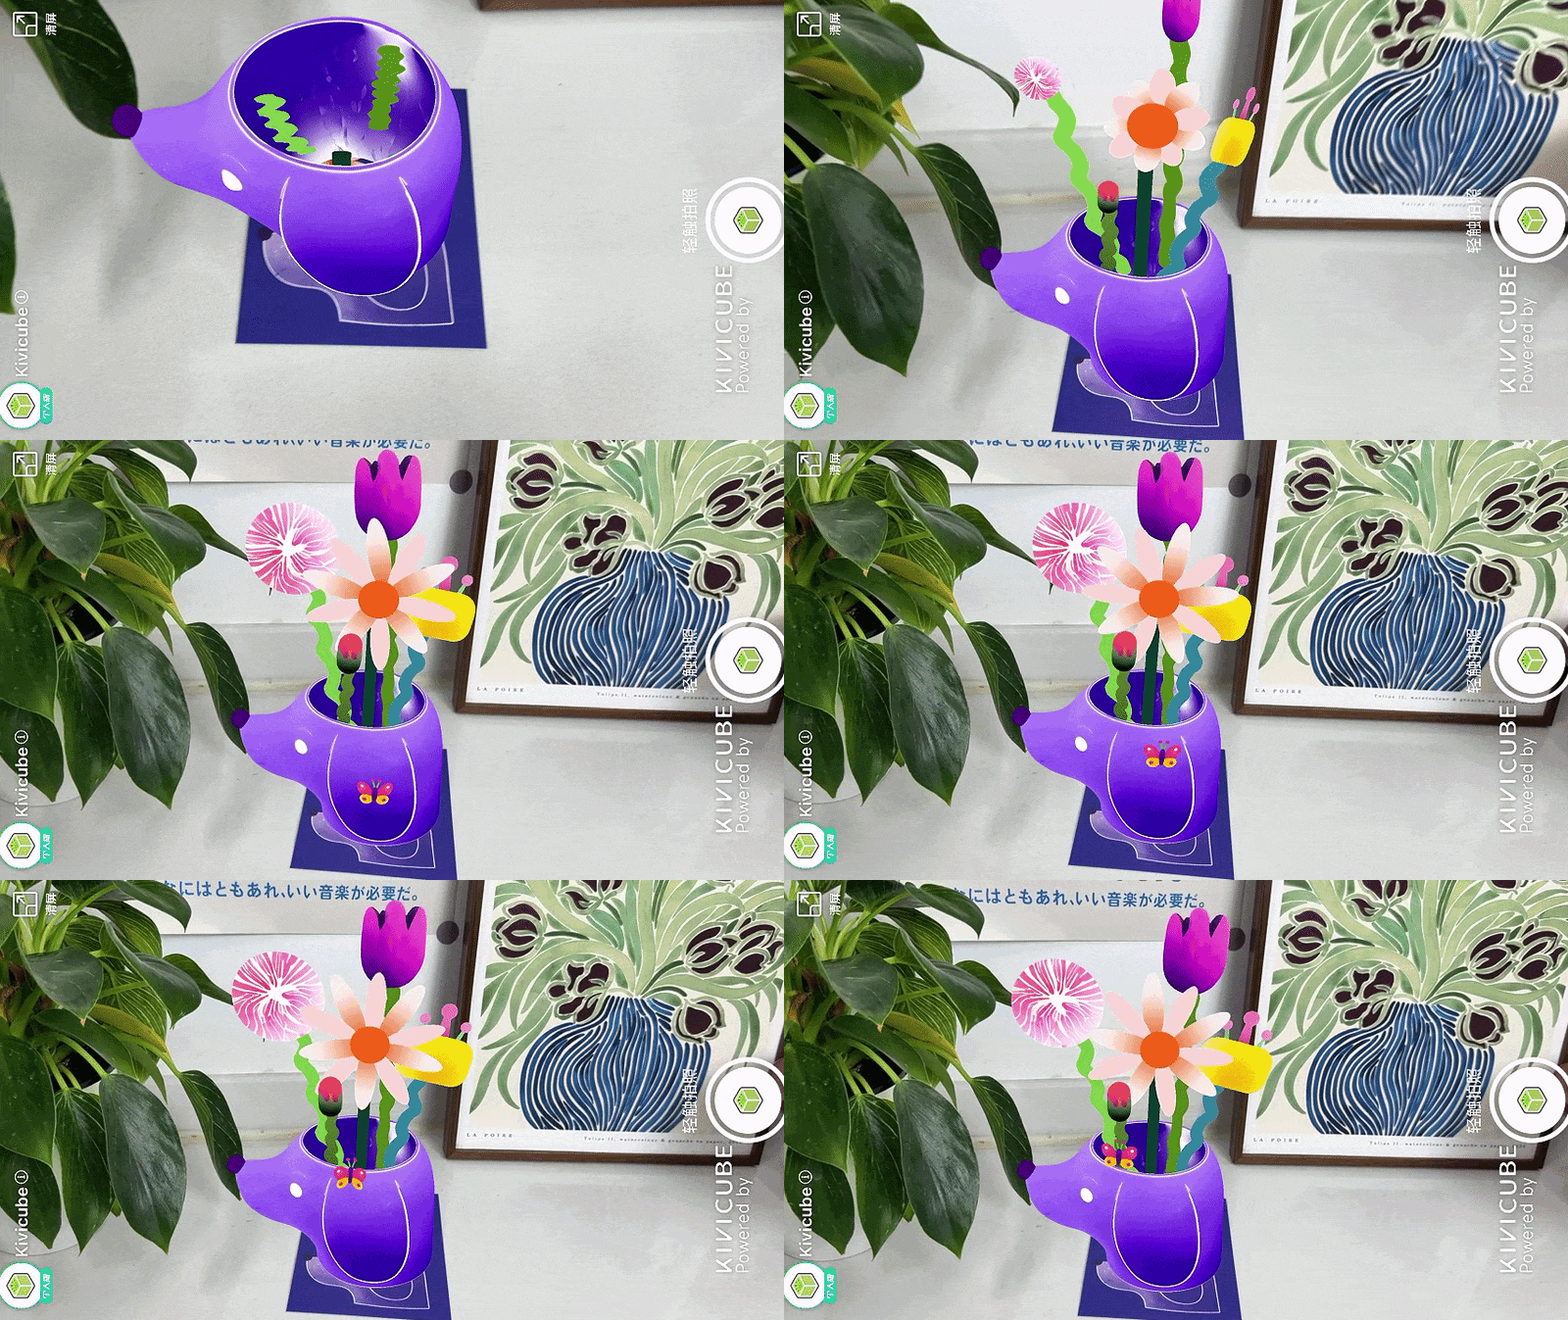
- Deformation and scale control: You can stretch, compress, or reshape your asset by adjusting scale values across keyframes. This brings elastic effects and adds a more dynamic feel to your AR creations.
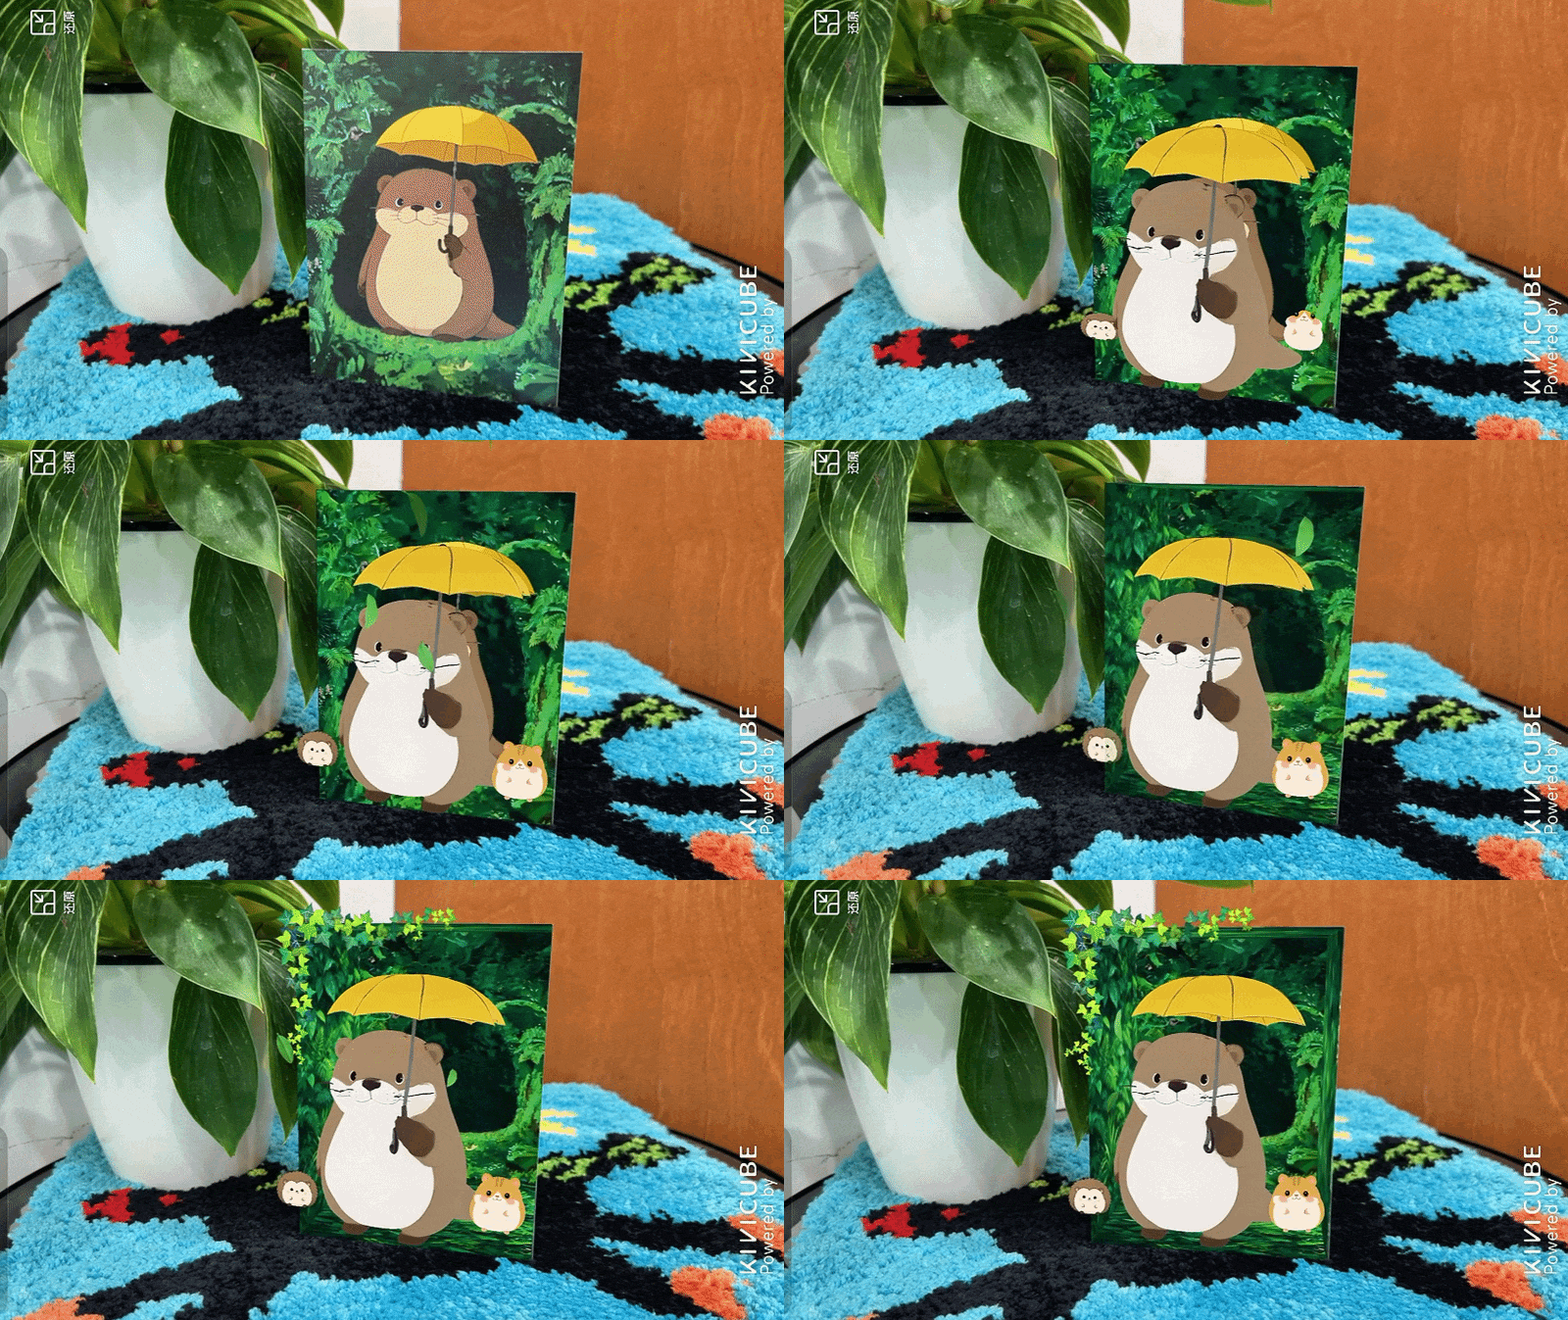
You can also set the duration of each keyframe individually, along with the linear easing that best fits your motion. The best part is, all the above require not a single line of code. Simply drag your object to achieve professional-grade animation.
Kivicube Keyframe Animation Tutorial
Here we will show you how to apply keyframe animation and even scale transformations for a more dynamic effect from scratch. Or you can duplicate a template and start right away.
Step 1. Log in to Kivicube and create a new AR scene.
Step 2. Upload 3D models, images, videos or other assets to the editor.
Step 3. Select the asset you need to animate, and click the "+" icon next to the "Animation" toolbar.
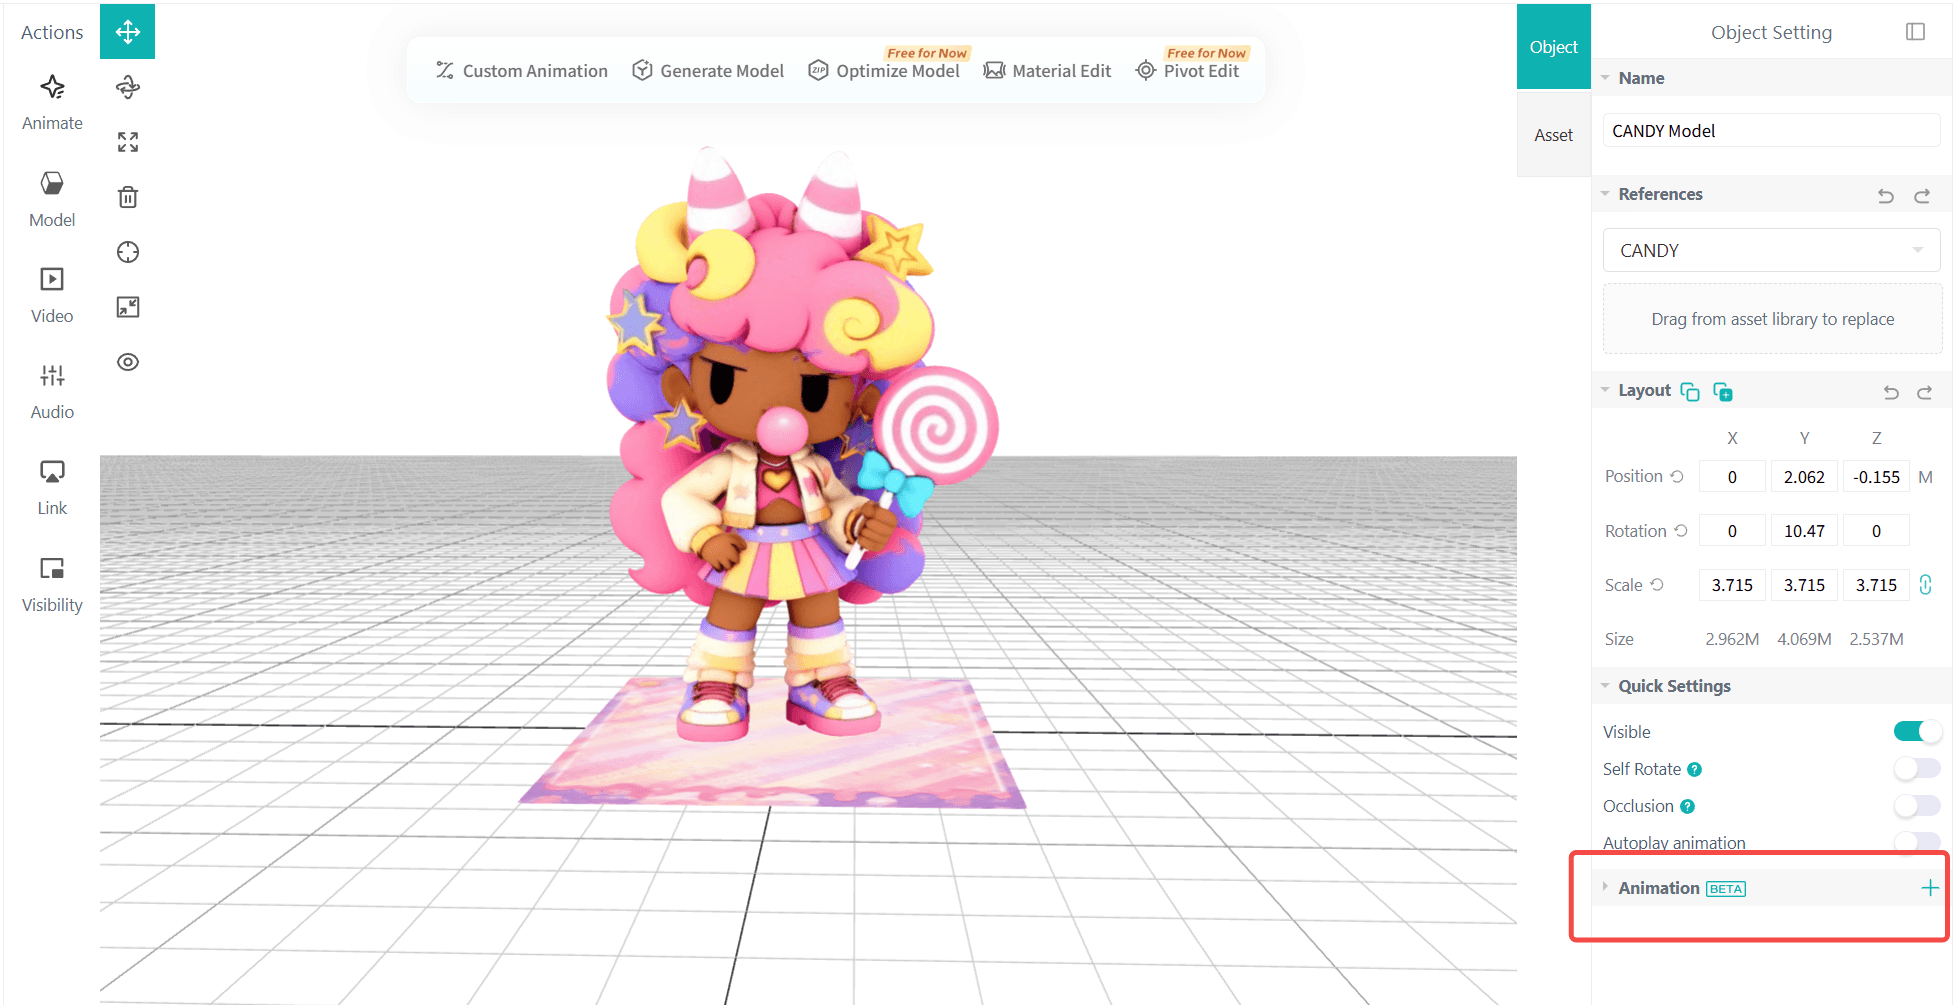
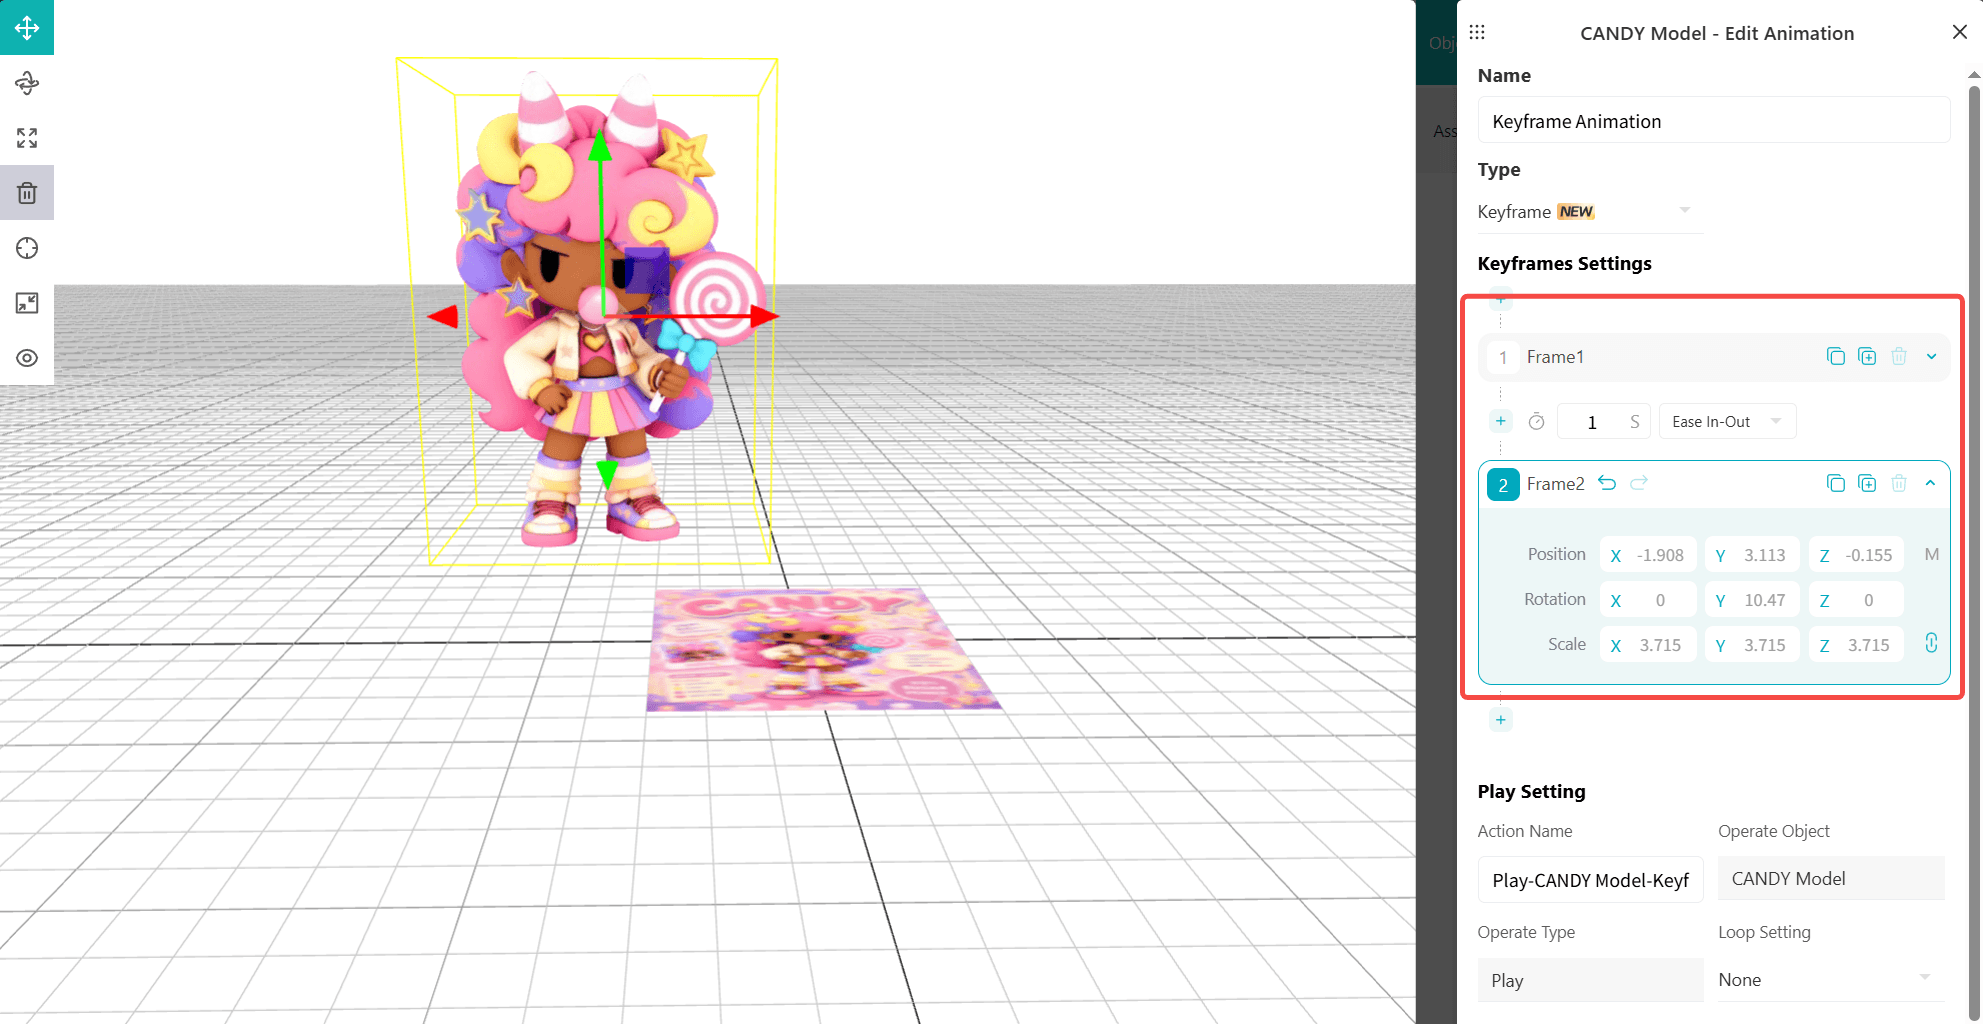
Step 4. Drag your asset to a position and add a keyframe. Move it to another spot and add another one. The motion path is now set. You can also tweak the duration and easing for each keyframe as needed.
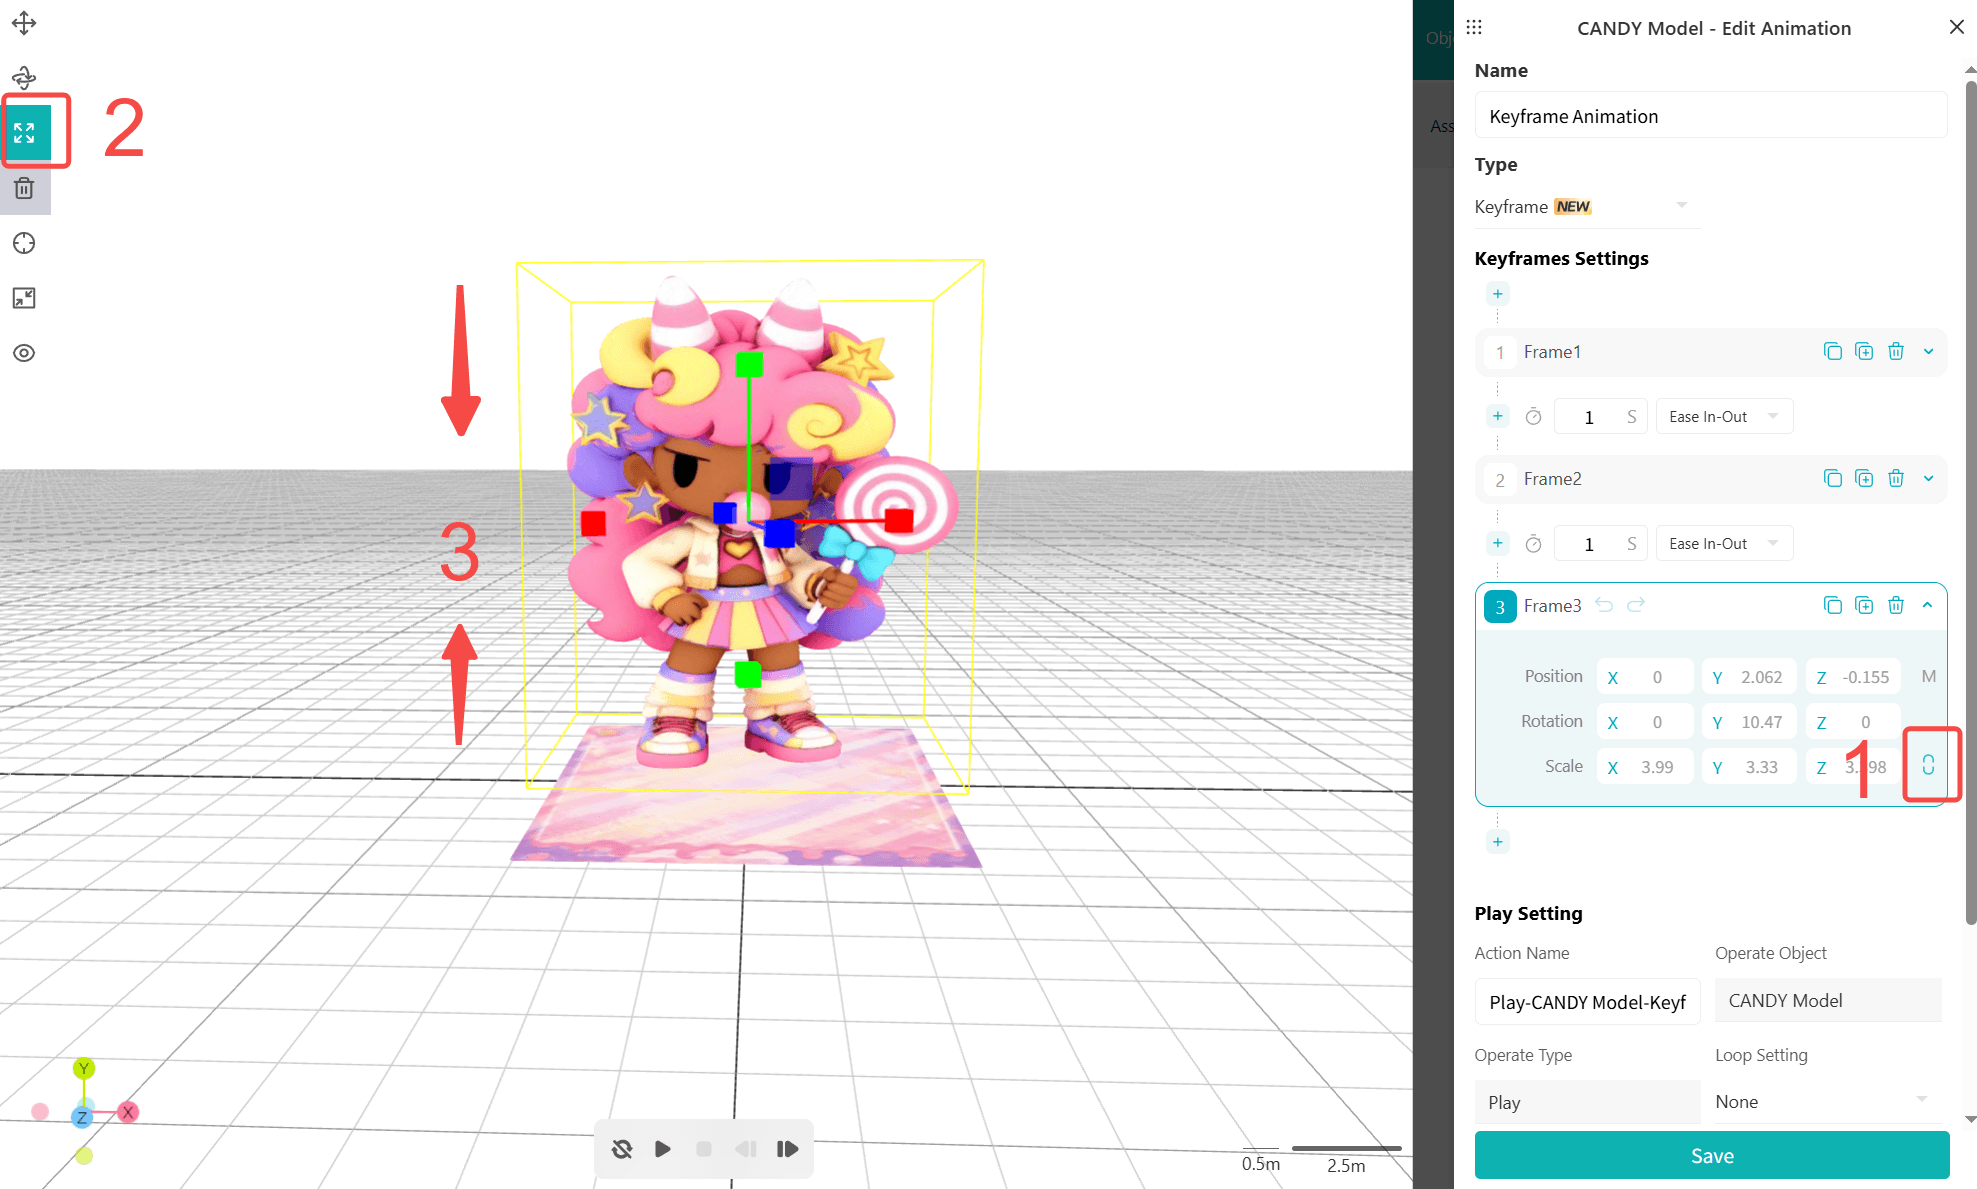
Step 5. Though optional, you can animate the scale to make your asset feel more dynamic. Simply unlock "Scale", switch to the "SCALE" editing mode, and adjust asset size as needed.
Step 6. Add more elements to your AR scene. Publish your creation when finished.
Real-World Use Cases & Values of Keyframe Animation
Keyframe animation is not just about making things move. These expressive motion sequences bring specific values that traditional animations can not deliver.
Dynamic AR Marketing & Advertising
A product can fly in along a curve, and brand logos can appear in a spiral, pause, and then burst outwards. These unconventional paths catch attention instantly and help your AR advertisement stand out easily.
Easy-to-Follow AR Education
Traditional animations are too generic to show step-by-step processes. Keyframe animation solves this by giving educators frame-by-frame control. For example, a biological model can zoom into specific layers in a carefully choreographed sequence, guiding learners' attention to focus on the right place at the right time.
 summer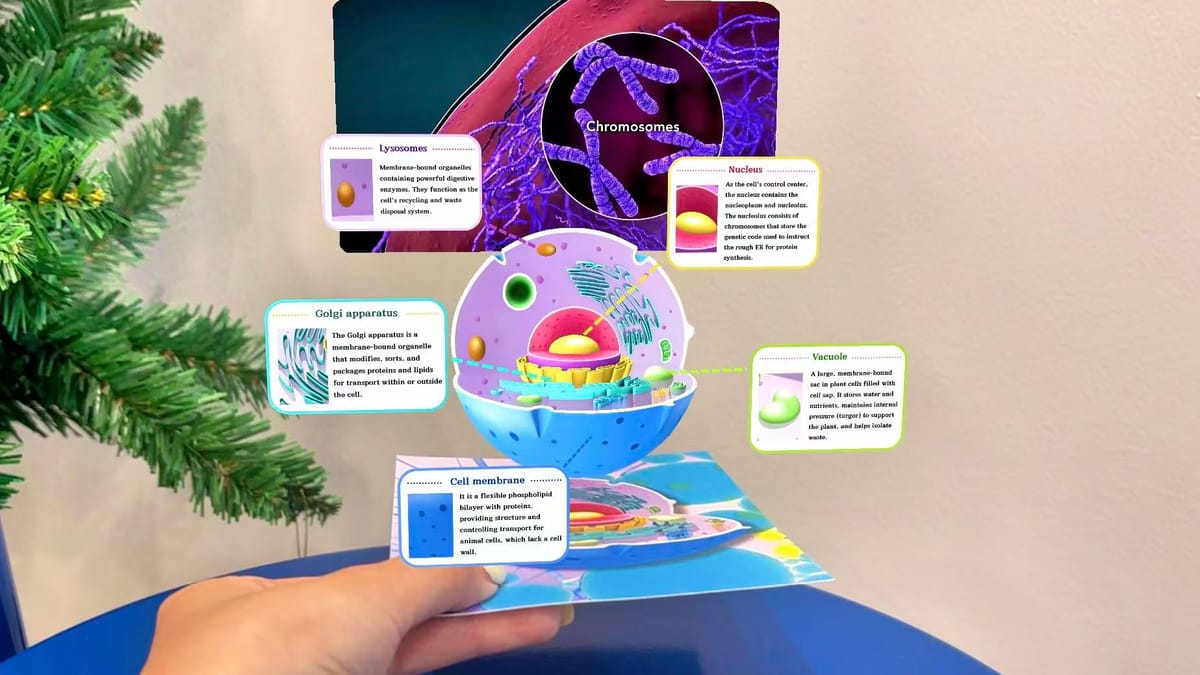
Enhanced AR Game Storytelling
Keyframe animation allows game characters and props to follow complex paths with varied timing and rhythm. For example, a character can walk slowly toward the camera and pause to express your choreographed emotional moments.
Informative AR Tourism & Guided Exploration
Keyframe animation brings a new level of flexibility to AR tourism and exploration. A historical figure can walk alongside a custom path, guiding visitors to specific landmarks at each stop. This creates a more immersive and informative AR tourism experience.
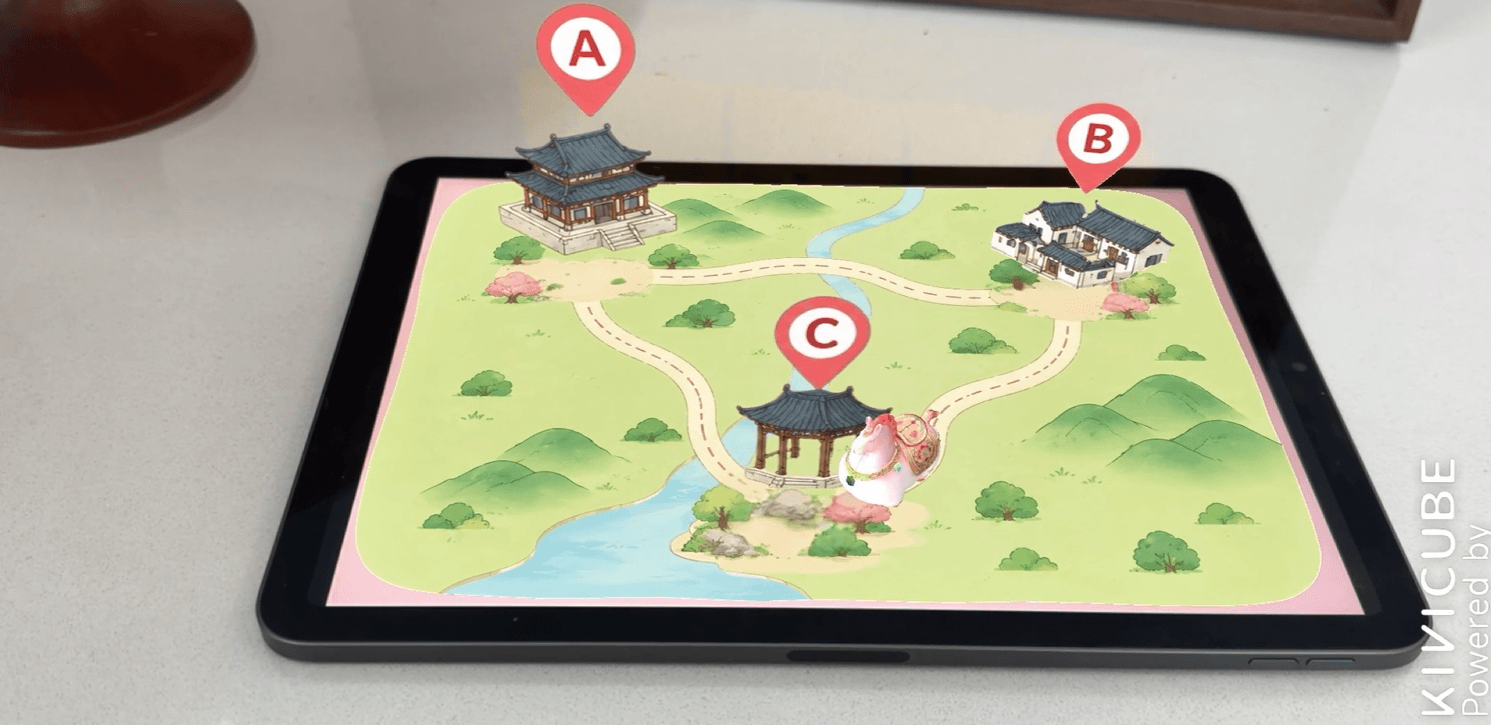
Ultimately, keyframe animation turns commonly moving sequences into something unexpected, allowing a more creative and expressive AR experience. Many more industry-specific use cases are ready for you to discover.
Four More Kivicube Recent Updates
Beyond Keyframe animation, we have also made several other improvements to Kivicube. These updates focus on smarter workflows and more flexibility. Here's a quick look at what else has changed.
1. AI AR Agent
Kivicube has just launched the world's first AI AR Agent, which can help creators generate assets, design layouts, and set interactions through communication with AI. AR Agent update marks a big step forward, allowing anyone to create AR experiences with natural language, further removing barriers for creators of all levels.
2. New Rendering Engine
Both the Scene Editor and Content Editor of Kivicube have introduced a new rendering engine for models called V2. By default, the V1 rendering engine is enabled for your model assets.
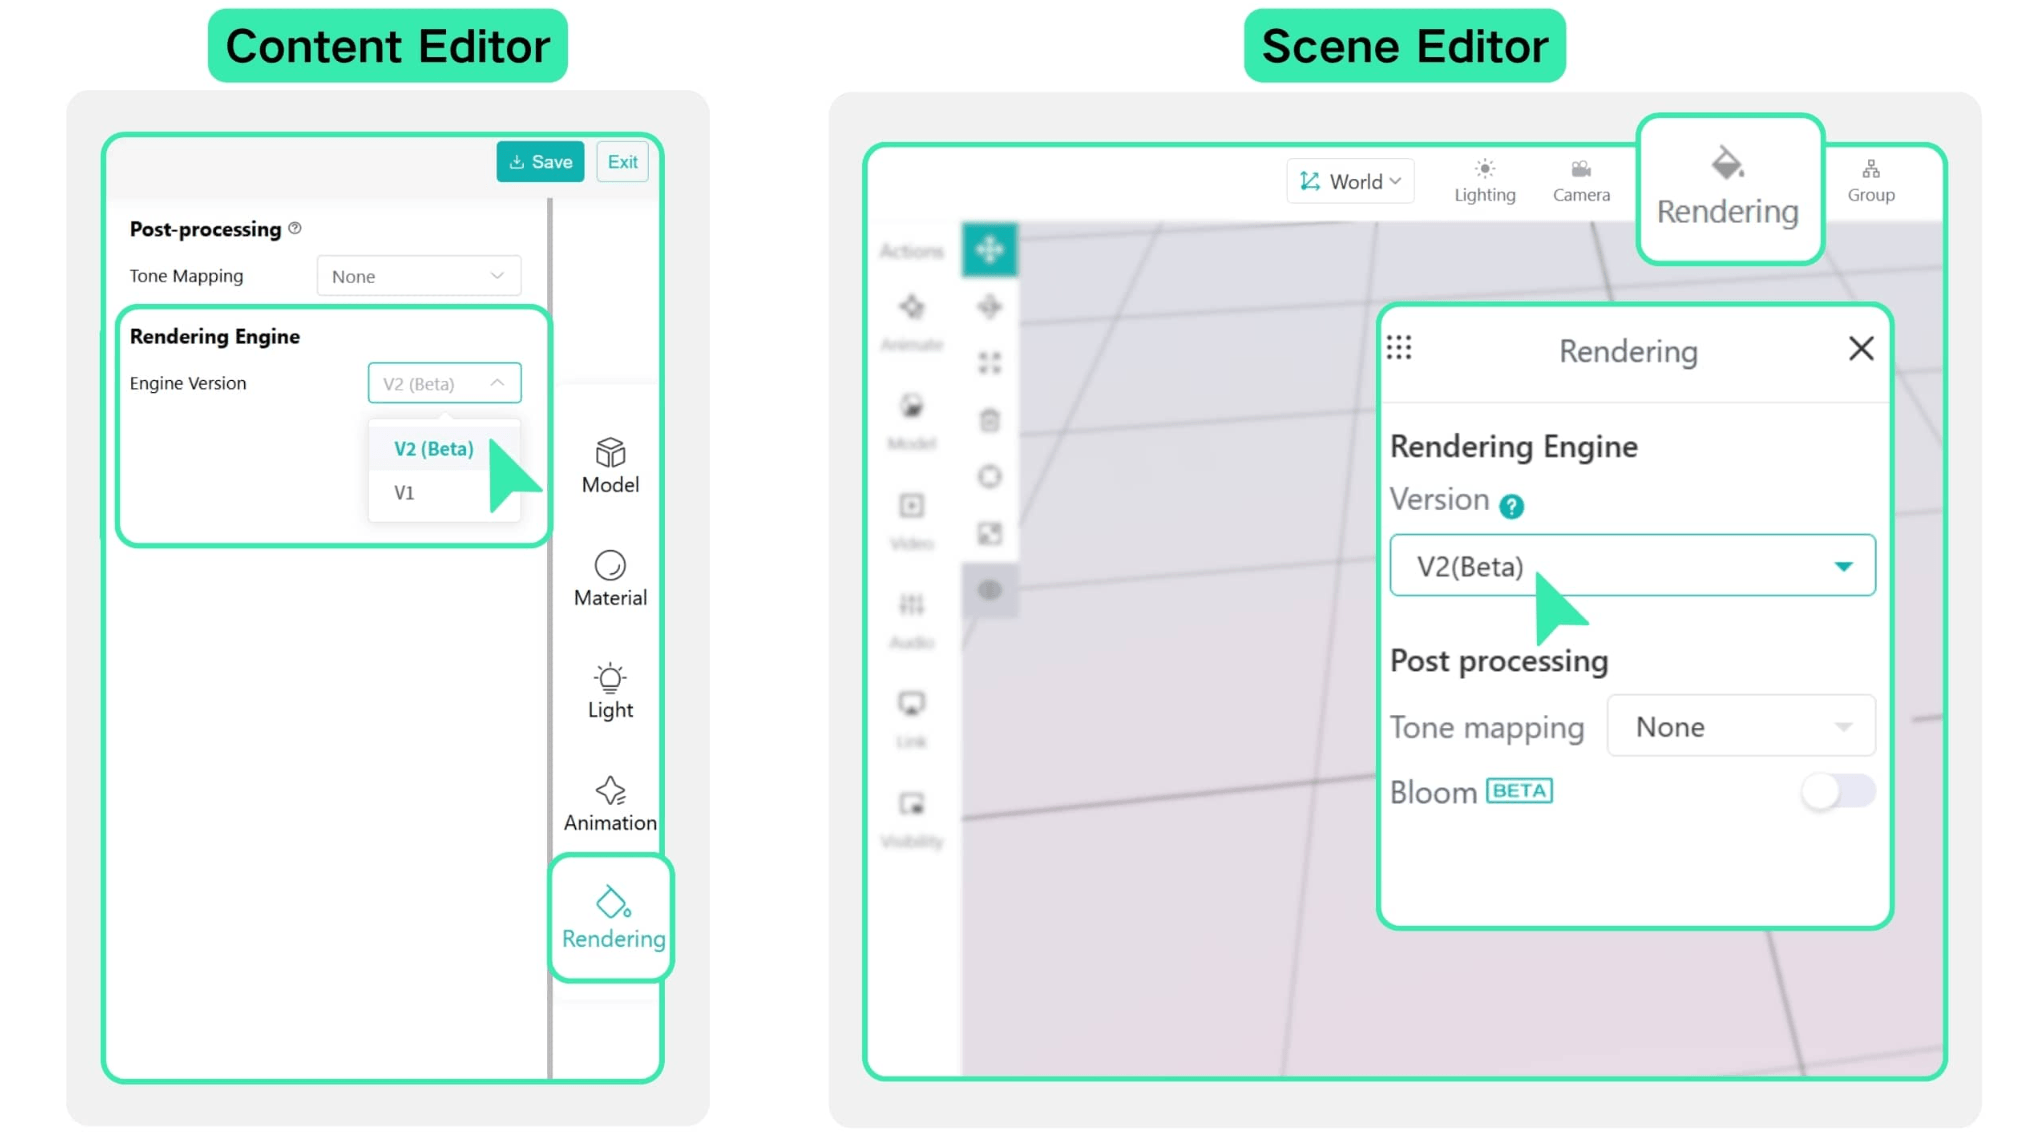
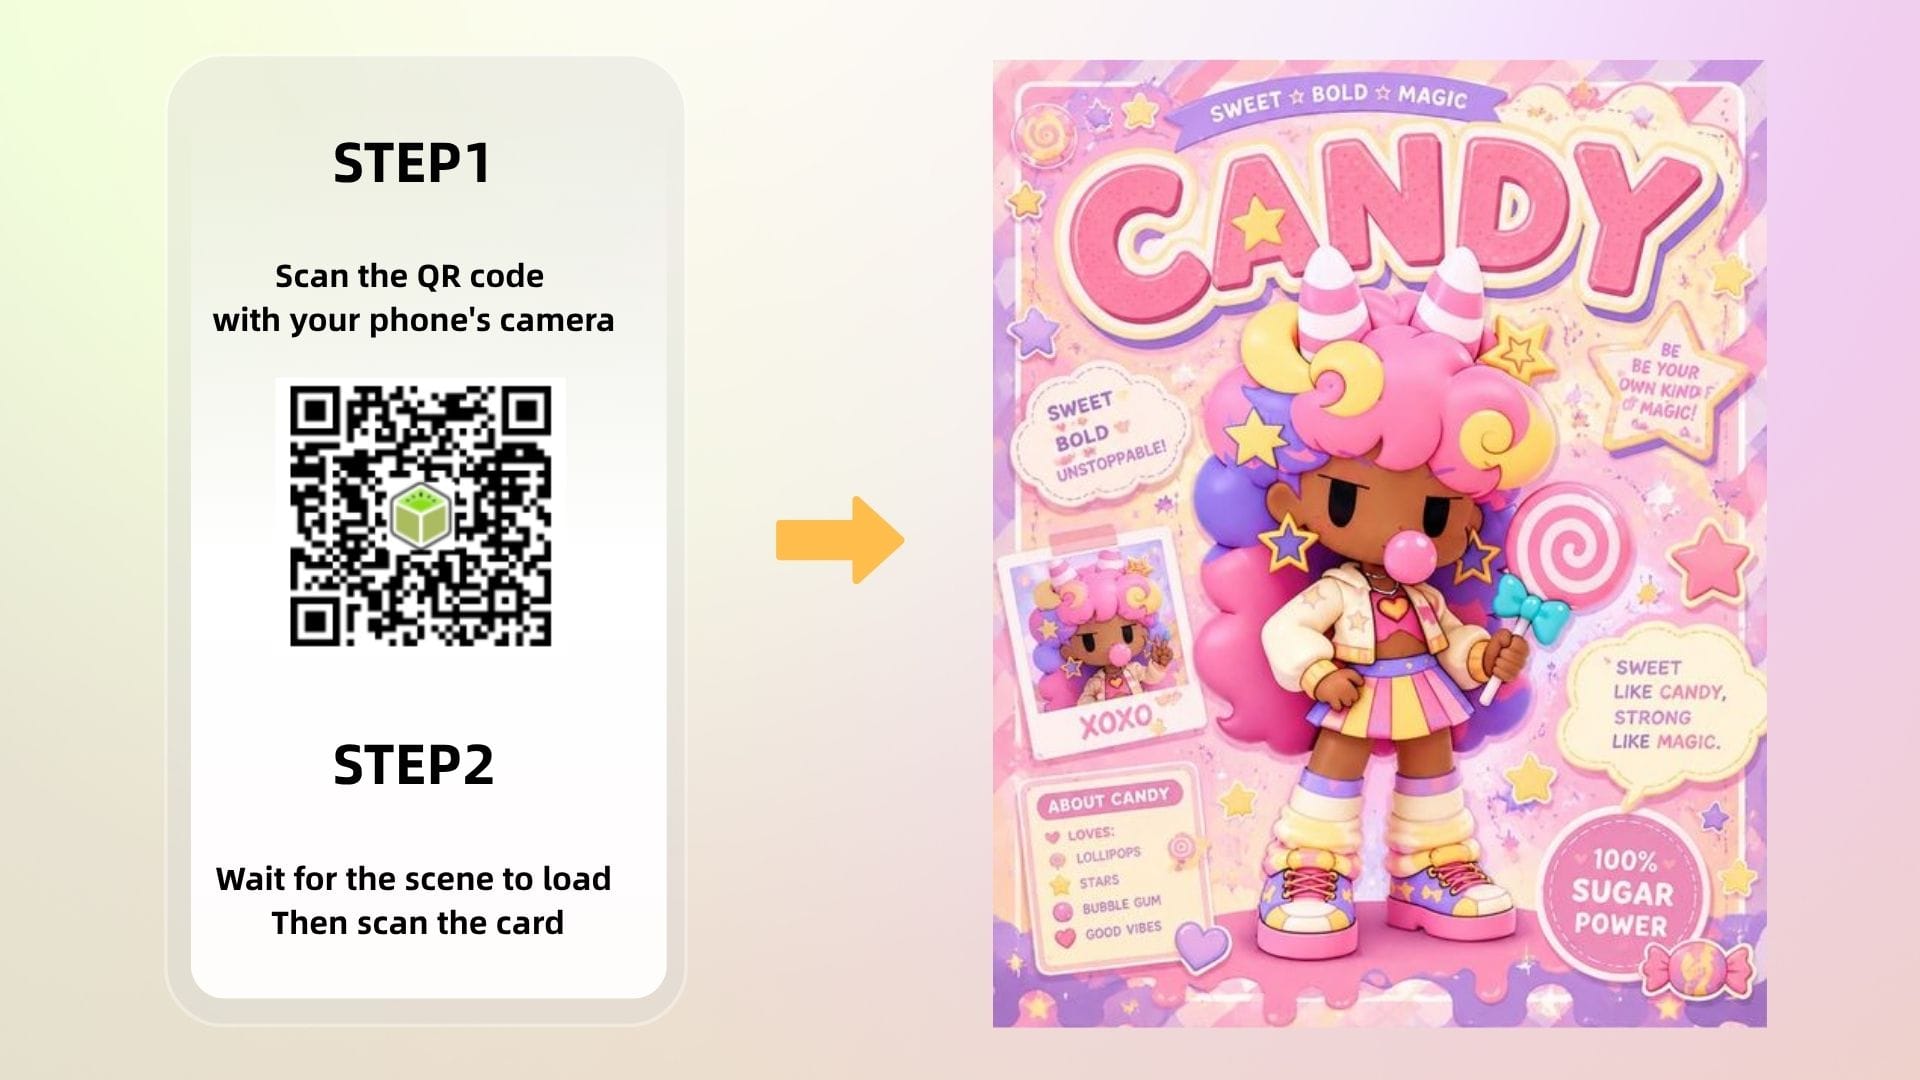
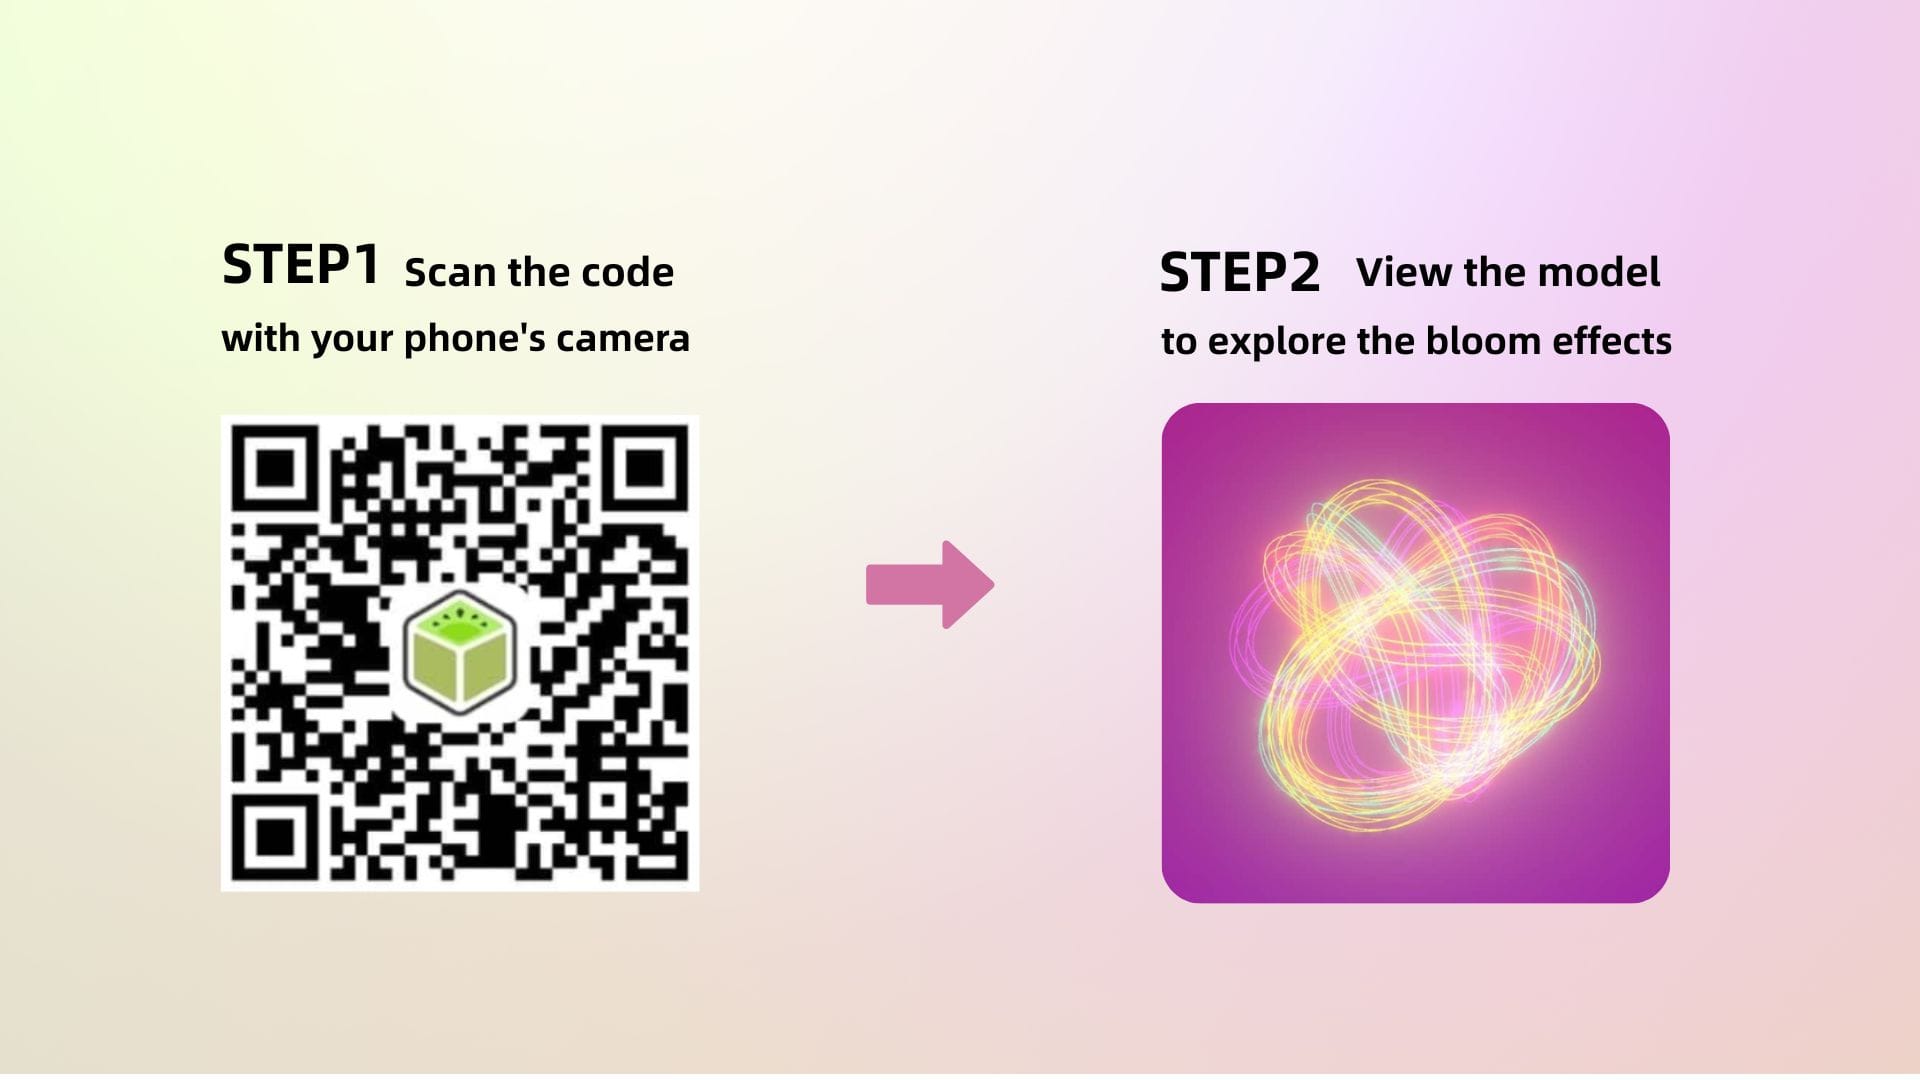
The new rendering engine brings a full suite of rendering effects to your models. You can now apply Bloom for dreamy glow effects, Clearcoat for a glossy, reflective layer, and Transmission for realistic glass and liquid transparency with proper refraction. Scan the QR code below to experience these amazing effects, and explore more samples in our New Rendering Engine User Manual.
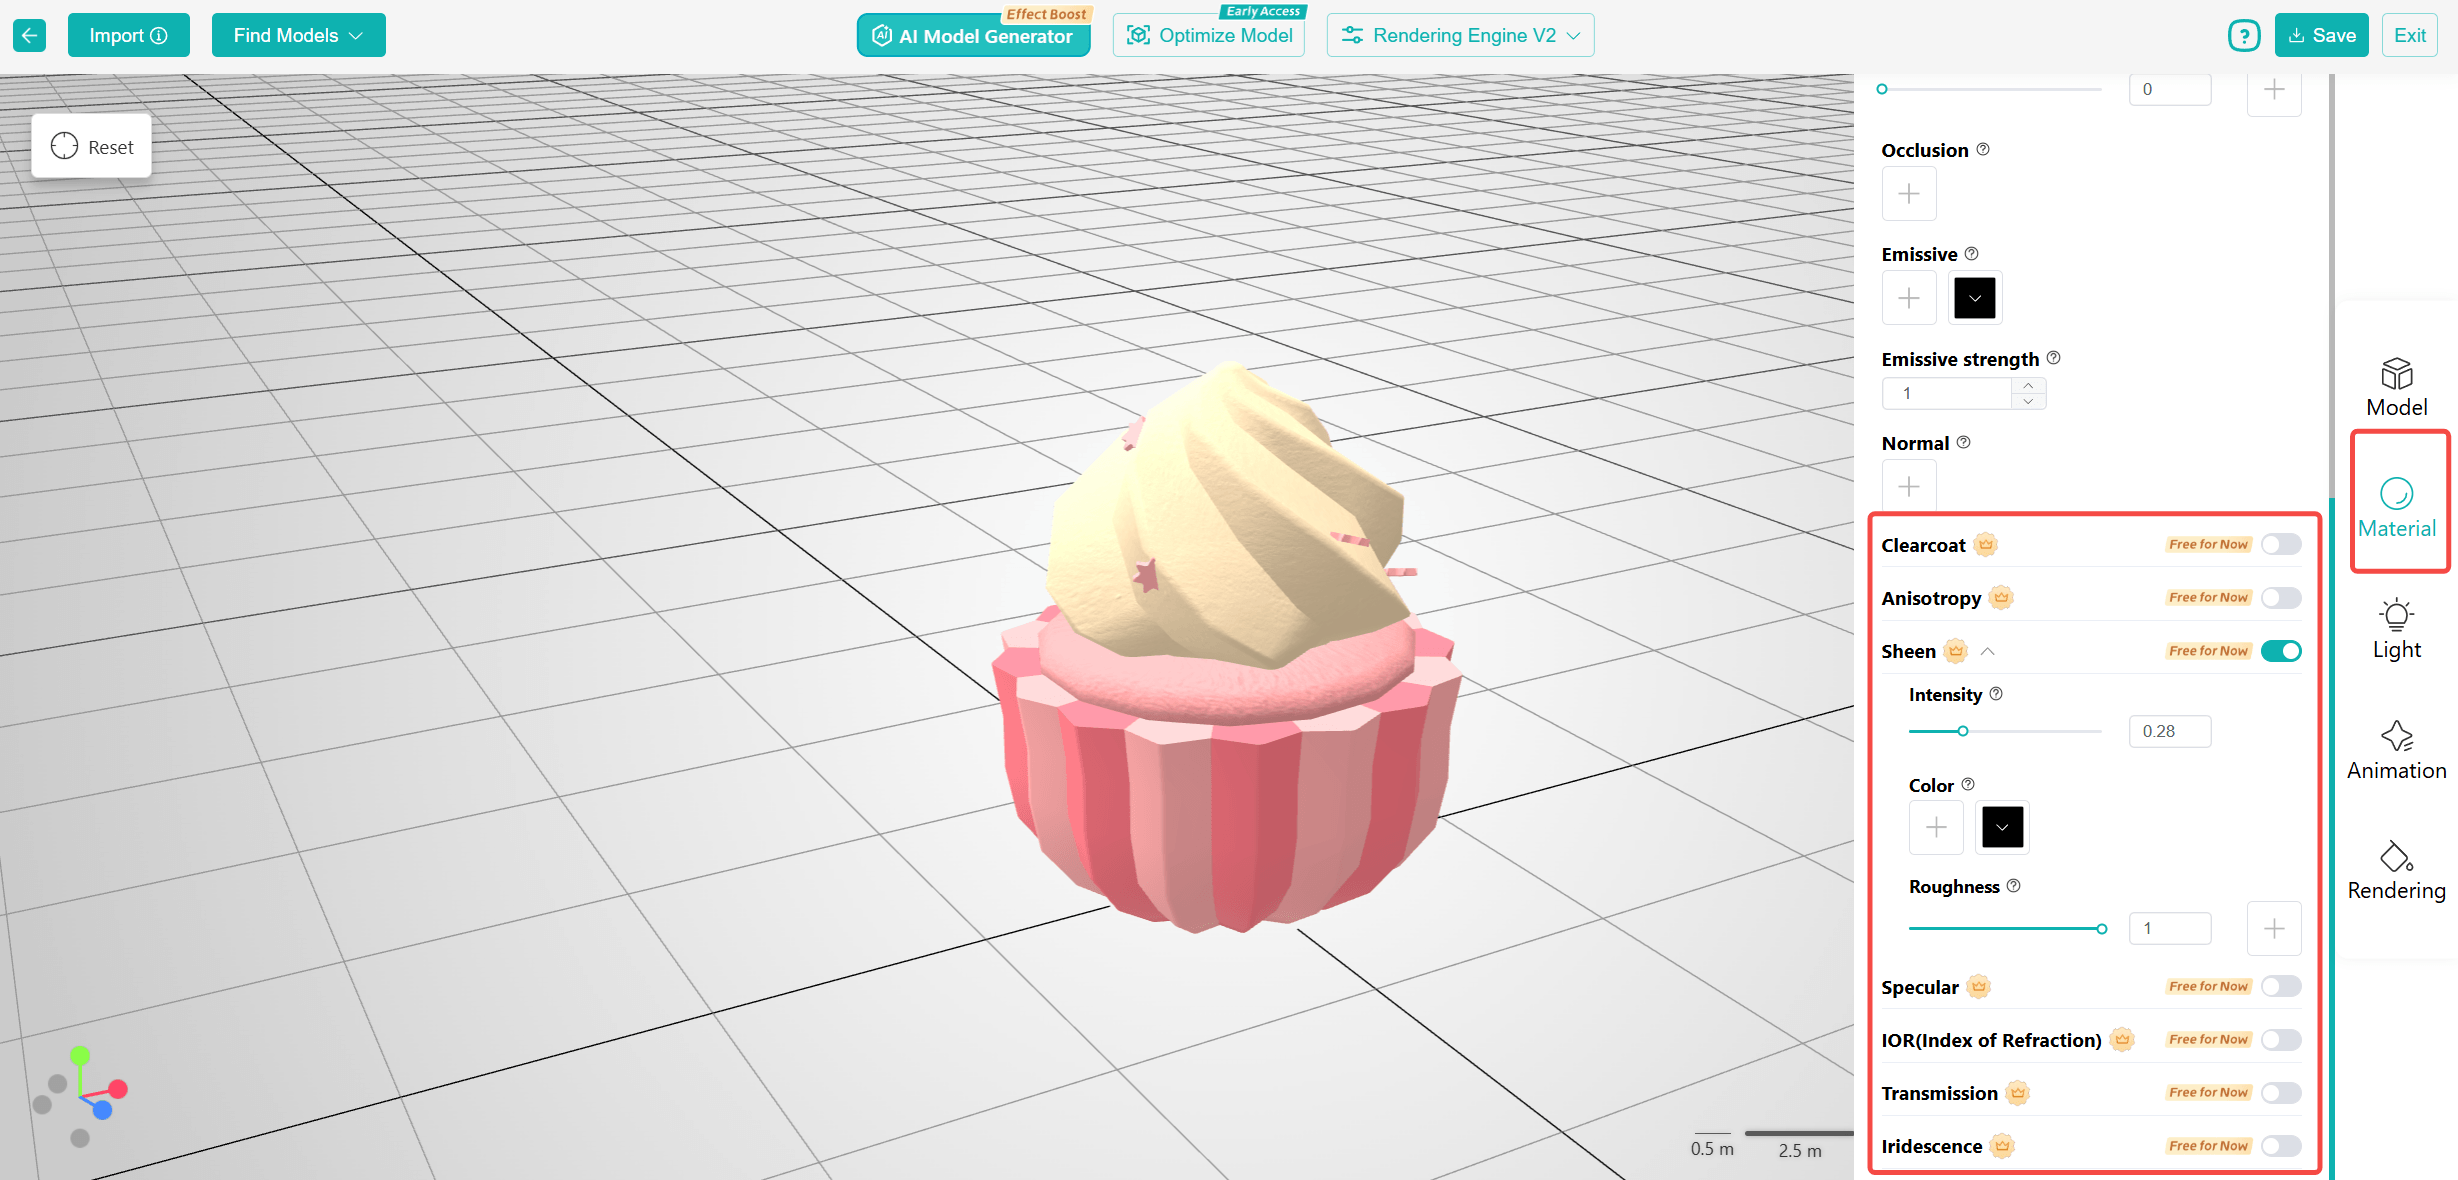
Beyond these three featured effects, you can also adjust Anisotropy, Sheen, Specular, Refractive Index (IOR), and more of your models. Simply import a model, click Material Edit, and fine-tune these parameters within the popped-up Content Editor.
3. More Model Importing Methods Supported
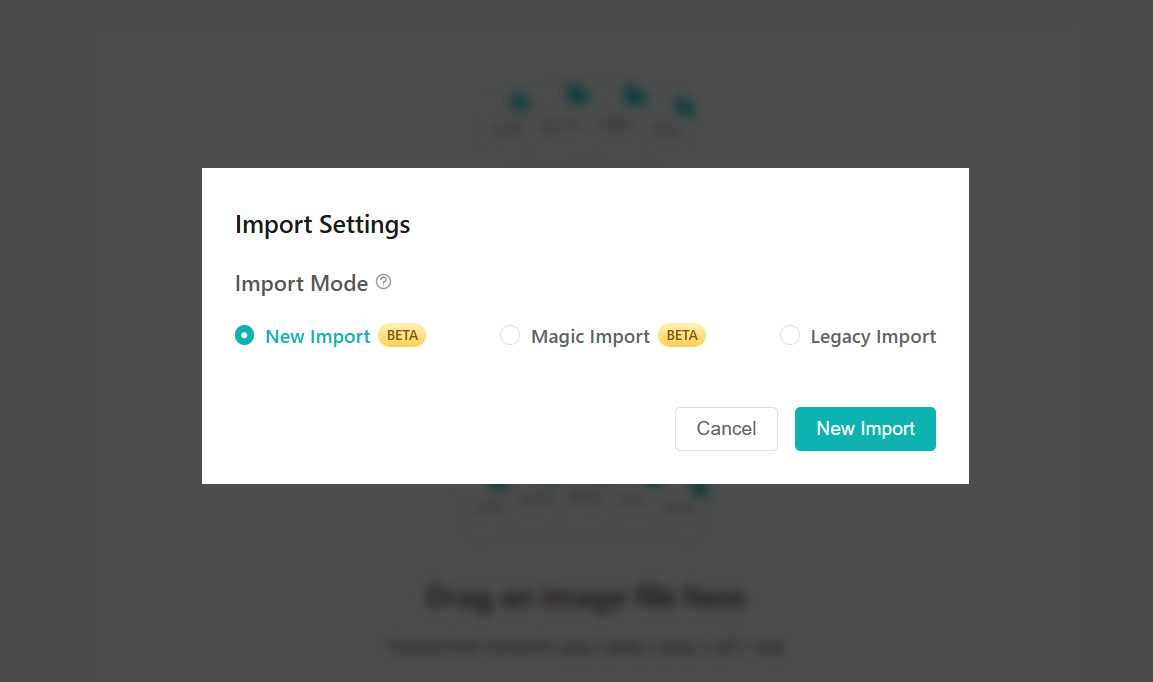
The content editor has now introduced 2 more model importing methods: New Import and Magic Import. They are designed to resolve common issues encountered during handle models and are particularly effective for models exported from Nomad. Click here to view the detailed Model Import User Manual.
4. More Flexible Editor Layout
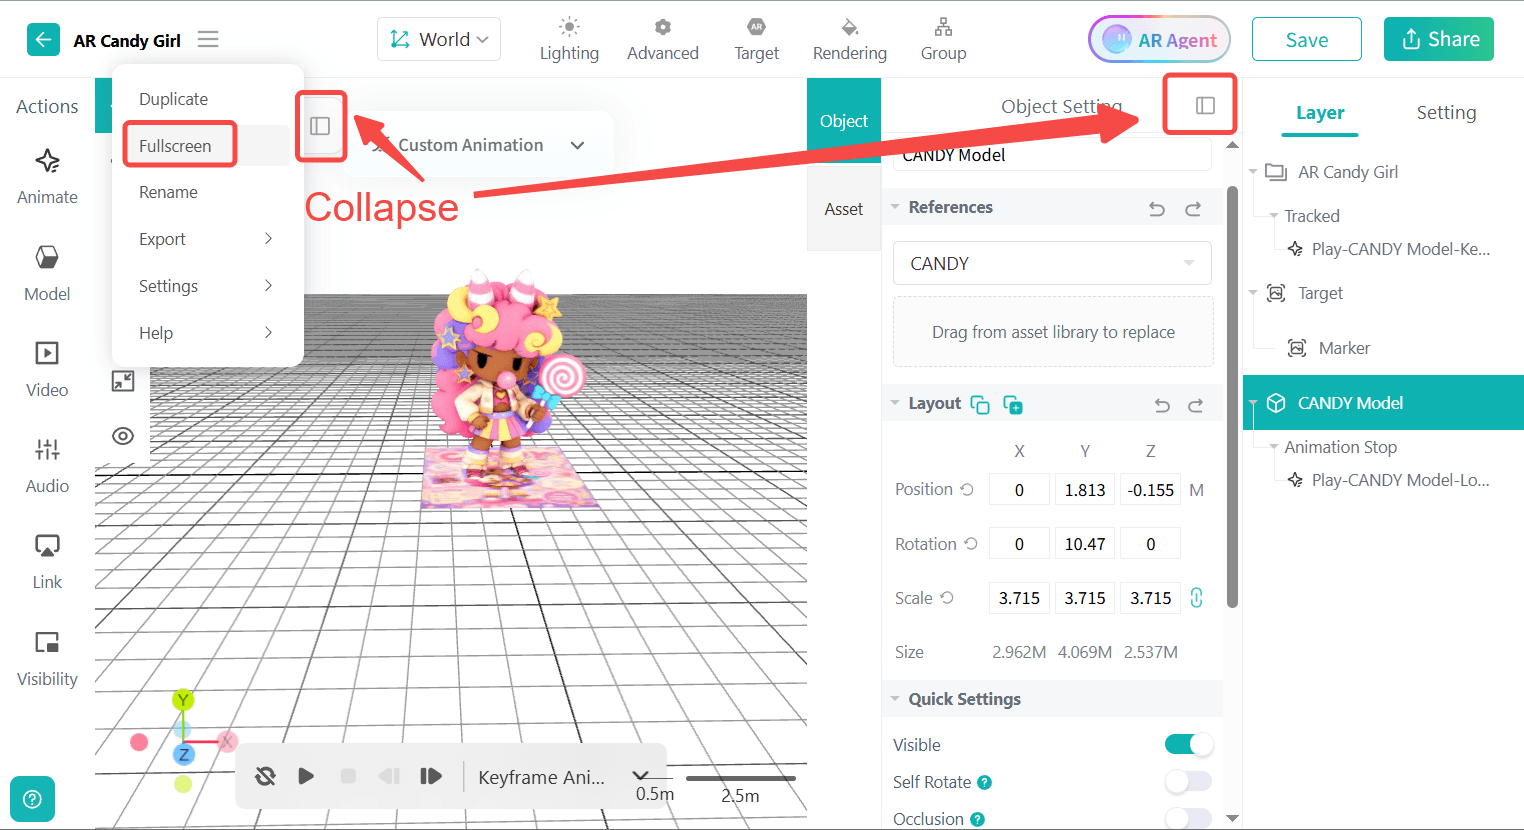
Kivicube has introduced several layout optimizations to the scene editor to provide a more comfortable AR creation experience. On the one hand, the left-hand asset panel and right-hand list can be collapsed at any time, freeing up workspace for your creation. Besides, a drop-down menu button has been added in the top-left corner, allowing full-screen editing.
Conclusion
Keyframe animation marks a significant step forward for Kivicube. You can now design every movement freely and precisely. From dynamic ads to immersive education, keyframe animation has unlocked endless possibilities while maintaining easy drag-and-drop editing. This update is just one of many to come. Kivicube keeps evolving and advancing to deliver the best AR experience.
FAQs
Is Keyframe Animation Hard?
Not at all. Kivicube makes keyframe animation easy and intuitive. You simply select the asset you want to animate, drag it to the target spots, and add keyframes for each postion. The asset will then move smoothly along the trace you set. The entire workflow is visual and does not require any technical background.
Does Keyframe Animation Require Any Coding?
No. Kivicube is a WebAR platform that requires zero coding knowledge from building to publishing. From importing assets, arranging positions, designing interactions and animations, to publishing, sharing, and experiencing, all operations are performed visually. This no-coding WebAR experience makes professional-grade AR and animation accessible to marketers, educators, and anyone else like you and me.
What Types of Assets Can I Add Keyframe Animation To?
Keyframe Animation works across 3D models, images, and video assets. There is no restriction based on asset format, so you can mix and match different asset types with full keyframe motion control.
Can I Use Keyframe Animation Together with Preset Animations?
Yes. Keyframe animation can be used alongside the previous animation options you've seen on Kivicube before. For example, you can let your asset move along a "Z" path and make it blink and swing at the same time. The two animation systems work together to unlock more flexibility without conflict.