English
Appearance
Welcome to Kivicube, your first AR creation platform!
In this guide, we will provide a foundational overview of the scene types supported by Kivicube, explore our key feature modules, and walk you through how to quickly build your first AR experience from scratch.
Contents:
Kivicube offers a free registration plan, allowing you to start creating and publishing your AR concepts immediately at no cost.
Every free account includes the ability to maintain up to 2 active AR scenes, access to our cloud storage (limited time offer), and a quota of 20,000 views per year. Additionally, free users can unlock the full suite of AR scene types supported by the Kivicube platform.
- Create your free account here
- Need more features? For advanced capabilities or commercial use, explore our premium plans here.
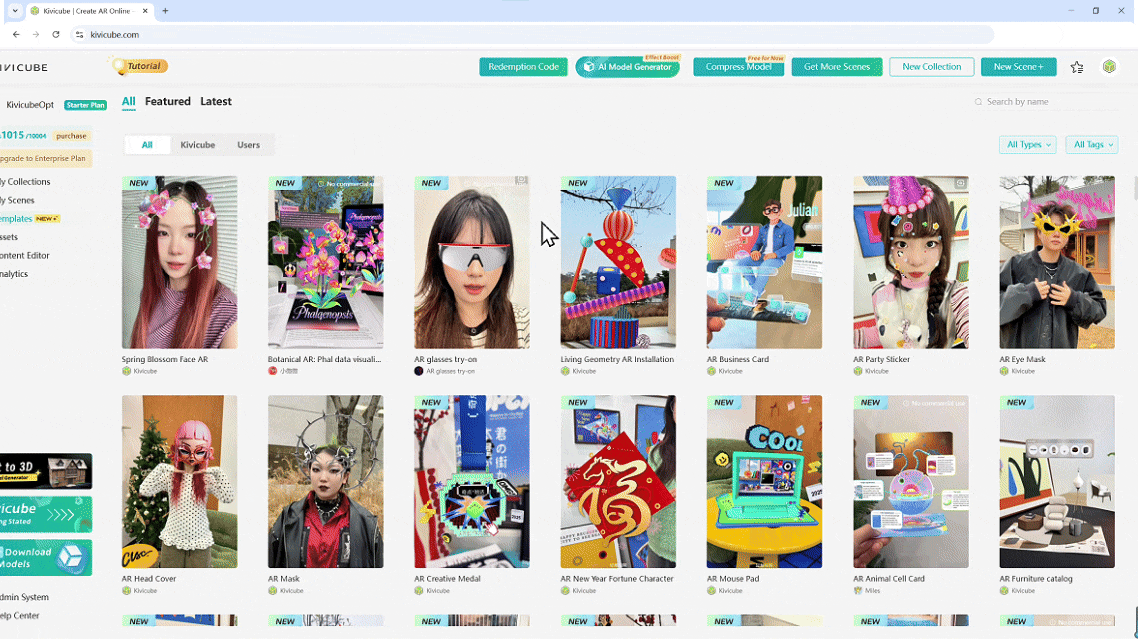
Sign in to enter your Kivicube Dashboard. From here, you can dive into our curated Template Library or take full control of the collections and scenes you’ve created.
Explore a vast library of AR templates tailored for every industry. Use keyword search or tag filters to find exactly what you need in seconds. You can preview live scenes, follow the step-by-step video tutorials, or jump straight into the editor. By simply swapping out assets, you can go from a blank canvas to a professional AR project in under 5 minutes.
While we will not cover the detailed usage of templates in this guide, you can find a comprehensive video tutorial here: Kivicube Template Tutorial
Want more creative freedom? You can skip the templates and start with a blank canvas. Choose from any of Kivicube's supported AR scene types in the Console to build your custom experience from the ground up.
Effortlessly overlay AR content on 2D targets like packaging and print. Deliver stable, lifelike experiences that bridge the gap between physical media and digital engagement. Ideal for brand activations, digital lookbooks, and interactive posters.
Leverage precision body-tracking technology to power seamless virtual try-on and fitting experiences. From digital fashion showcases and interactive body filters to hyper-realistic avatars and virtual runways, our engine empowers brands to redefine digital expression across social media and e-commerce.
Facial AR tracking enables hats, glasses, helmets, and digital stickers to seamlessly contour to the face in real-time. By creating engaging filters and interactive effects, it is widely used across social media, brand marketing, live streaming, virtual try-ons, and experiential events.
Powered by gyroscope positioning and real-time cloud image recognition, users can instantly unlock AR experiences simply by scanning a 2D image. This technology is the perfect fit for brand storytelling, interactive retail, immersive exhibitions, and educational tools.
Surface AR allows digital content to be precisely anchored to any horizontal or vertical surface, such as floors, tabletops, or walls. This technology is ideal for virtual home staging, retail displays, mall installations, tourism wayfinding, and interactive art exhibits.
Walk-in AR allows digital content to be placed directly into your environment without the need for surface detection. Users can freely walk through or move around virtual objects for a truly 360-degree view. This is the ultimate tool for digital marketing, interactive storefronts, immersive tourism, and virtual set design.
Bring cityscapes and art to life with Advanced Object Tracking. Our technology precisely identifies large-scale physical assets to trigger localized AR experiences. With realistic occlusion effects, virtual elements interact naturally with the environment—perfect for interactive tourism, "Instagrammable" city spots, and immersive spatial storytelling.
Landmark AR utilizes advanced architectural recognition to precisely anchor rich AR environments around iconic real-world buildings. By turning entire cityscapes into digital canvases, it is the ideal solution for cultural tourism, urban "Instagrammable" landmarks, immersive site-specific interactions, and destination marketing.
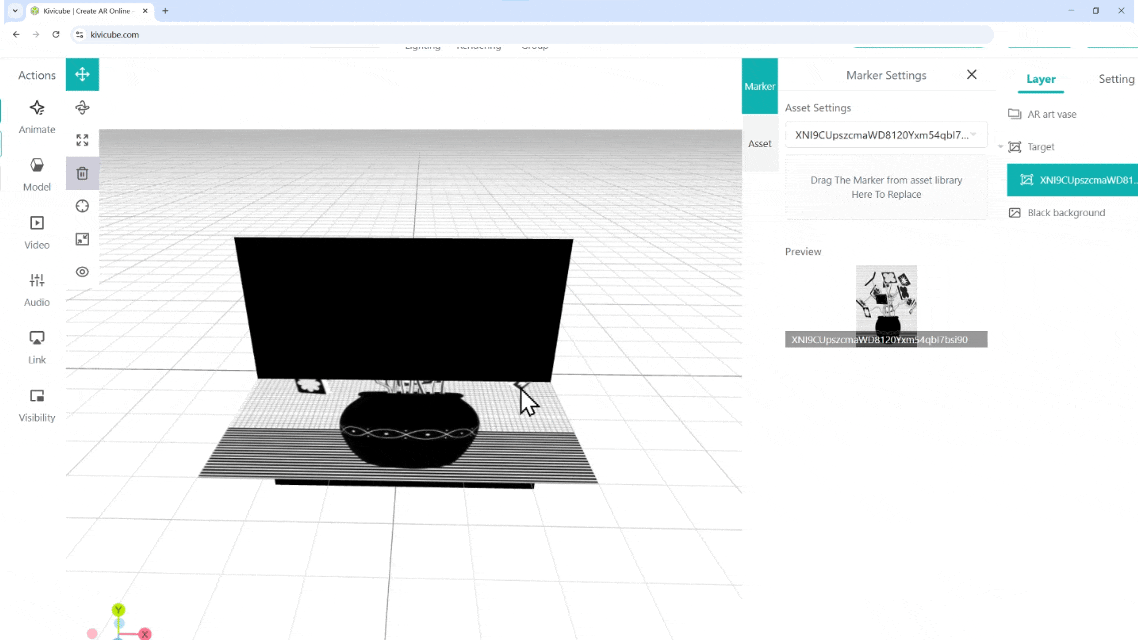
Creating a New AR Scene Once you’ve decided on the type of AR experience you want to build, it’s time to start creating your content.Using Image AR as an example:

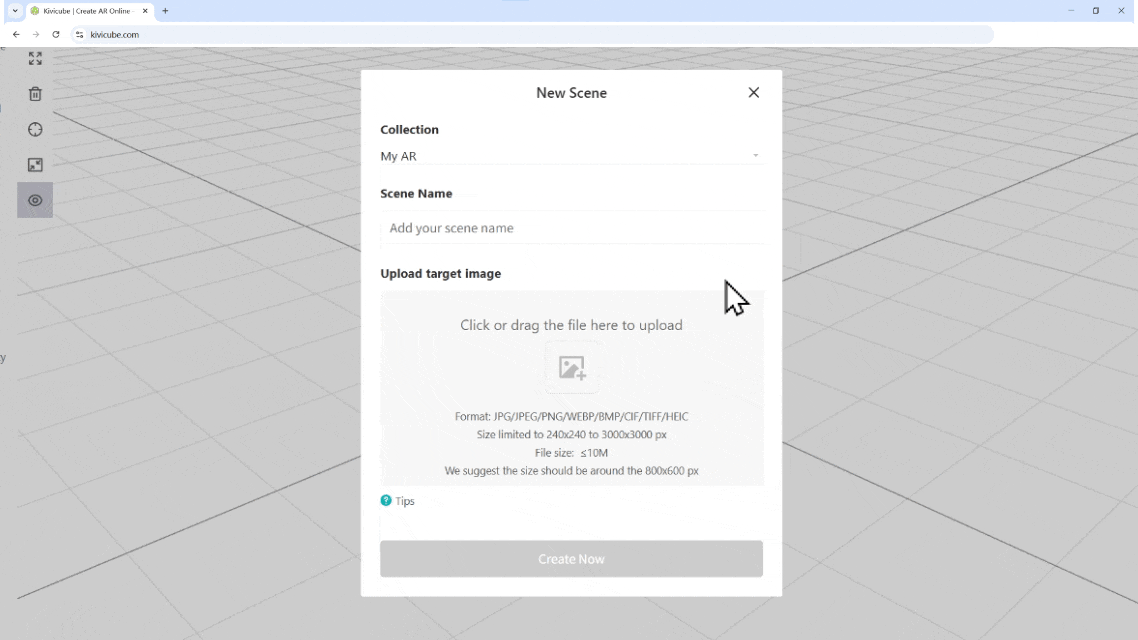
Pro Tip: The stability of your AR depends entirely on your target image. To keep your experience smooth, try to pick images that are rich in detail and color. For more technical specifics, check out the Image AR Specification Guidehere.
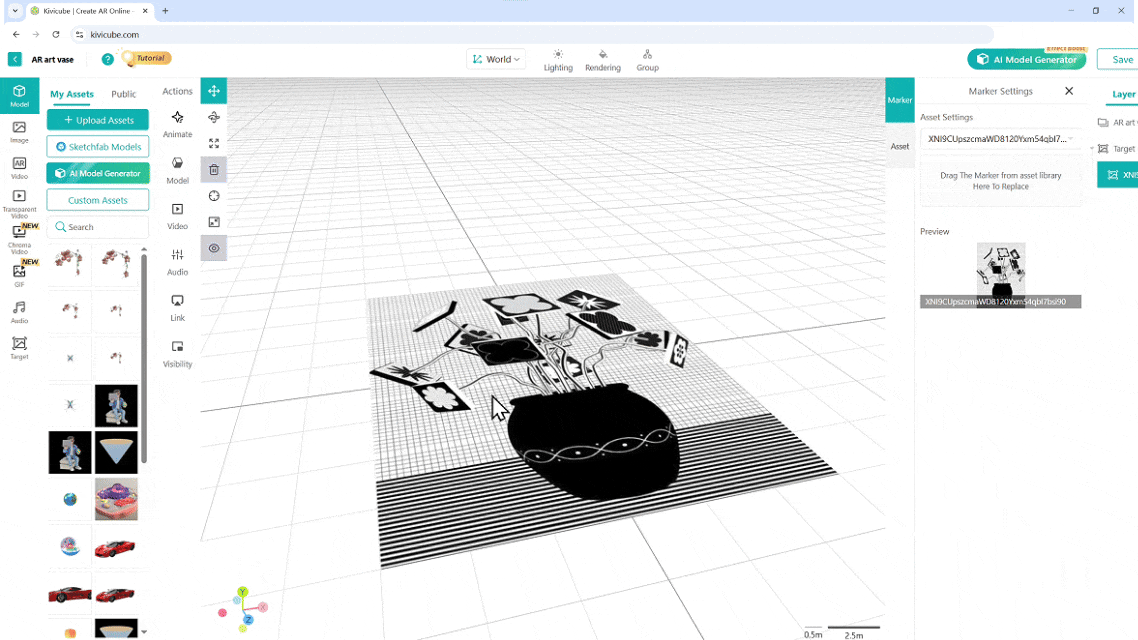
On the left panel of the Scene Editor, you can upload your own files—including 3D models, images, and videos or browse our Public Library for ready-to-use assets.
New to 3D modeling? No problem. You can quickly find models through "Public Assets," "Free Model Import," and your "Custom Library."
Additionally, you can use our built-in AI Model Generator to generate the assets you need with a single click via Text-to-3D or Image-to-3D.
.BwefiHL8.gif)
Once your assets are uploaded, simply drag and drop them onto the grid area to display them in your AR scene.
Pro Tip: This applies to audio files as well—don’t forget to drag them into the grid to activate them!
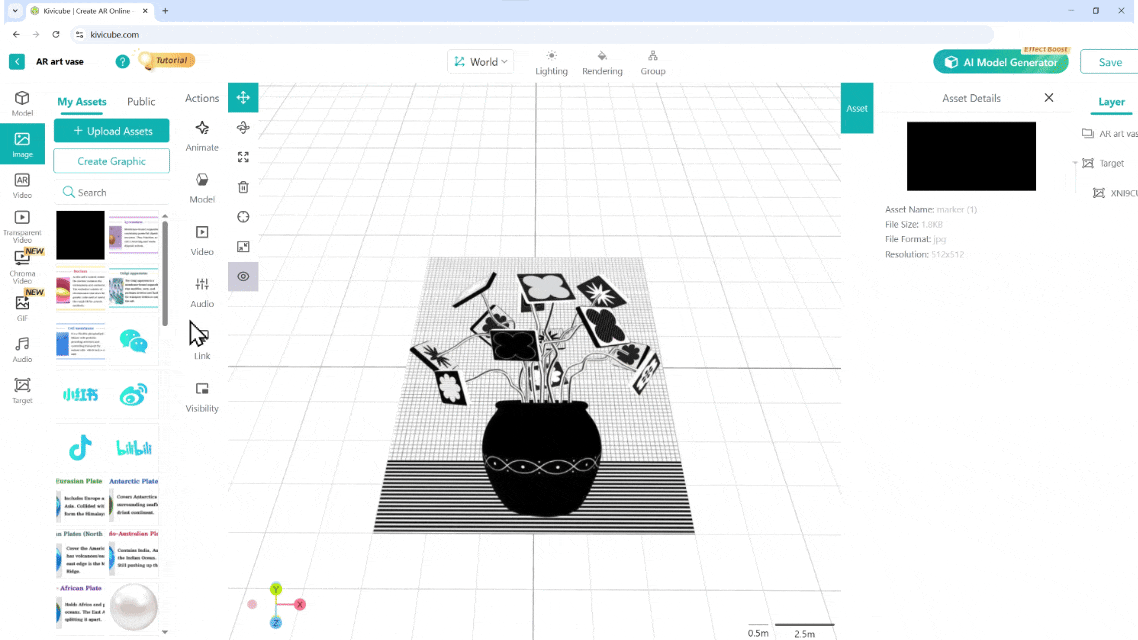
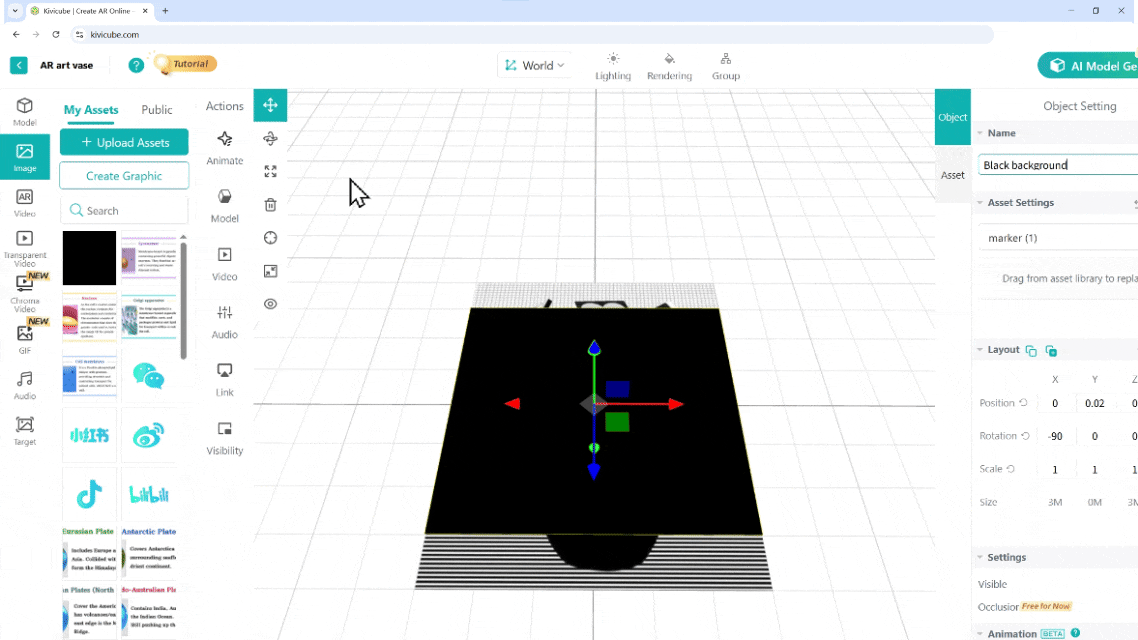
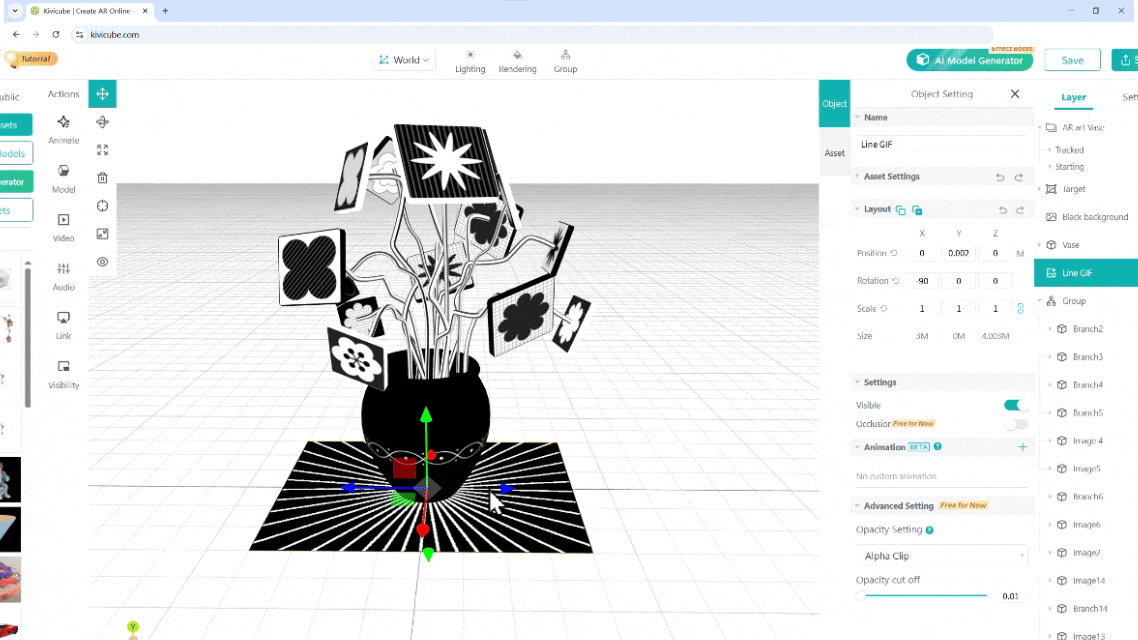
We recommend selecting your asset and renaming it under "Object Settings - Object Name." Keeping your workspace organized makes it much easier to manage complex scenes later on.
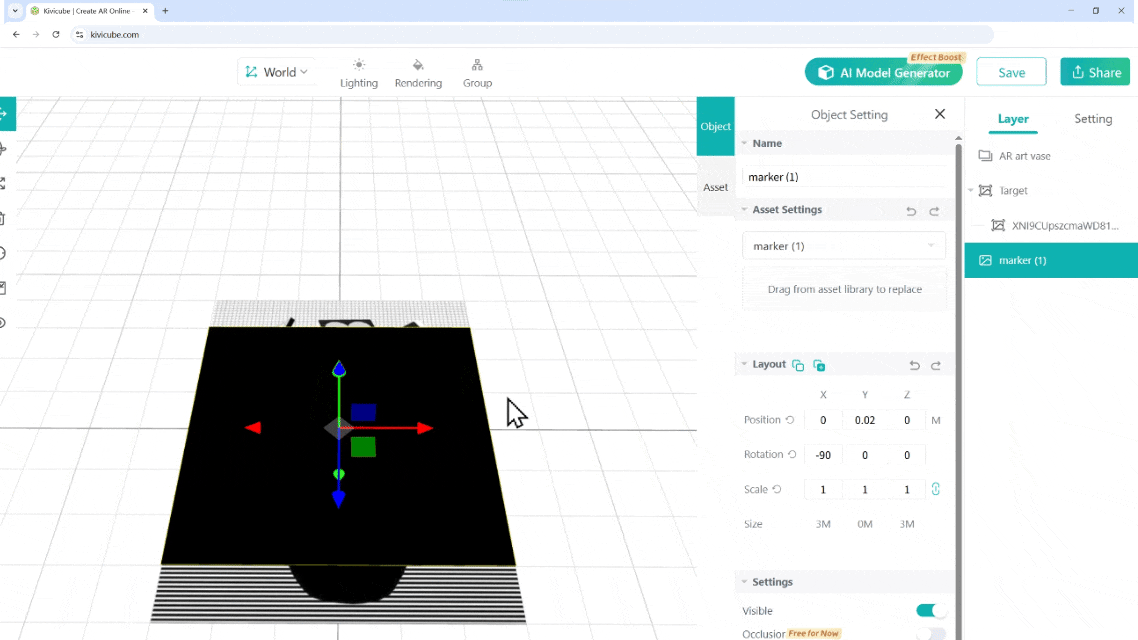
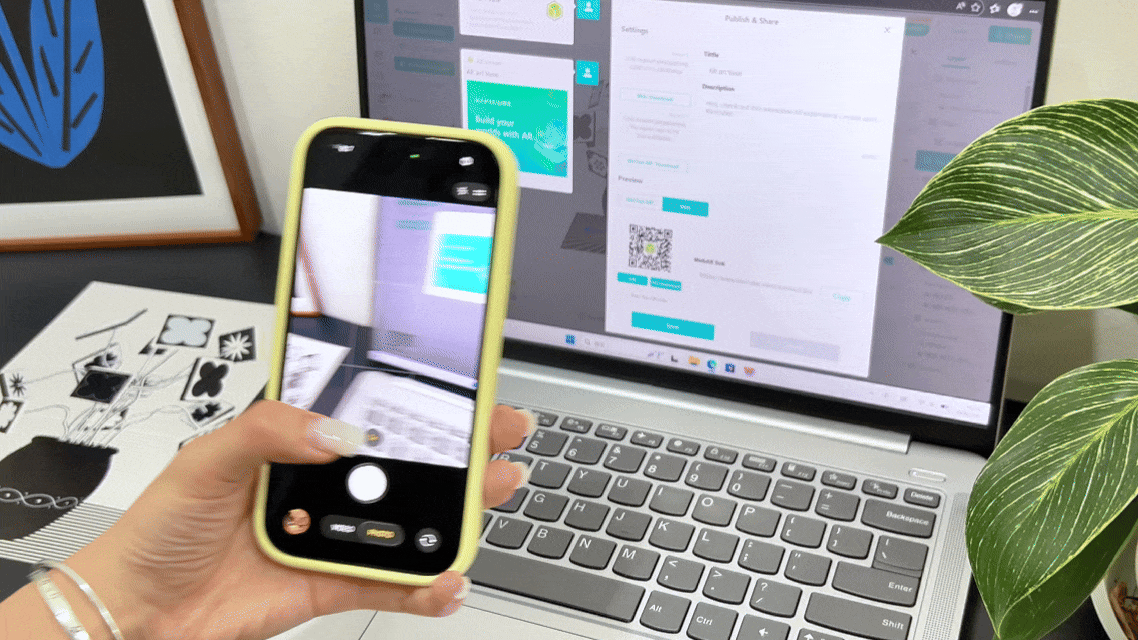
In an Image AR scene, the scale and position of all assets are relative to your Target Image. You can use the target as a visual guide to arrange your layout. To the right of the Asset Library, you’ll find the Transform Tools, which include Move, Scale, and Rotate.
To adjust an asset manually: Select the desired Transform Tool, click on your asset, and drag the axis handles (gizmos) to modify its position, size, or angle directly in the 3D space.
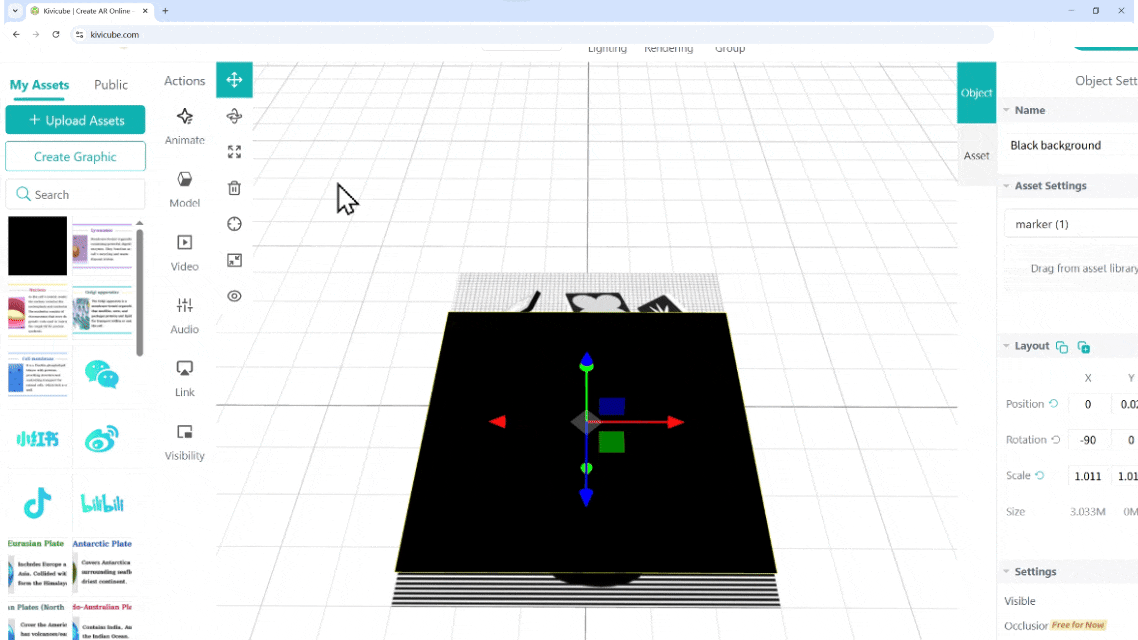
For precision adjustments: You can also bypass the manual tools and enter specific values directly in the Layout panel for faster and more accurate control over your scene’s composition.
.BTtVJJO7.png)
.Du1iful7.gif)
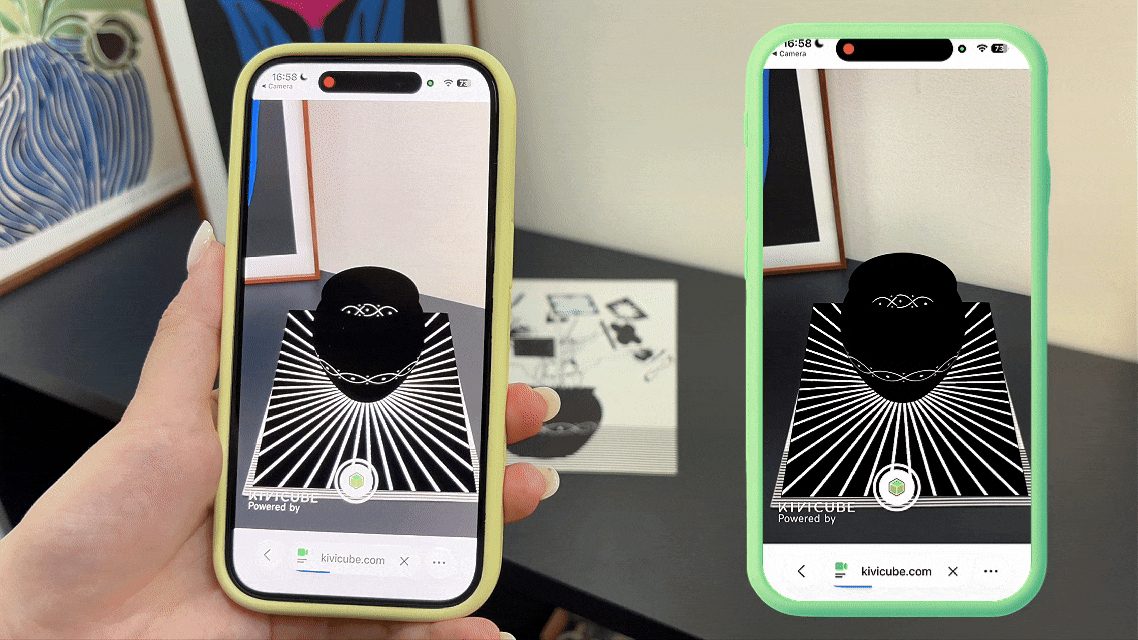
Good to know: Your QR code stays the same even if you edit the scene. Feel free to go ahead with your printing—you can always tweak the animations or swap assets in the editor without needing a new code.
By default, any assets dragged into the Editor are visible but static. This means videos, animations, and audio will not play automatically—the only exception is GIFs, which will loop by default.
To create a more engaging experience, navigate to the "Event Panel" tab. This is where you can set up custom triggers and interaction effects to truly bring your AR content to life.
Within the Event Panel, you can define how your audience interacts with each element of your scene:
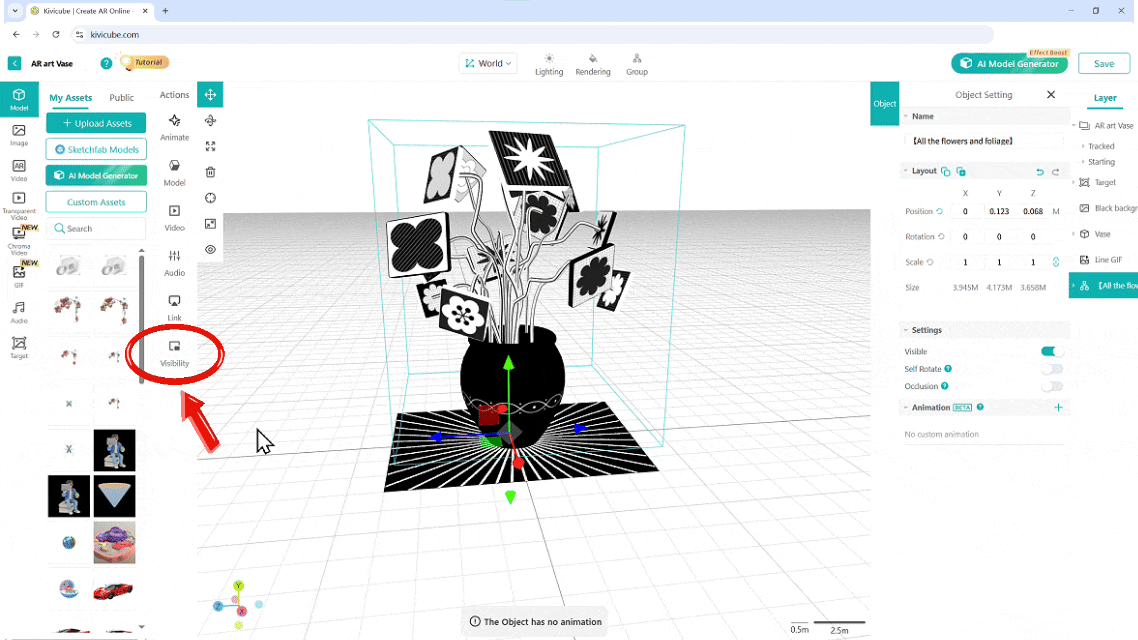
Using interactive features allows you to create much more dynamic interactions, such as playing a video on click or making assets appear in sequences. The logic remains the same across all features. In this example, we will use "Visibilty" to demonstrate the workflow.If we want the flowers and stems to appear only after the viewer clicks on the vase. To achieve this, we need to set up two events of visibility:
The "Hide" Event: Ensure the [Flower + Stem Group] is invisible when the scene first starts.
Set Actions as follow:

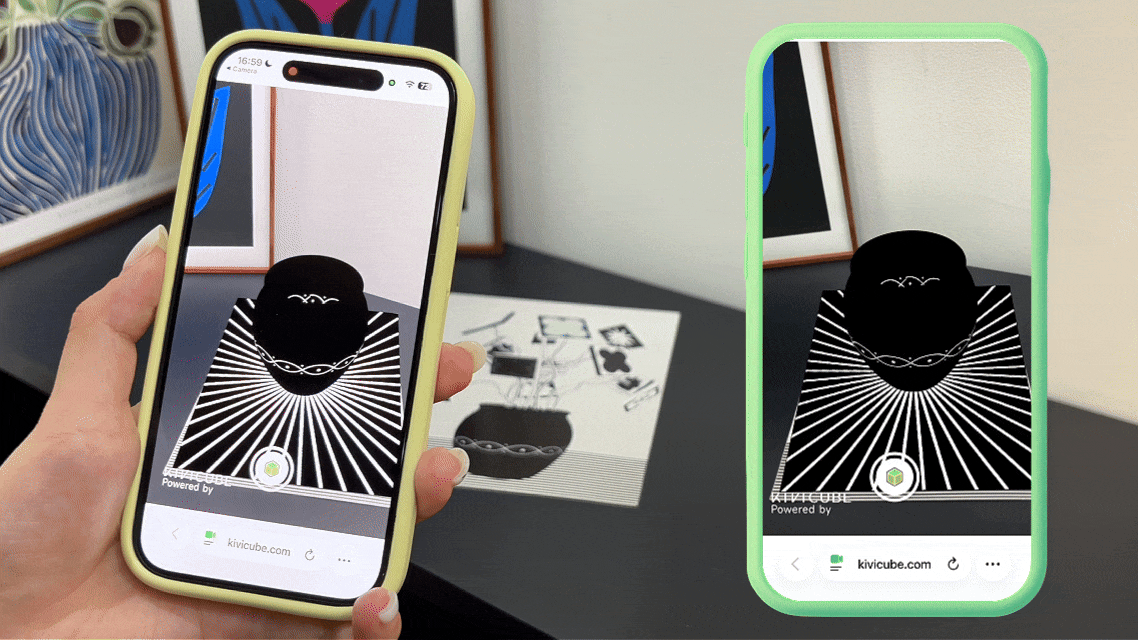
Once you hit Save, you’ve successfully created an interactive AR illustration!
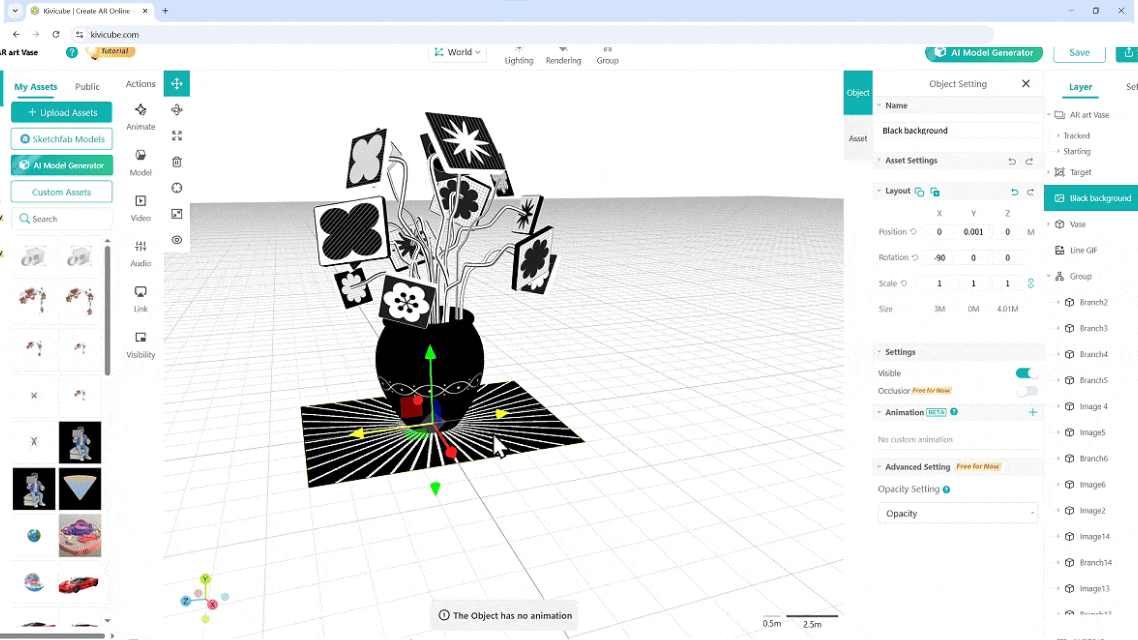
Kivicube allows you to add custom animations to any asset (except audio), to create a more fluid and dynamic experience.
Adding an Animation:
Select the object you want to animate from the Layer list or directly in the grid workspace. Click the "+" button next to "Animations" to add new custom animation.
Example: Adding an animation to the "Flower + Stem" Group.
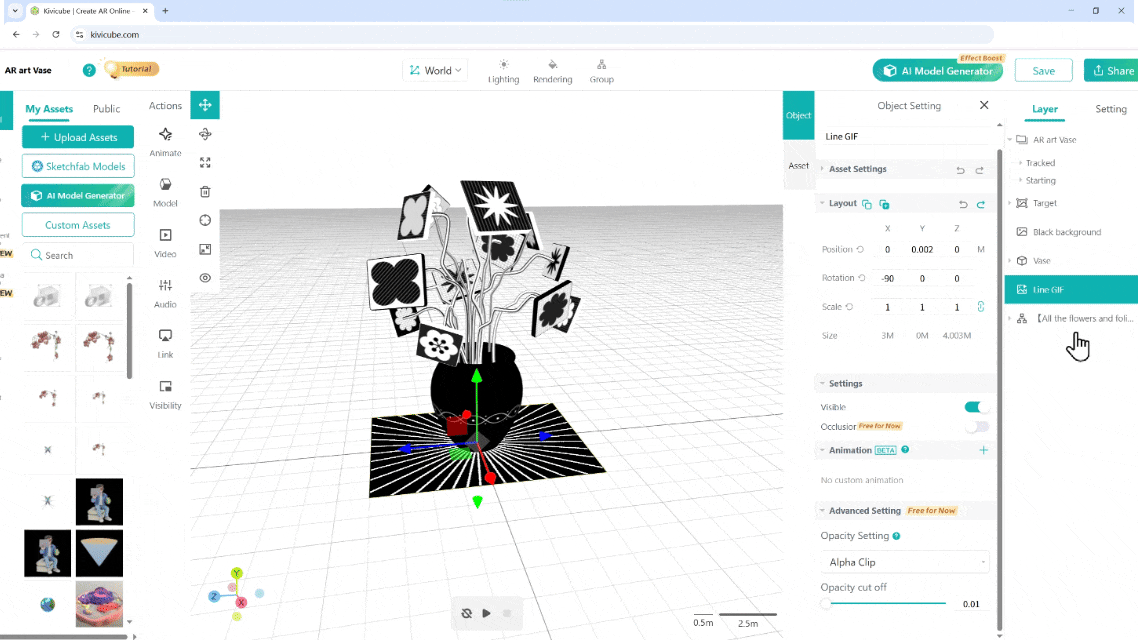
Pro Tip: Rename your animations immediately to stay organized for future edits.
.D1Jp3WfQ.gif)
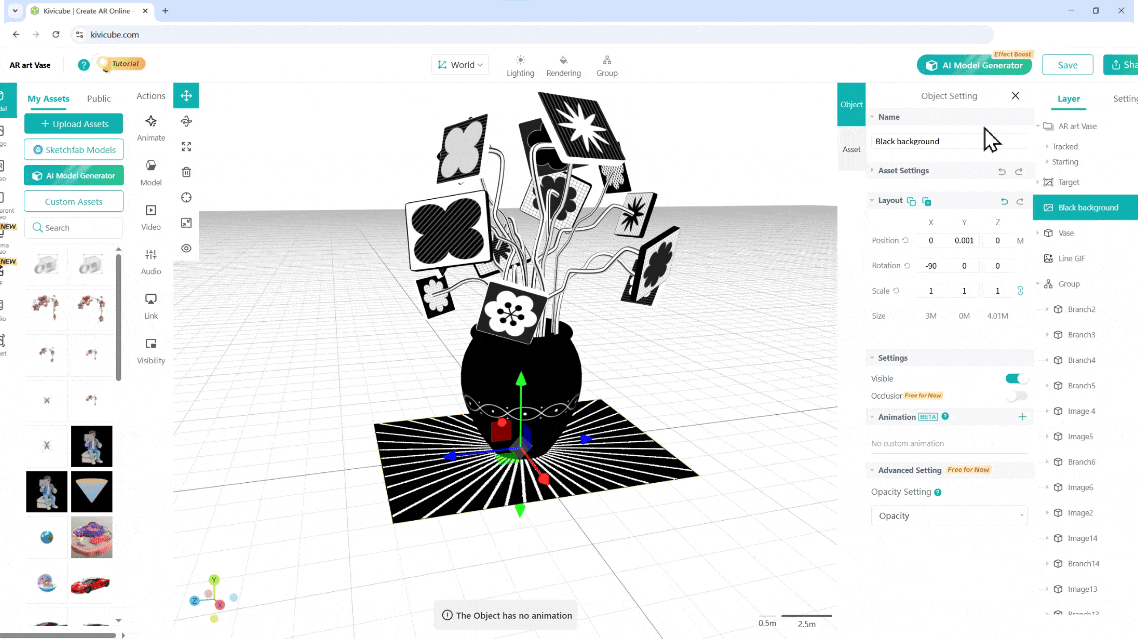
Choosing Animation Types : First, select the Animation Category (Enter, Emphasis, or Exit), then pick a specific effect. Hover your mouse over an animation name to preview the movement.
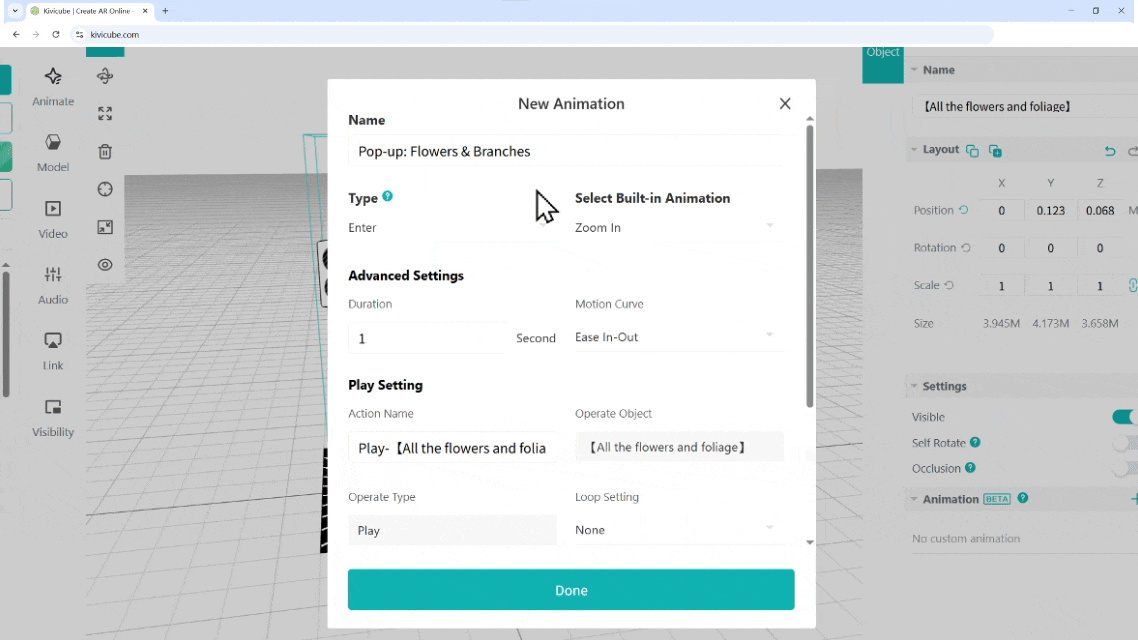
Customizing Parameters: Animation parameters are highly customizable. You can freely adjust the duration, direction, and loop behavior to fit your vision.
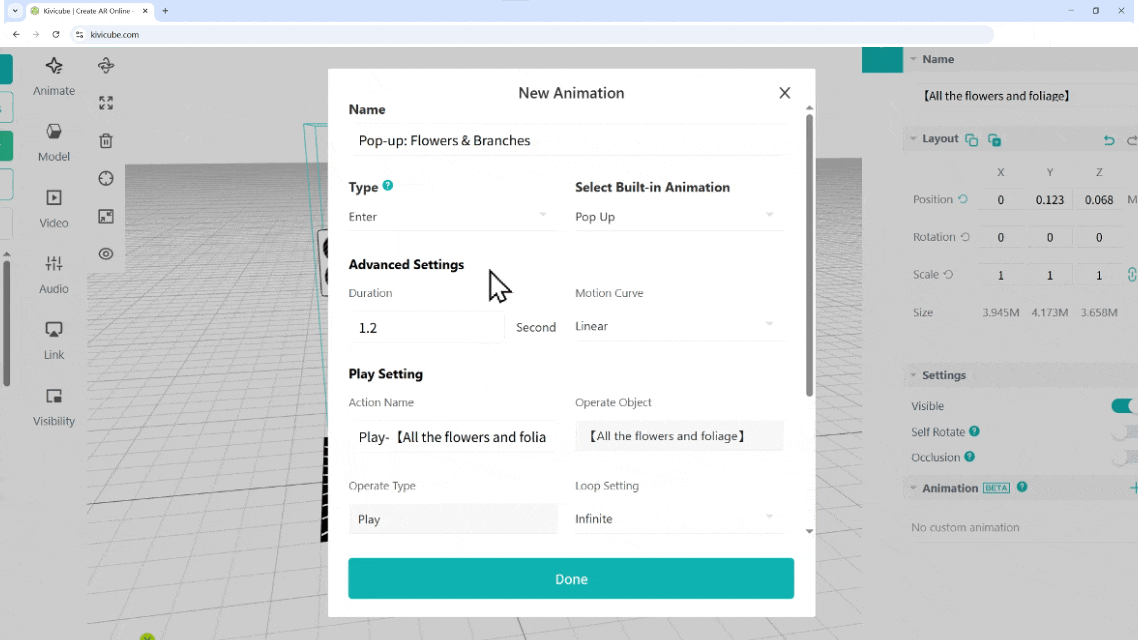
Defining the Trigger: The trigger determines exactly when the animation starts. You can sync this with the interaction settings mentioned earlier.
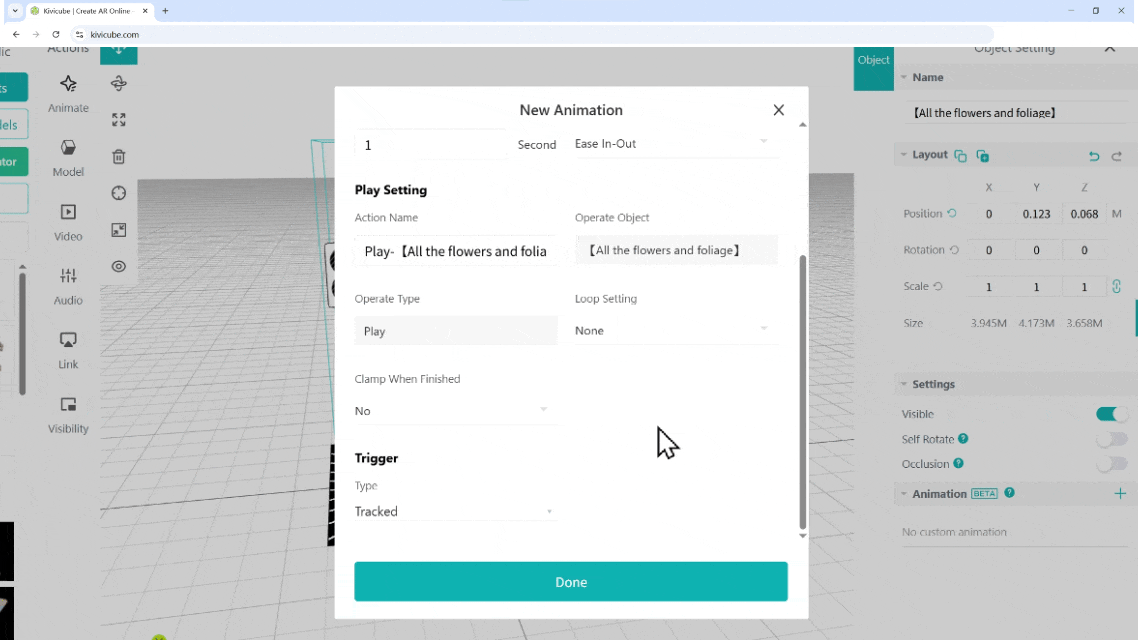
Previewing & Finalizing: Once finished, click "Done." You can preview the animation using the playback controls at the bottom of the grid area.
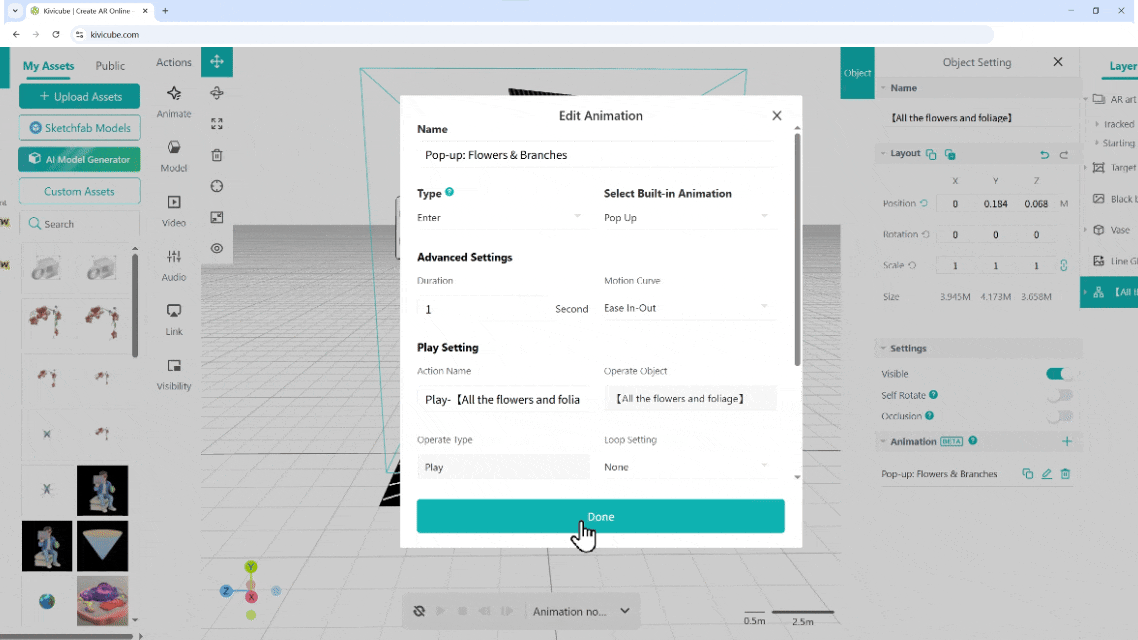
You have successfully created your first interactive AR scene. Save your project and scan the code to see it in action—click the vase and watch your flowers pop into view!
Now it's your turn to explore. Start your AR creative journey and bring your imagination to life!