English
Appearance
Chroma Video is a signature feature in Kivicube that allows you to remove a solidcolor background from a video, creating a transparent video effect.
Compared to traditional transparent video formats, this approach is much more performancefriendly and puts less strain on user devices.
There are a few important things to keep in mind when using this feature:
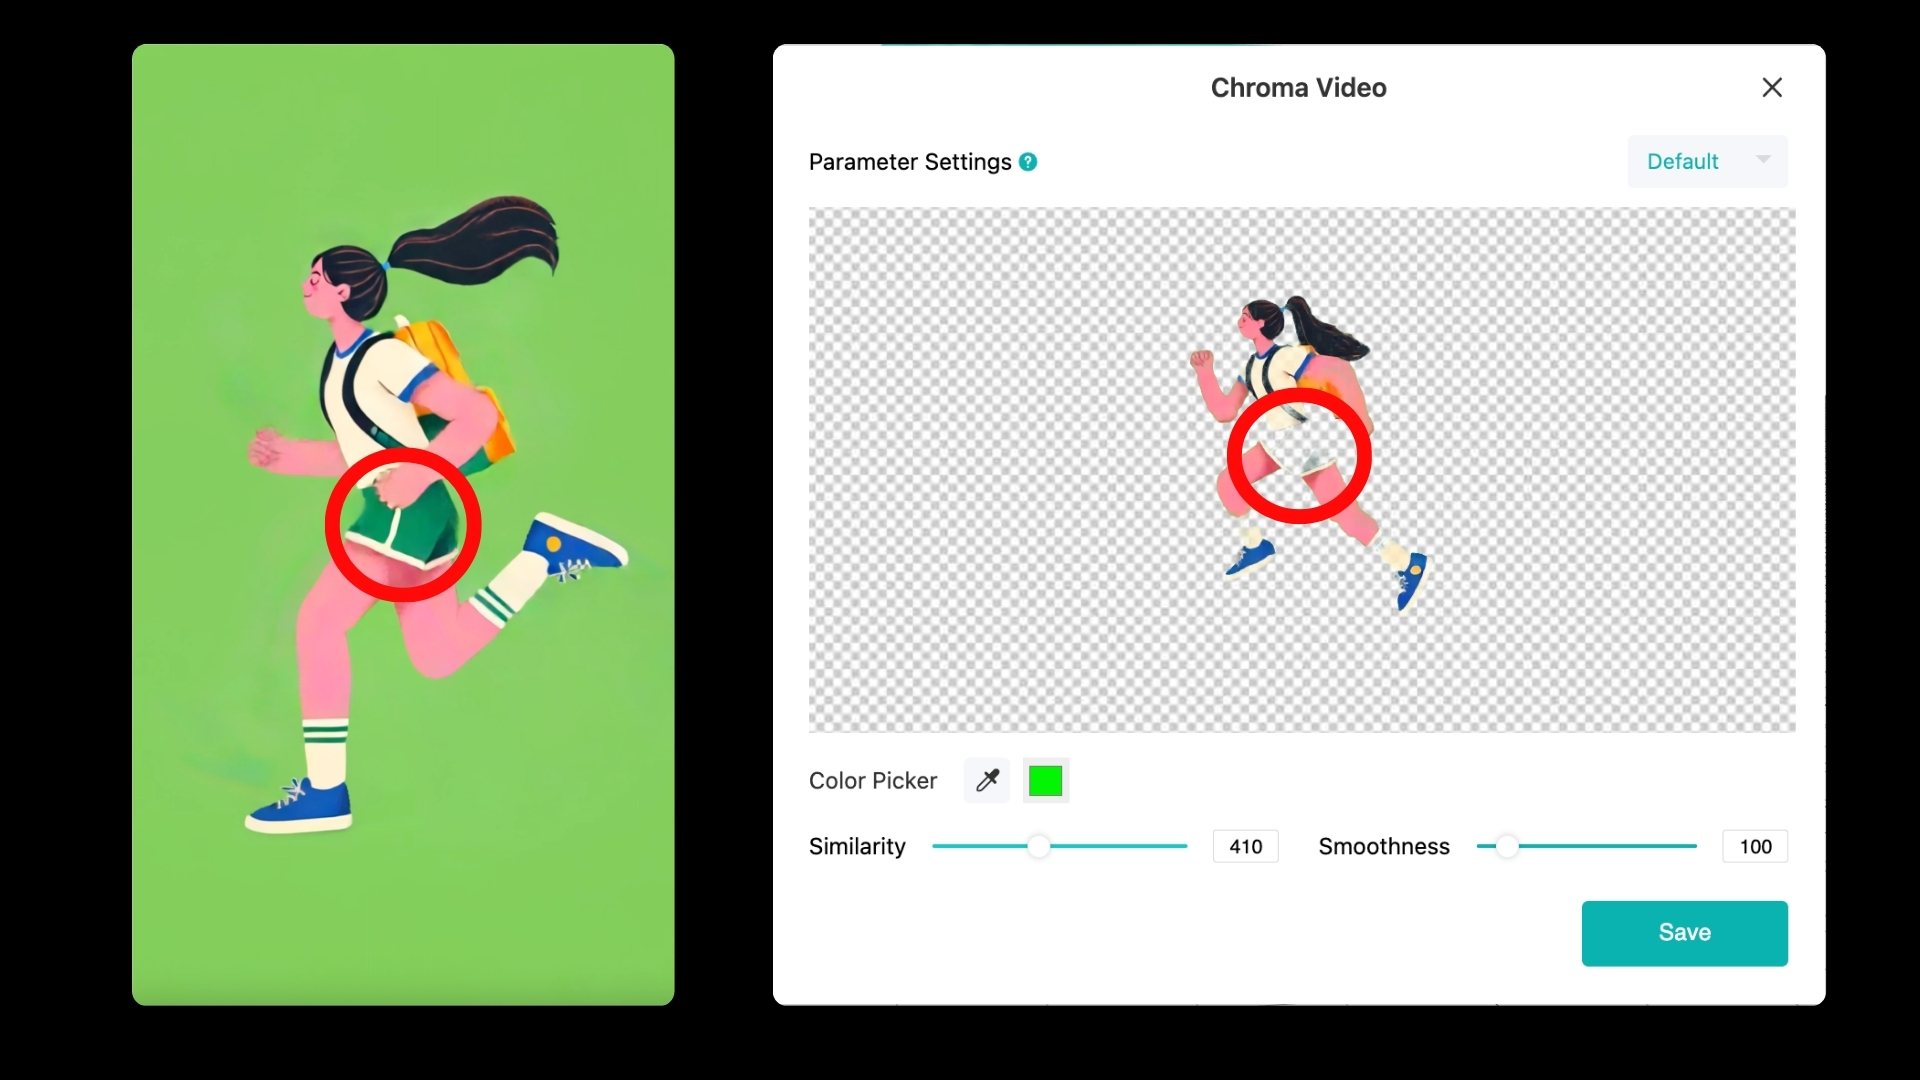
In the example below, the girl’s pants are a shade of green that is quite similar to the video background. As a result, after chroma keying, the pants were also removed.
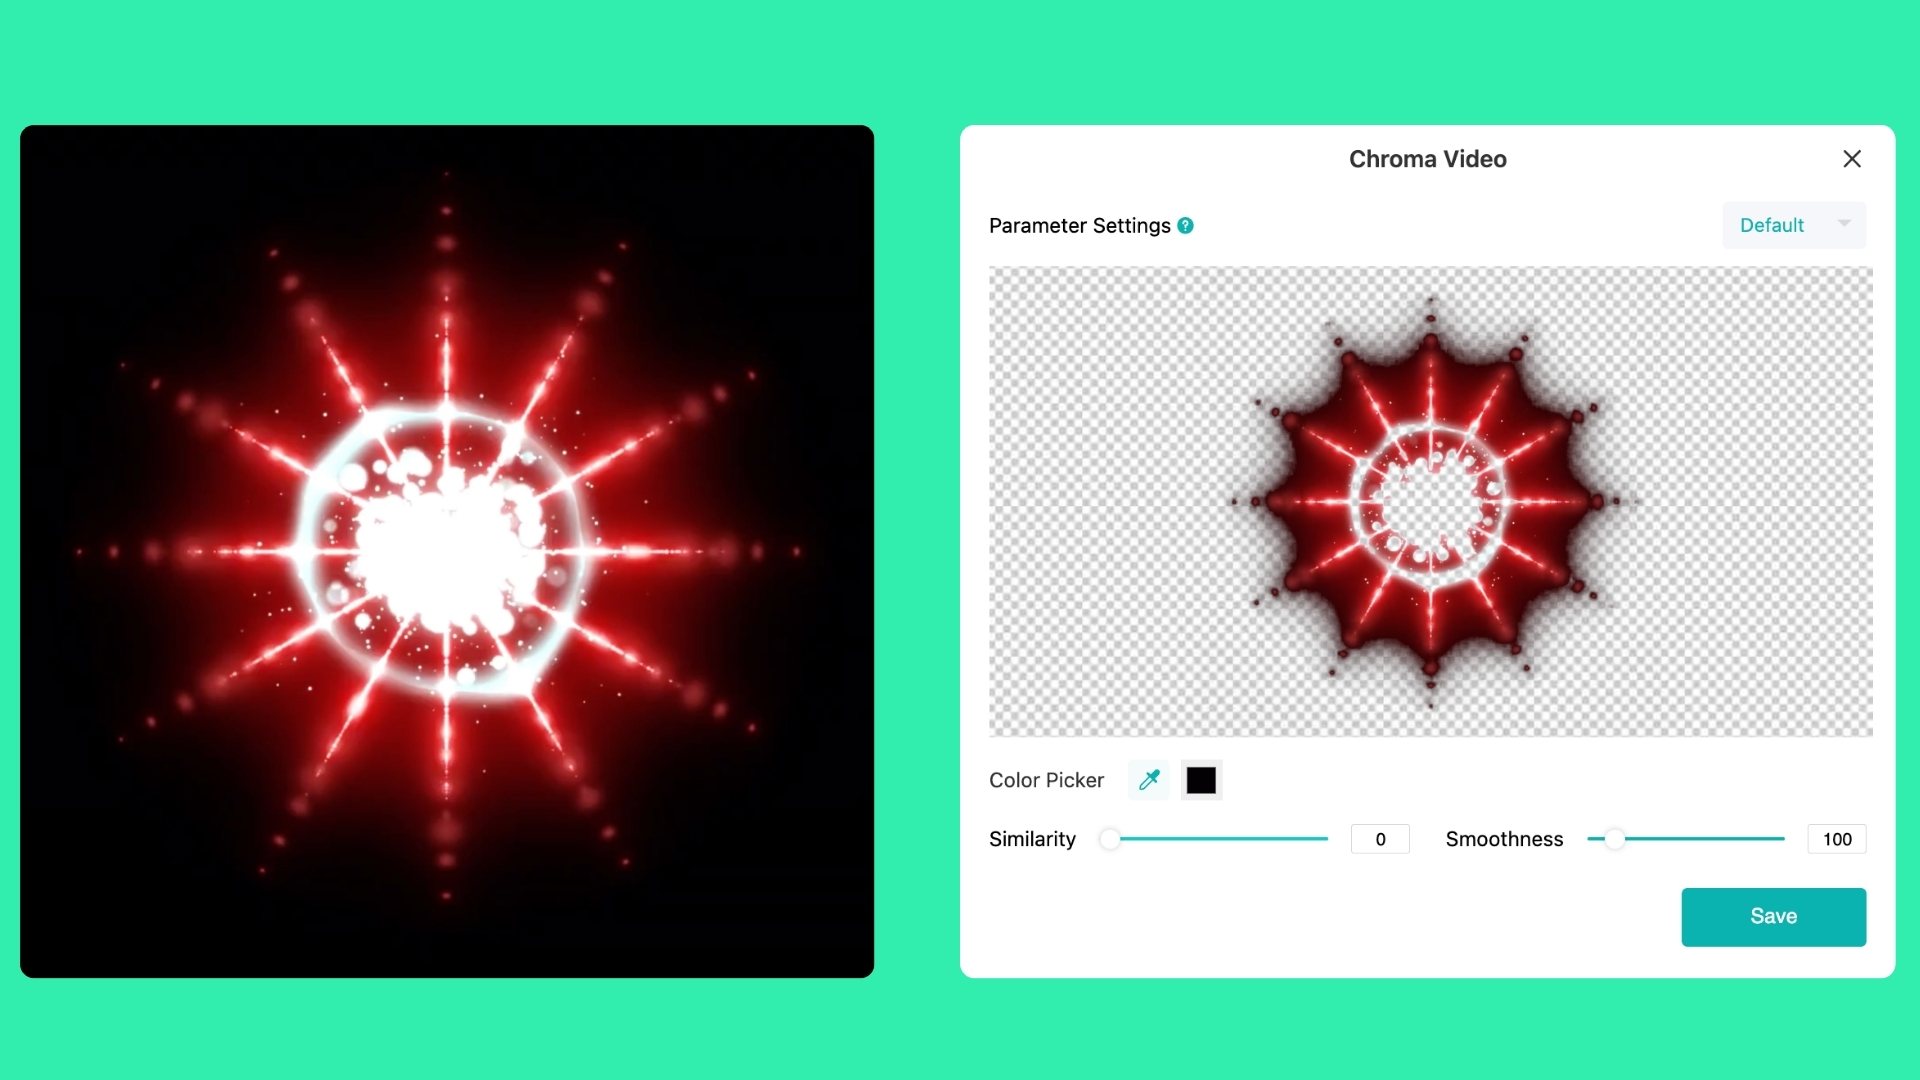
In the example below, the edges of the lighteffect video have a semitransparent appearance, so the final chroma keying couldn’t clean up the video’s edges very well.
In the Scene Editor, go to the Asset Panel on the left and select Chroma Video as the asset type. Then click Upload Assets to upload your video. If needed, you can also use AI Video Generation to create a video with a solidcolor background directly.
Once the video is uploaded, a preview window will open automatically. Here you can finetune how the chroma key effect is applied.
Please note: if the color channel values for your video's background are R:0, G:244, B:0, the system will automatically remove the background for you.
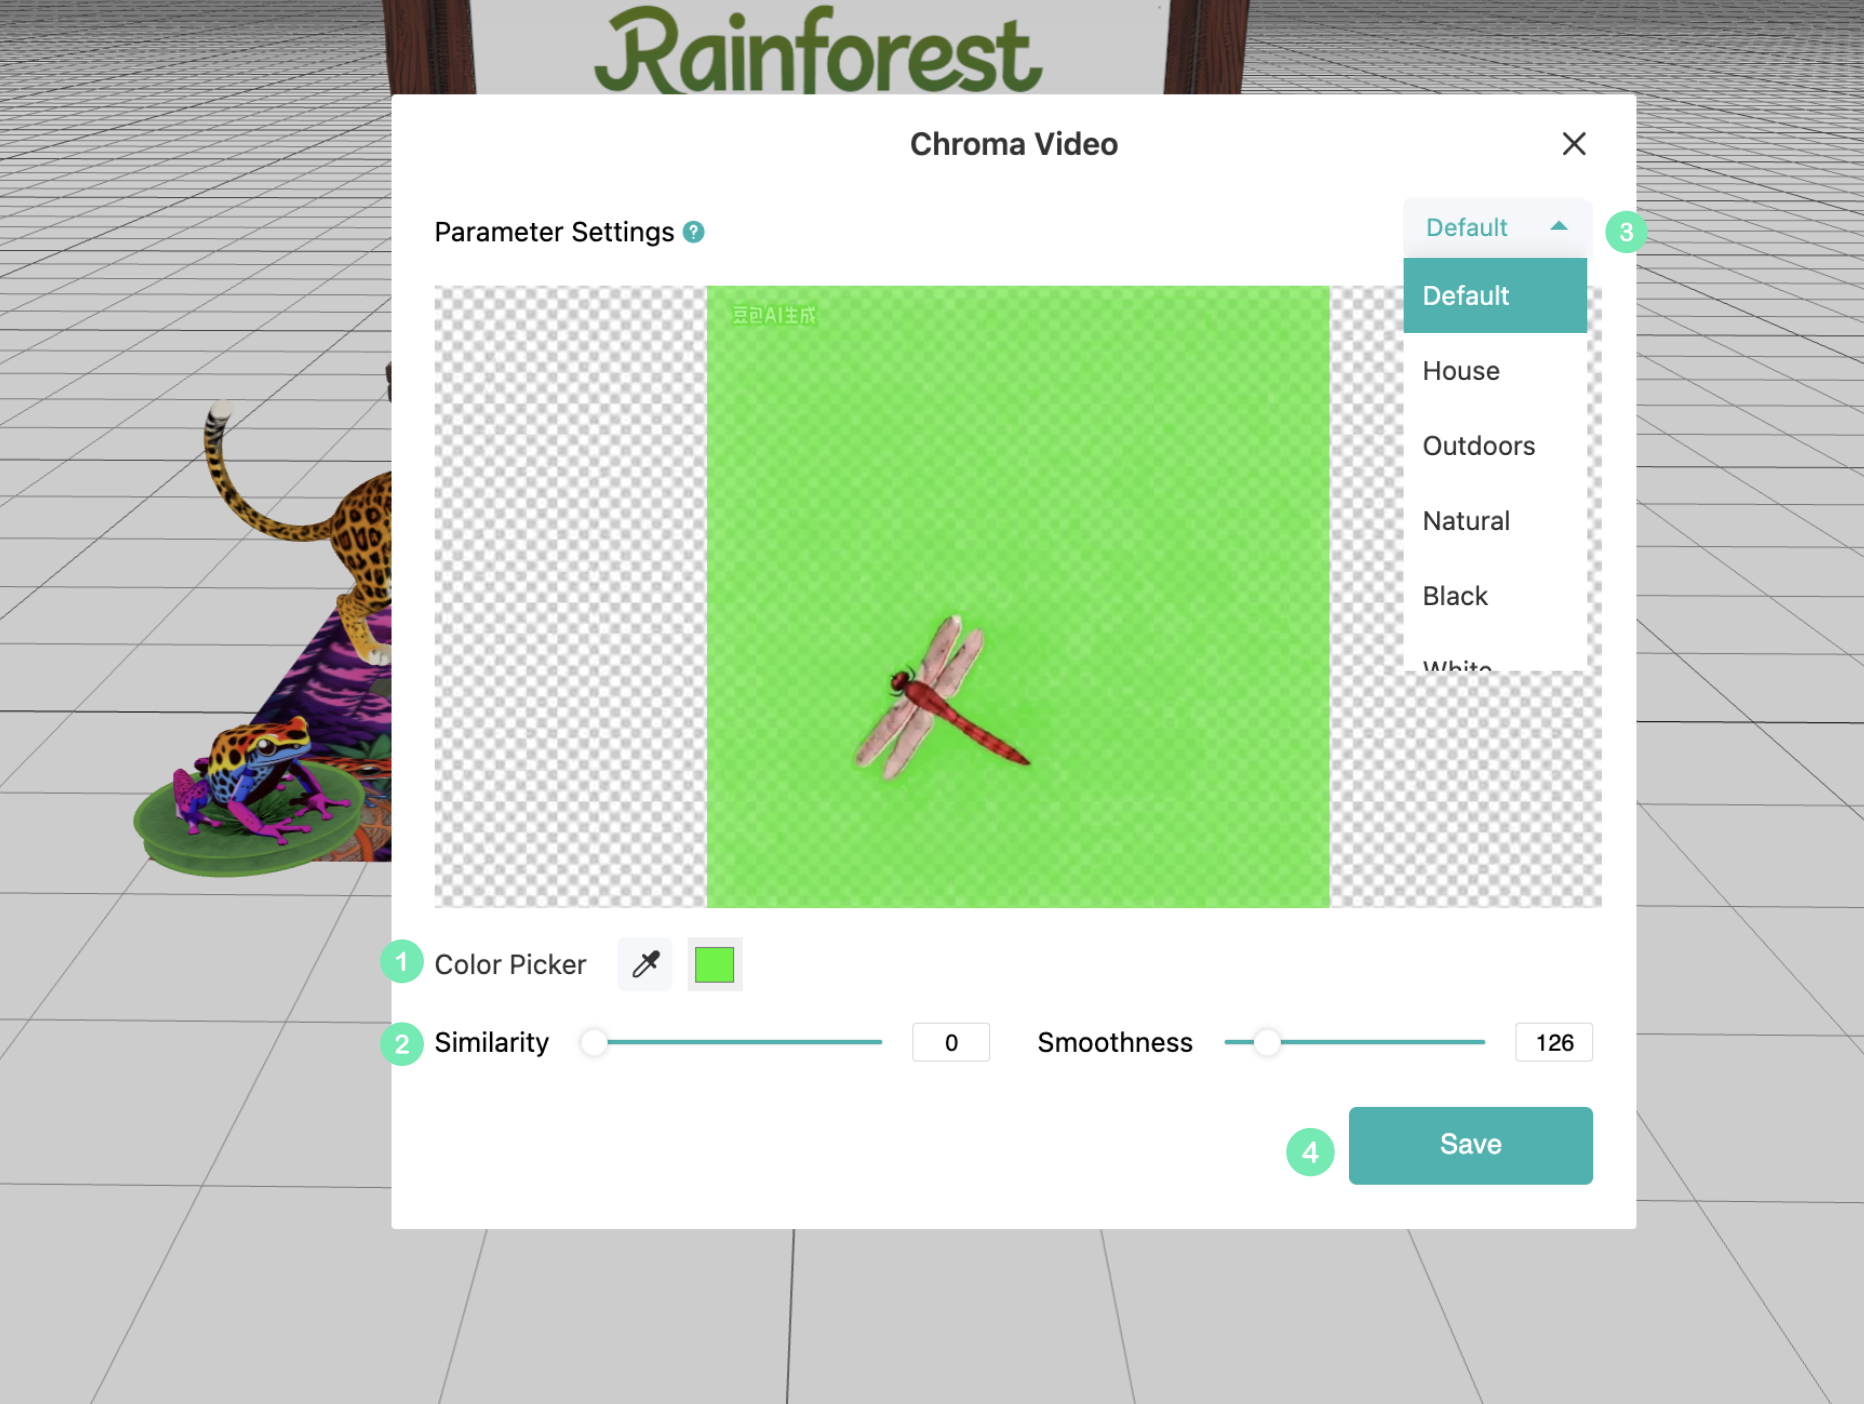
You can further refine the result using the following controls:
Color Pick allows you to sample a specific color directly from the video for removal.
Similarity and Smoothness help you finetune the keying effect, adjusting how strictly the color is removed and how smooth the edges appear.
Preview Background lets you switch between different environments and background colors, making it easier to check whether the background has been cleanly removed.
After you click Save, the processed chroma video will be added to your asset library automatically.
You can then drag the video into the canvas to start using it in your scene.
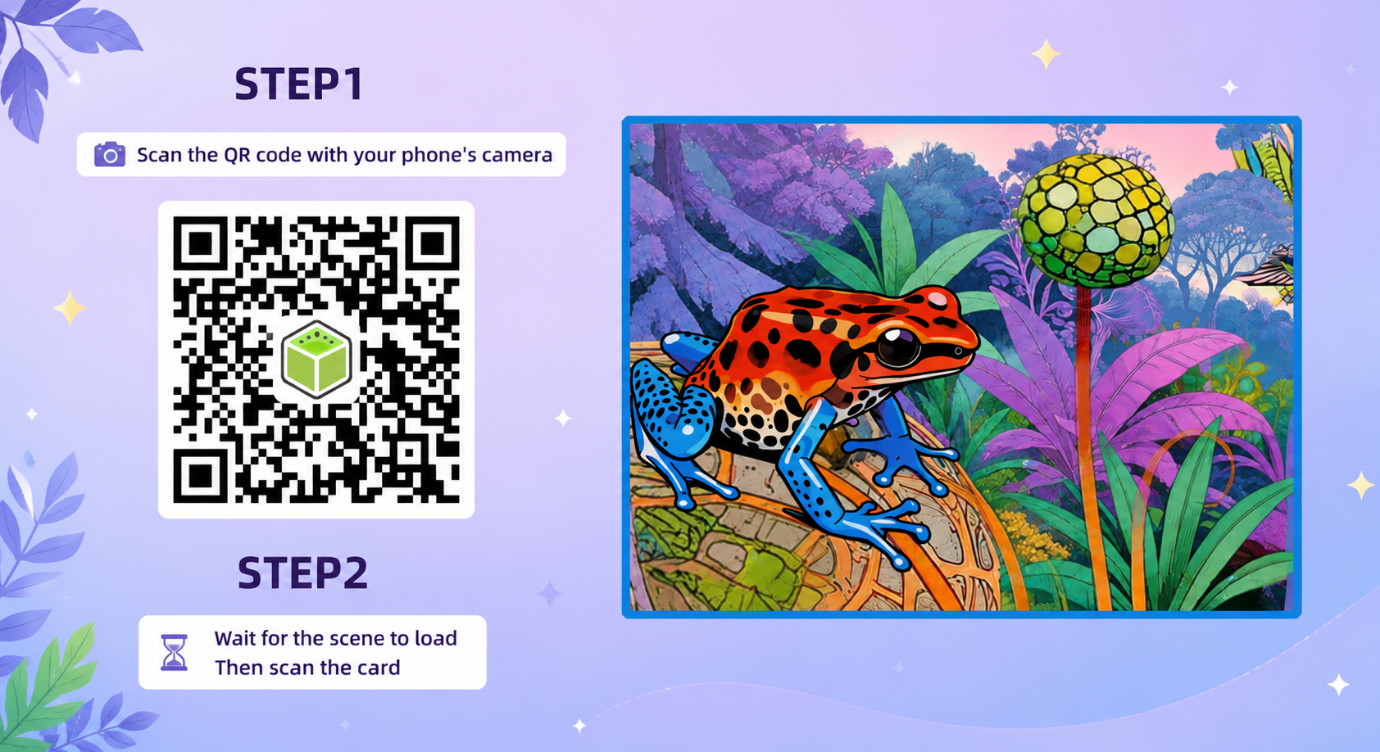
As shown in the example below, the metamorphosis of the poison dart frog was presented using Chroma Video. To try it out, first scan the QR code on the left, then point your camera at the recognition image on the right.