English
Appearance
To make creation convenient, the initial state of the 3D canvas varies depending on the type of AR scene:
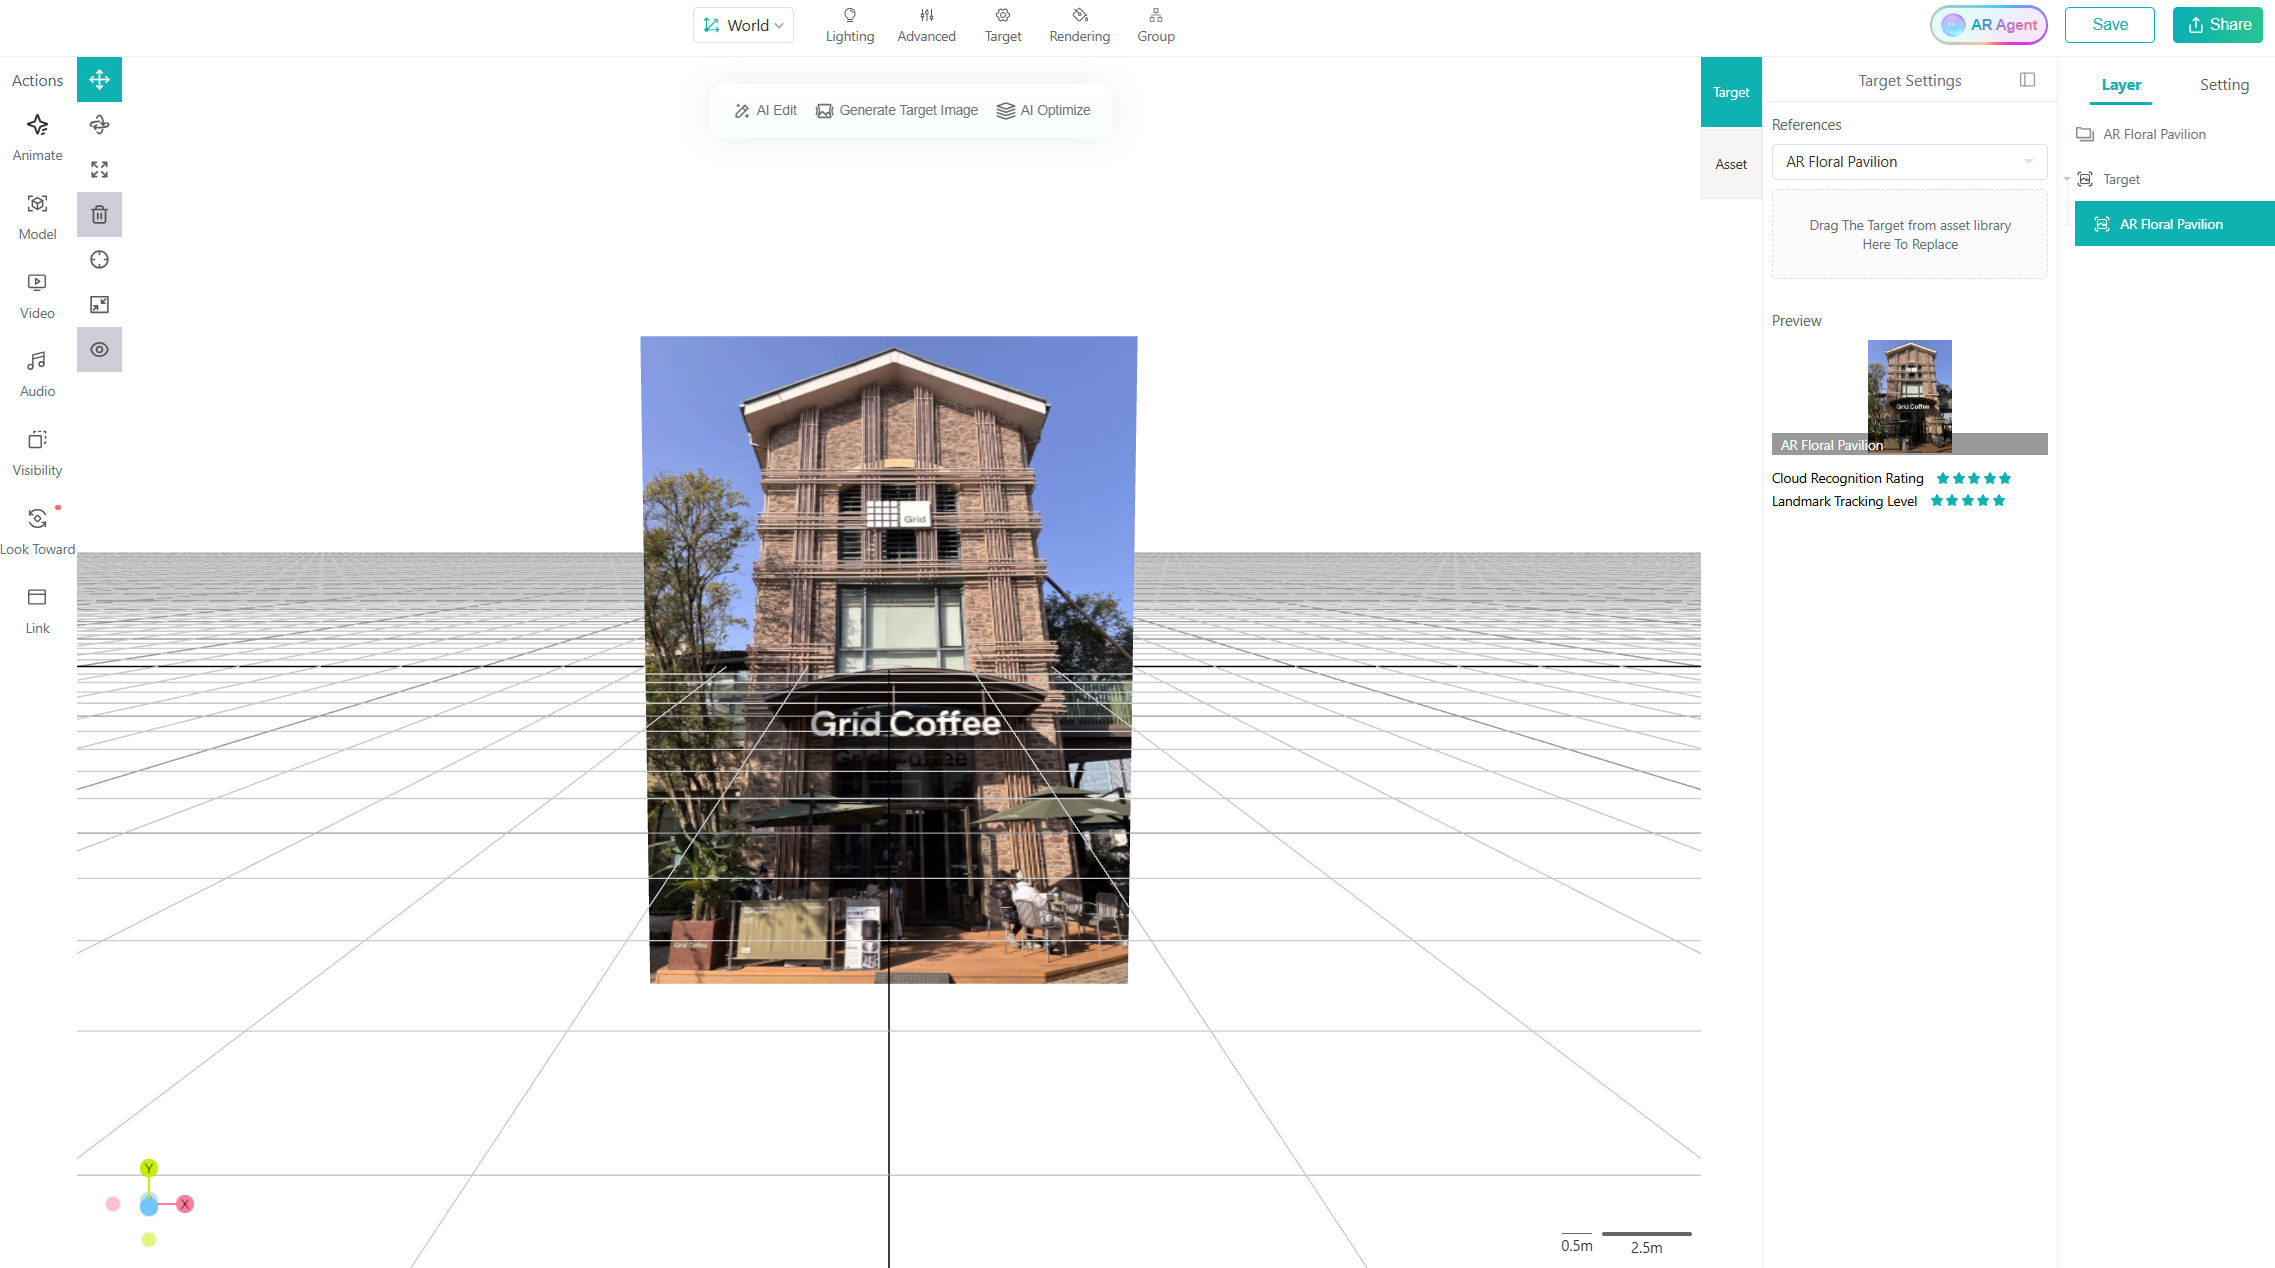
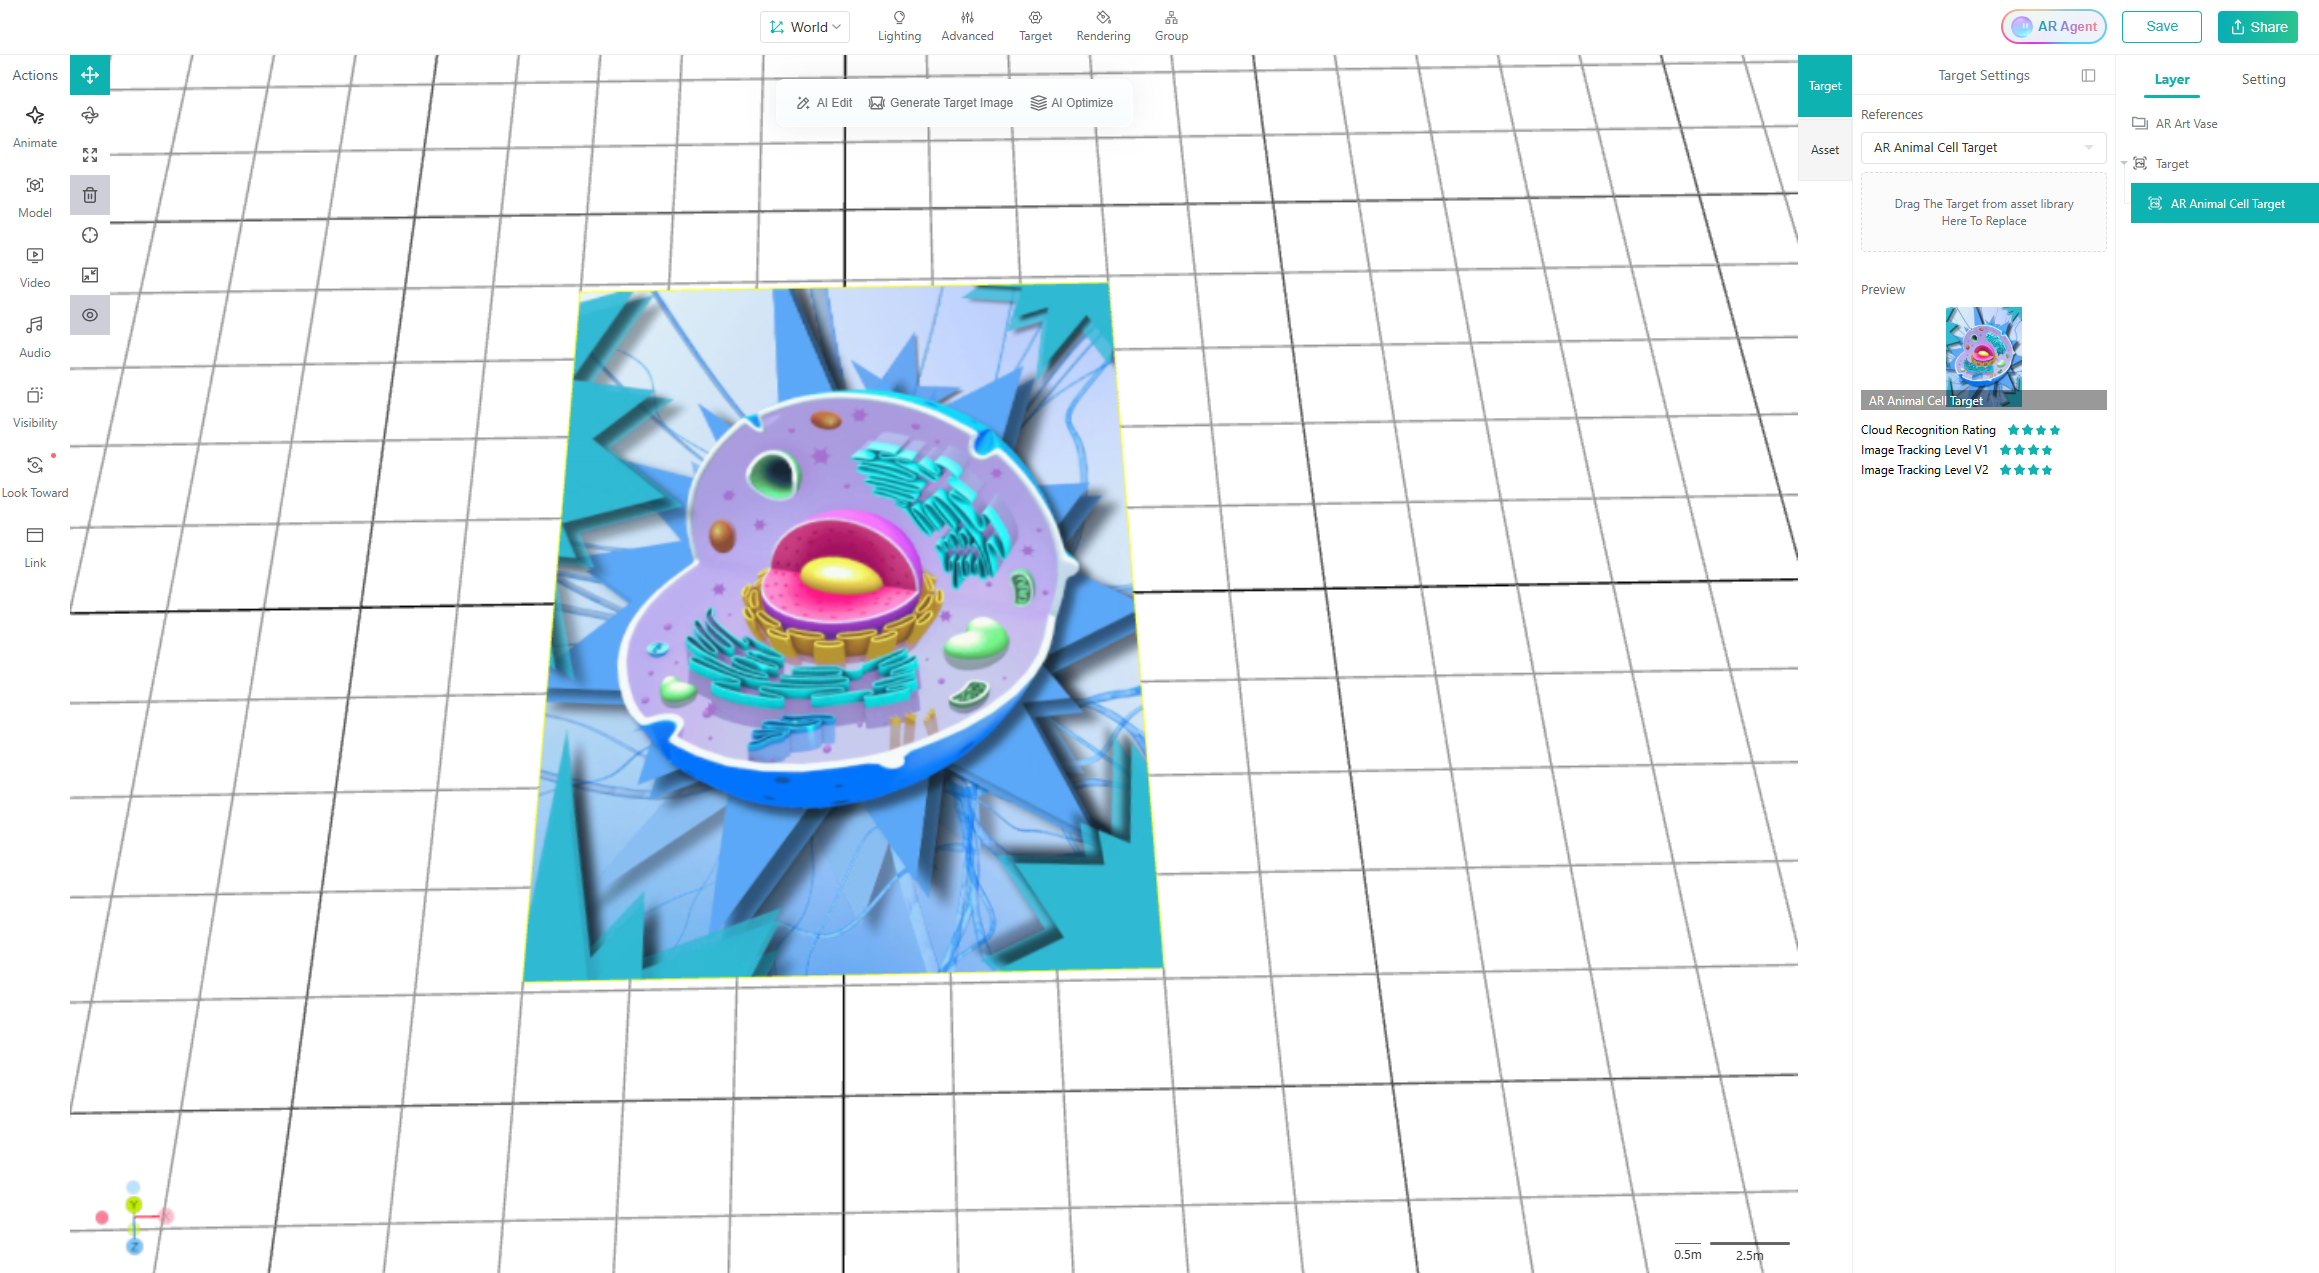
By default, Image AR scenes place the target image exactly in the center of the 3D canvas, and it cannot be moved. When creating the scene, you can use the size and position of the target image as a reference for placing your assets. When experiencing the scene, try to maintain a viewing angle similar to that in the 3D canvas.
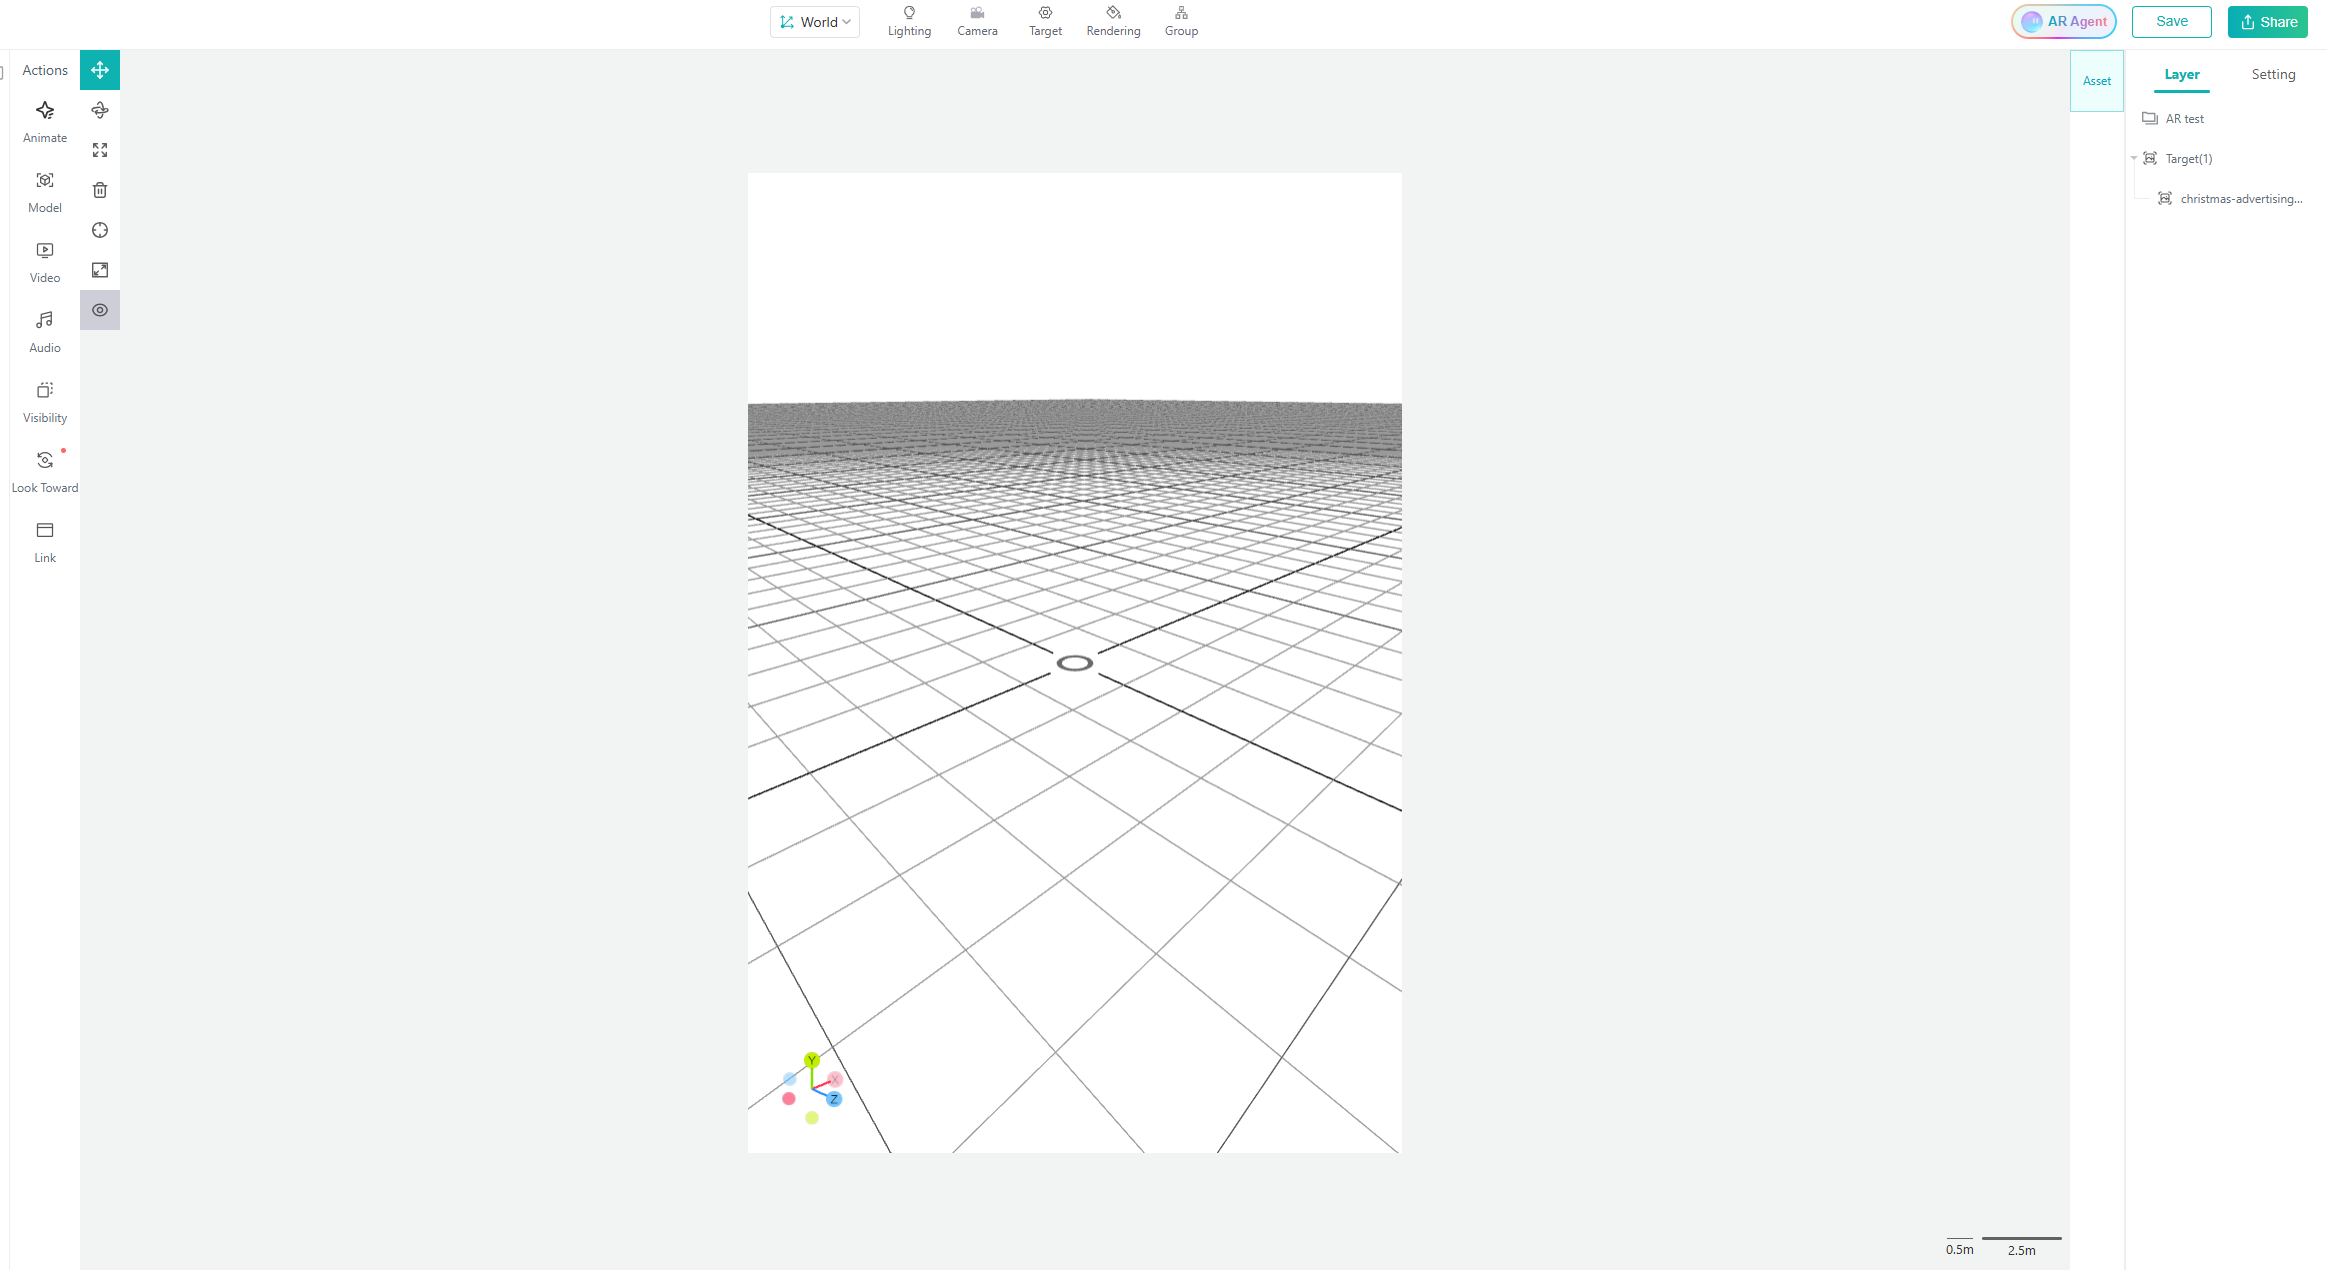
Since the target image in Basic AR/Gyroscope scenes is used only as a trigger and is not used for the tracking, it is not displayed in the 3D canvas. In this case, the display area of the 3D canvas can be regared as the screen area of the device.
TIP
Since screen sizes and aspect ratios vary across different devices, the display area shown in the 3D canvas is for reference only and may not accurately reflect the actual visible area on the real device. We recommend testing your scene on the real device and adjusting the position and size of your assets accordingly.
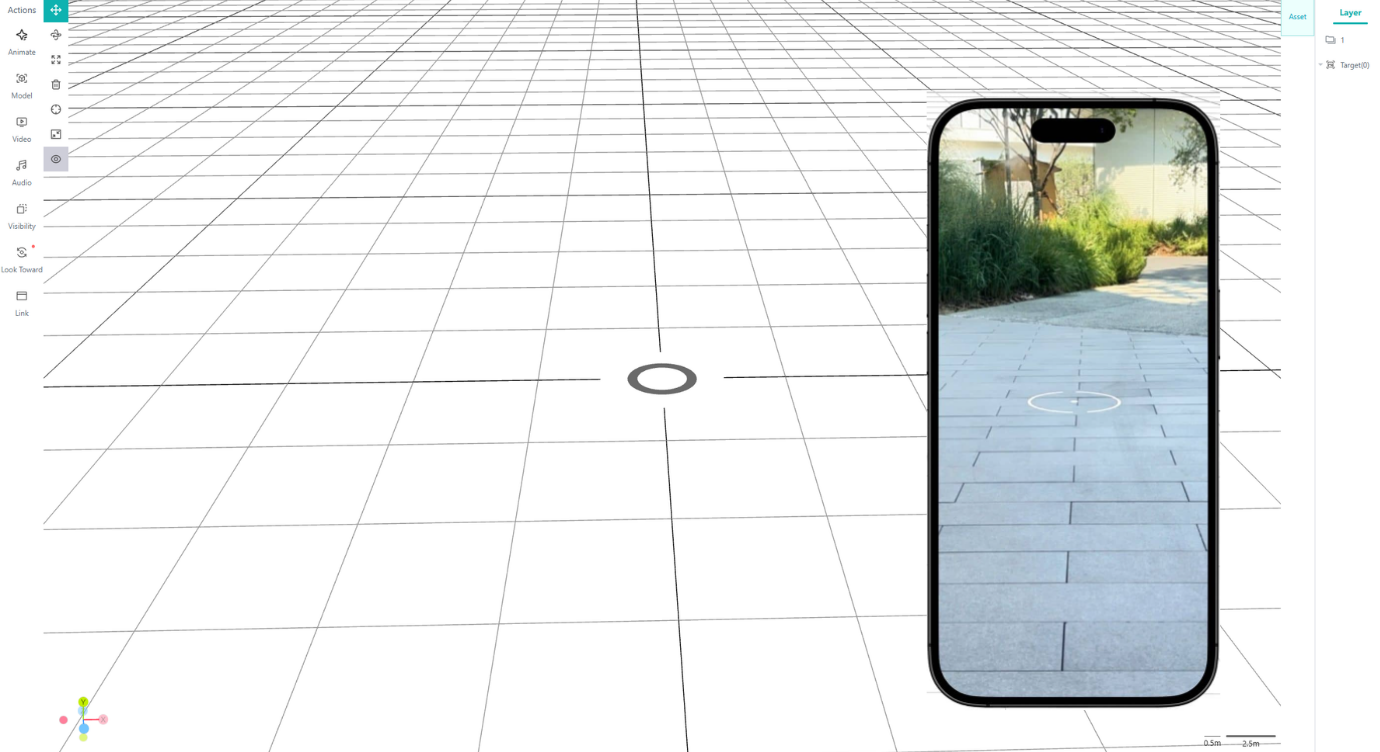
When experiencing a Basic AR scene, the canvas view from the last time the scene was saved will be used as the initial view. Therefore, before saving the scene, please adjust the 3D canvas to the appropriate viewing angle and then save the scene to ensure that the view during the actual experience matches your expectations.
The grid planes of the 3D canvas are the horizontal or vertical planes detected during actual use, and the center of the canvas also serves as the anchor point when placing the Plane AR.
After a model is dragged into the canvas, its scale will be set to 1 by the system, and the model's size matches that of the uploaded asset.
After videos and images are dragged into the canvas, their scale will be set to 1, and the system will set the width of the media to 3 meters.
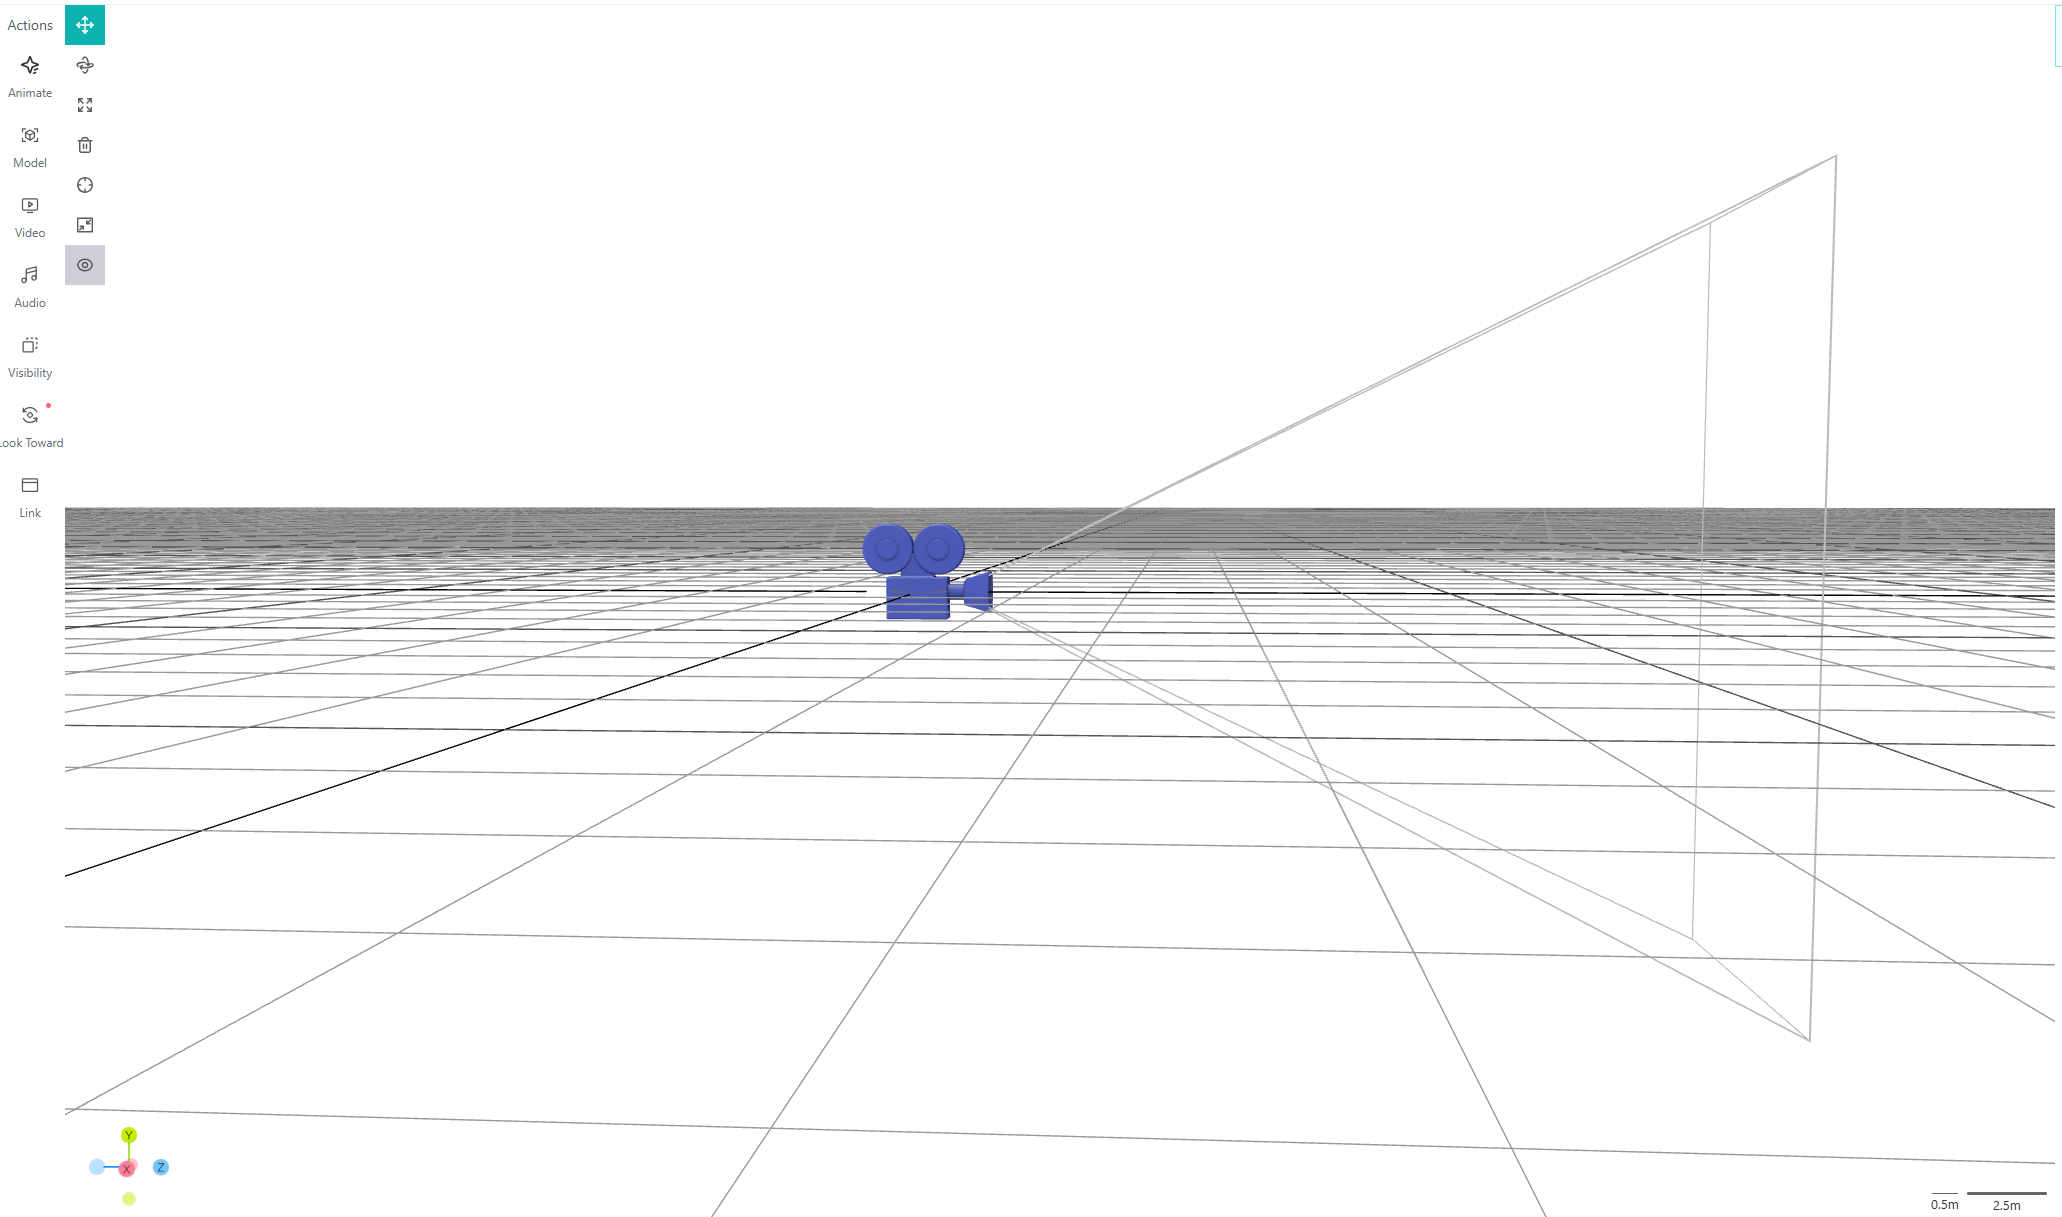
The camera on the canvas serves as the device lens during the experience, and the rectangular frame extending from it can be thought of as the area of the phone screen.
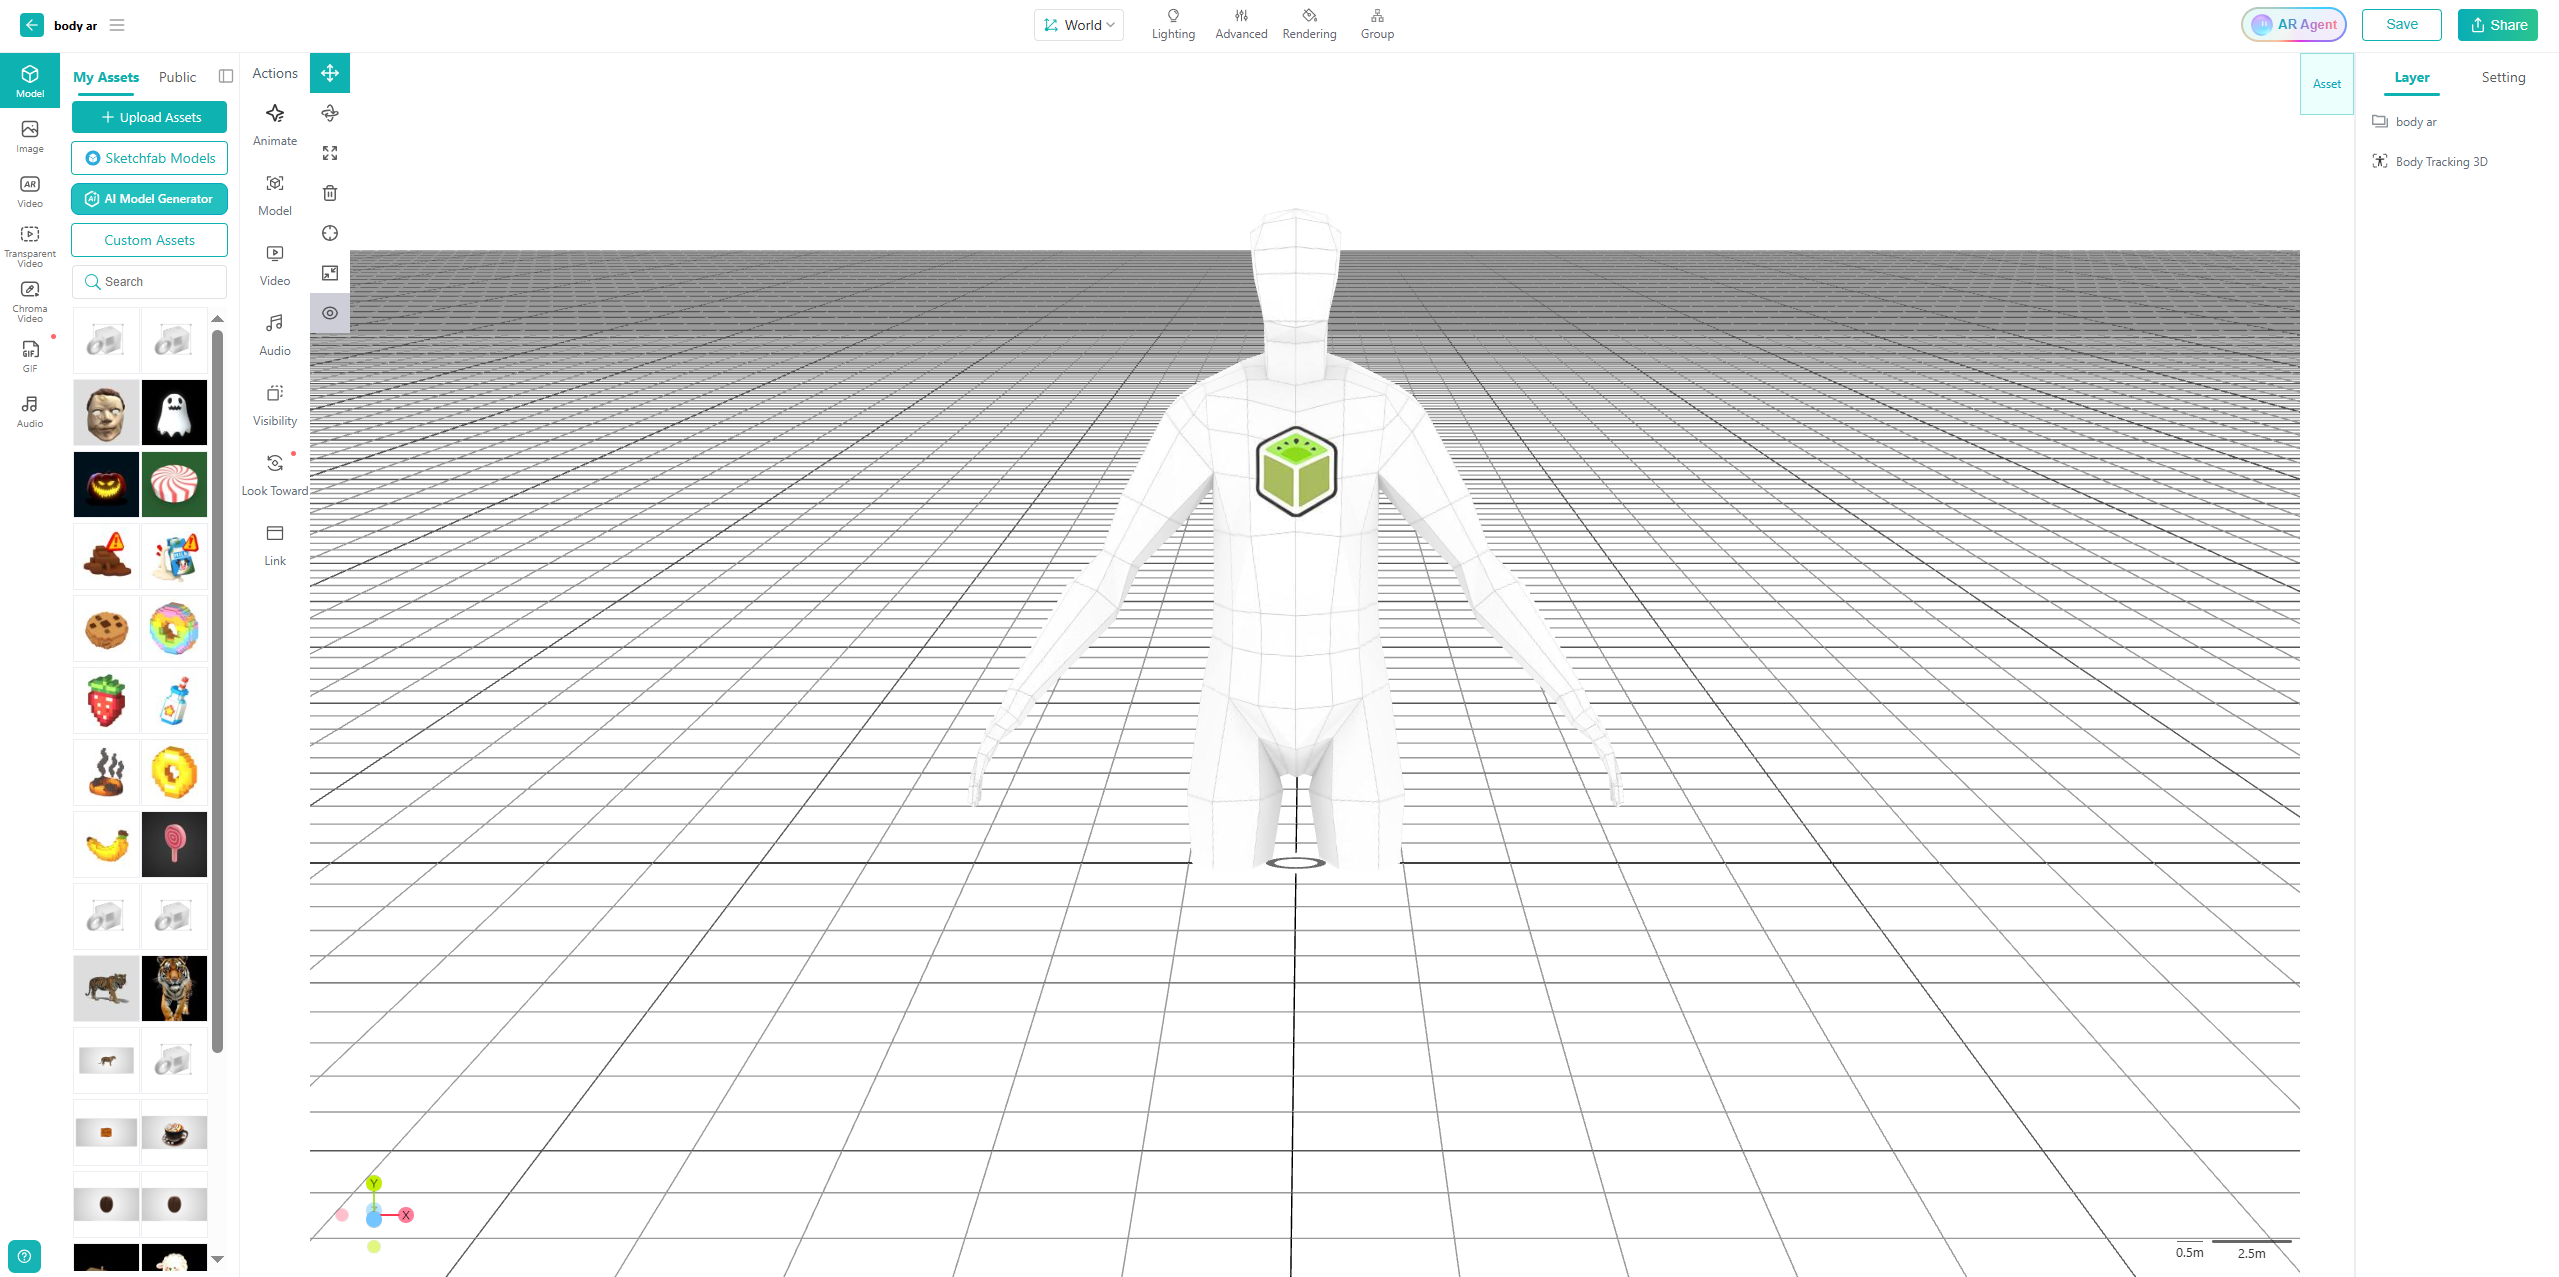
A body mask will appear in the center of the 3D canvas in Body AR to serve as a reference for placing assets. The body mask cannot be moved or scaled. You can use its position and size as a reference to adjust the assets in the scene.
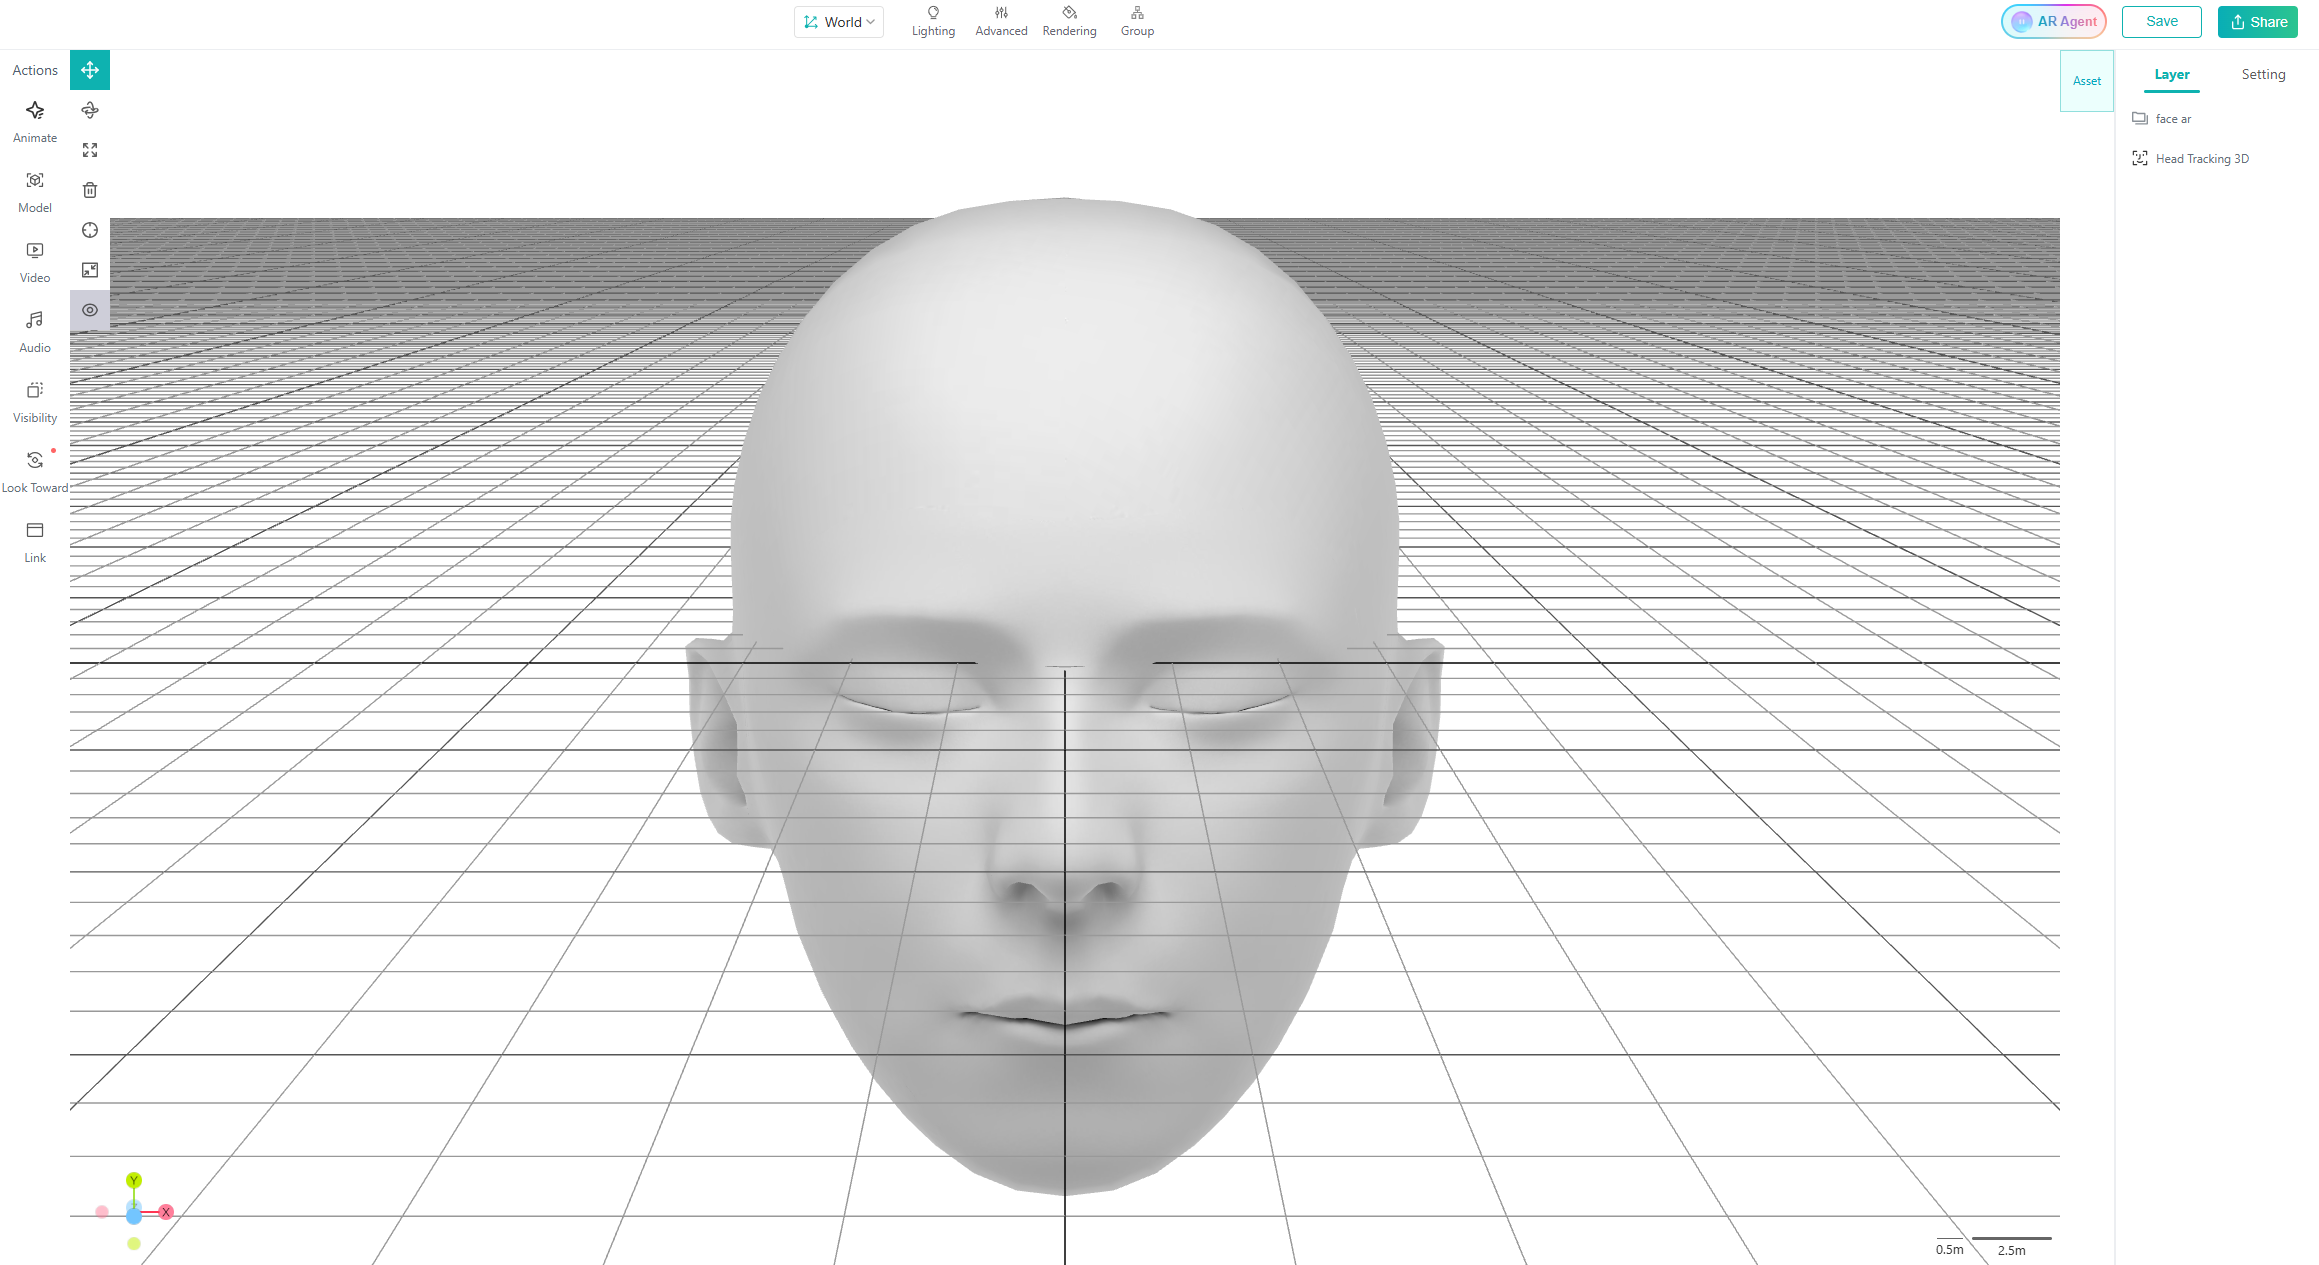
A head model that cannot be moved or scaled will appear in the center of the 3D canvas for Face AR. You can use its position and size as a reference to adjust the assets in the scene.
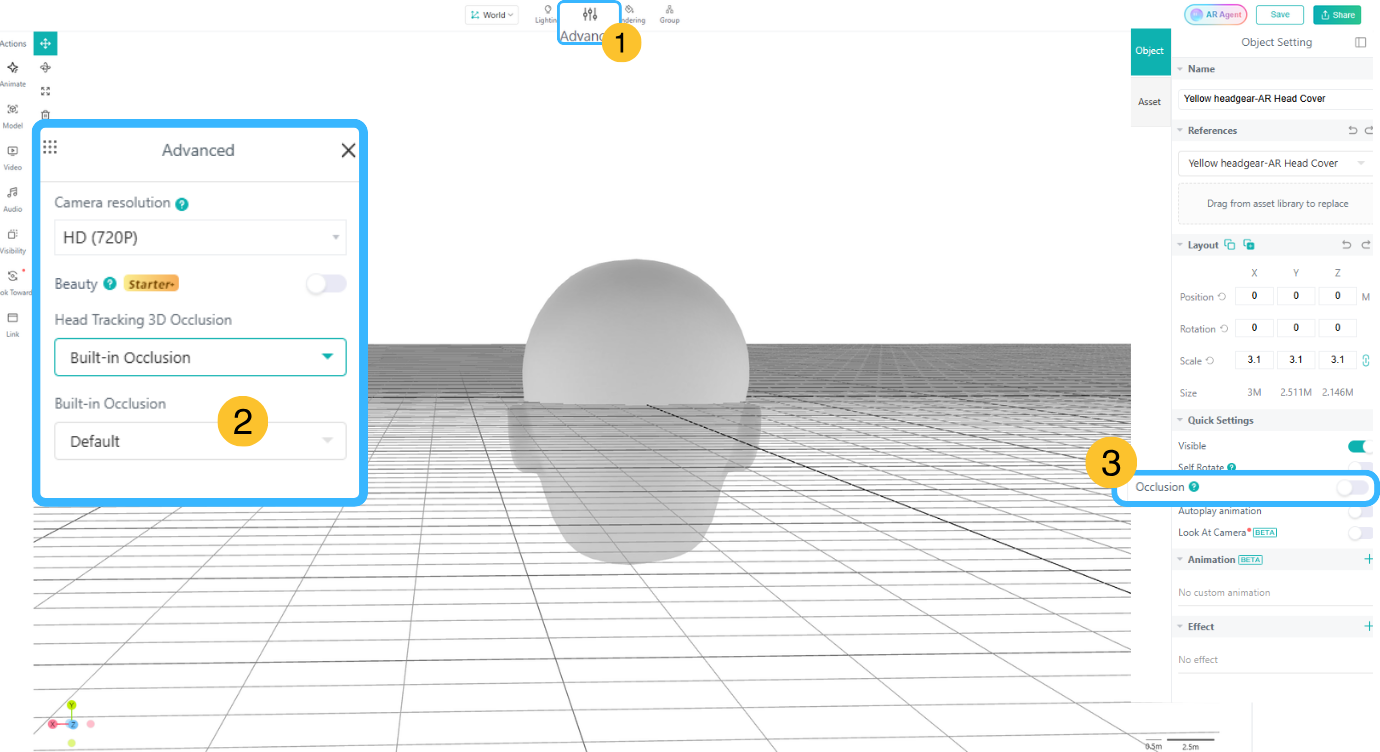
You can also switch to a custom head model in the advanced settings above the 3D canvas and upload your own head model. After uploading, please enable the mask for that model to ensure the head model isn't displayed during the actual experience.
The World AR scene will display the positioning map you uploaded by default. Since the positioning map corresponds to real-world objects, the 3D canvas’s default view will keep the positioning map in a vertical orientation.
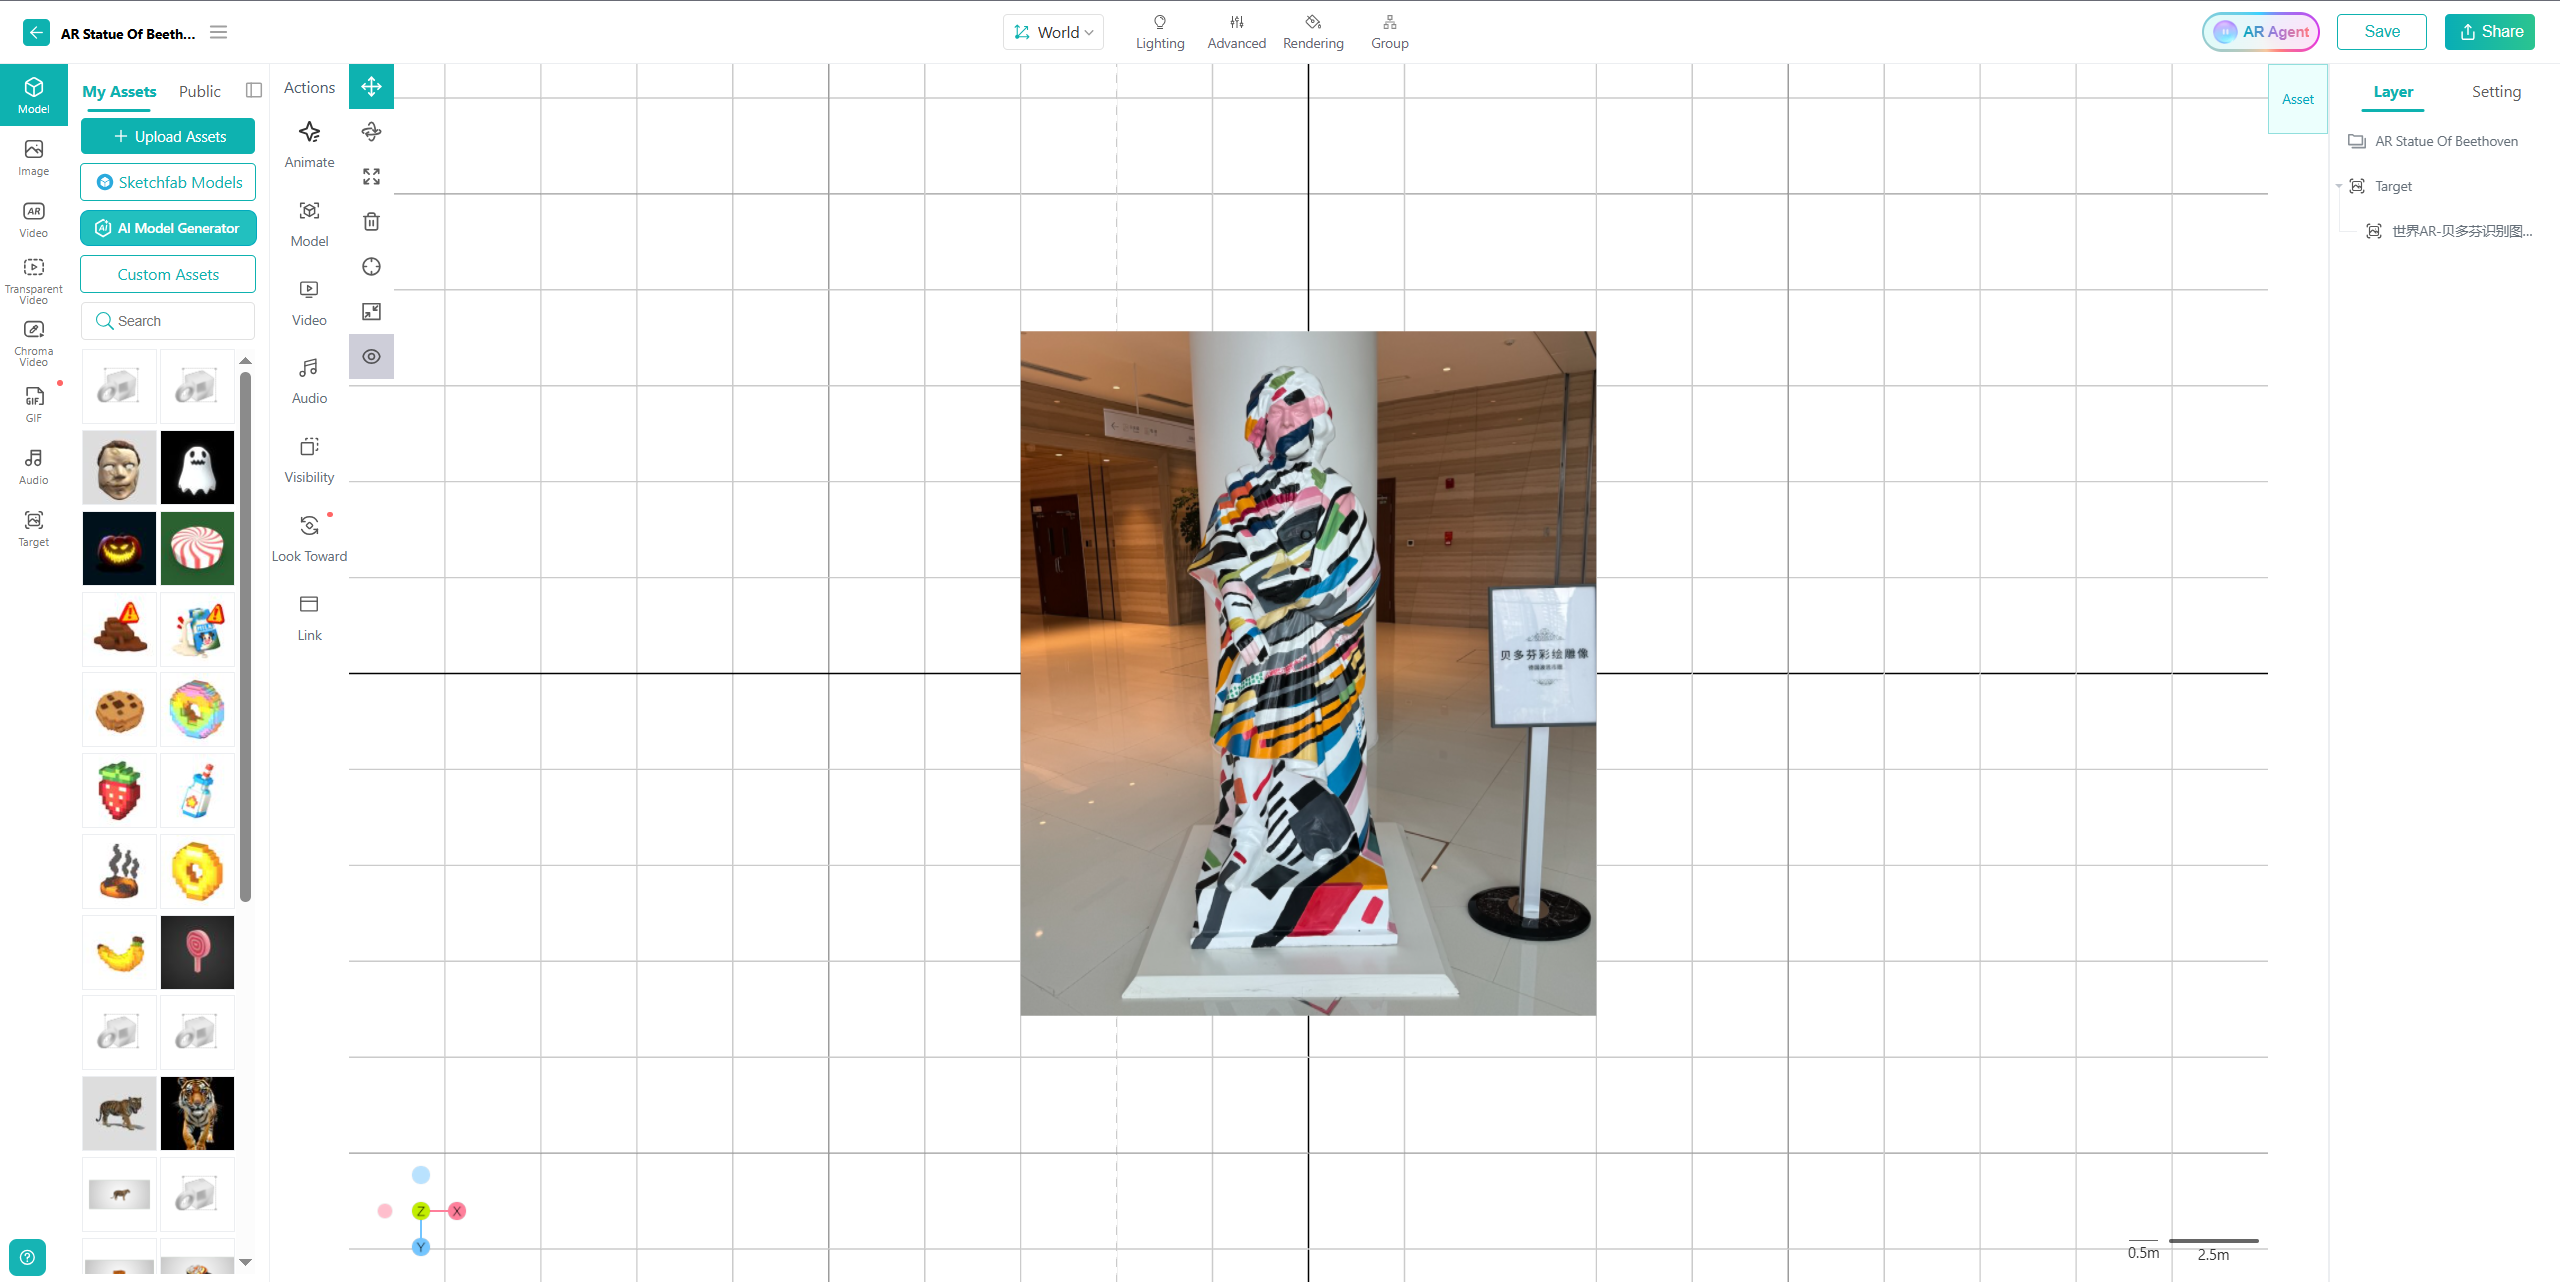
The 3D canvas for Landmark AR scenes displays the location map you uploaded by default. Since the location map corresponds to the facades of real-world buildings, the default view in the 3D canvas keeps the location map in a vertical orientation.