English
Appearance
After importing a model, you can view model information and adjust materials, lighting, animations, and rendering settings from the right panel. Some features support saving changes, while others are for previewing model effects only.
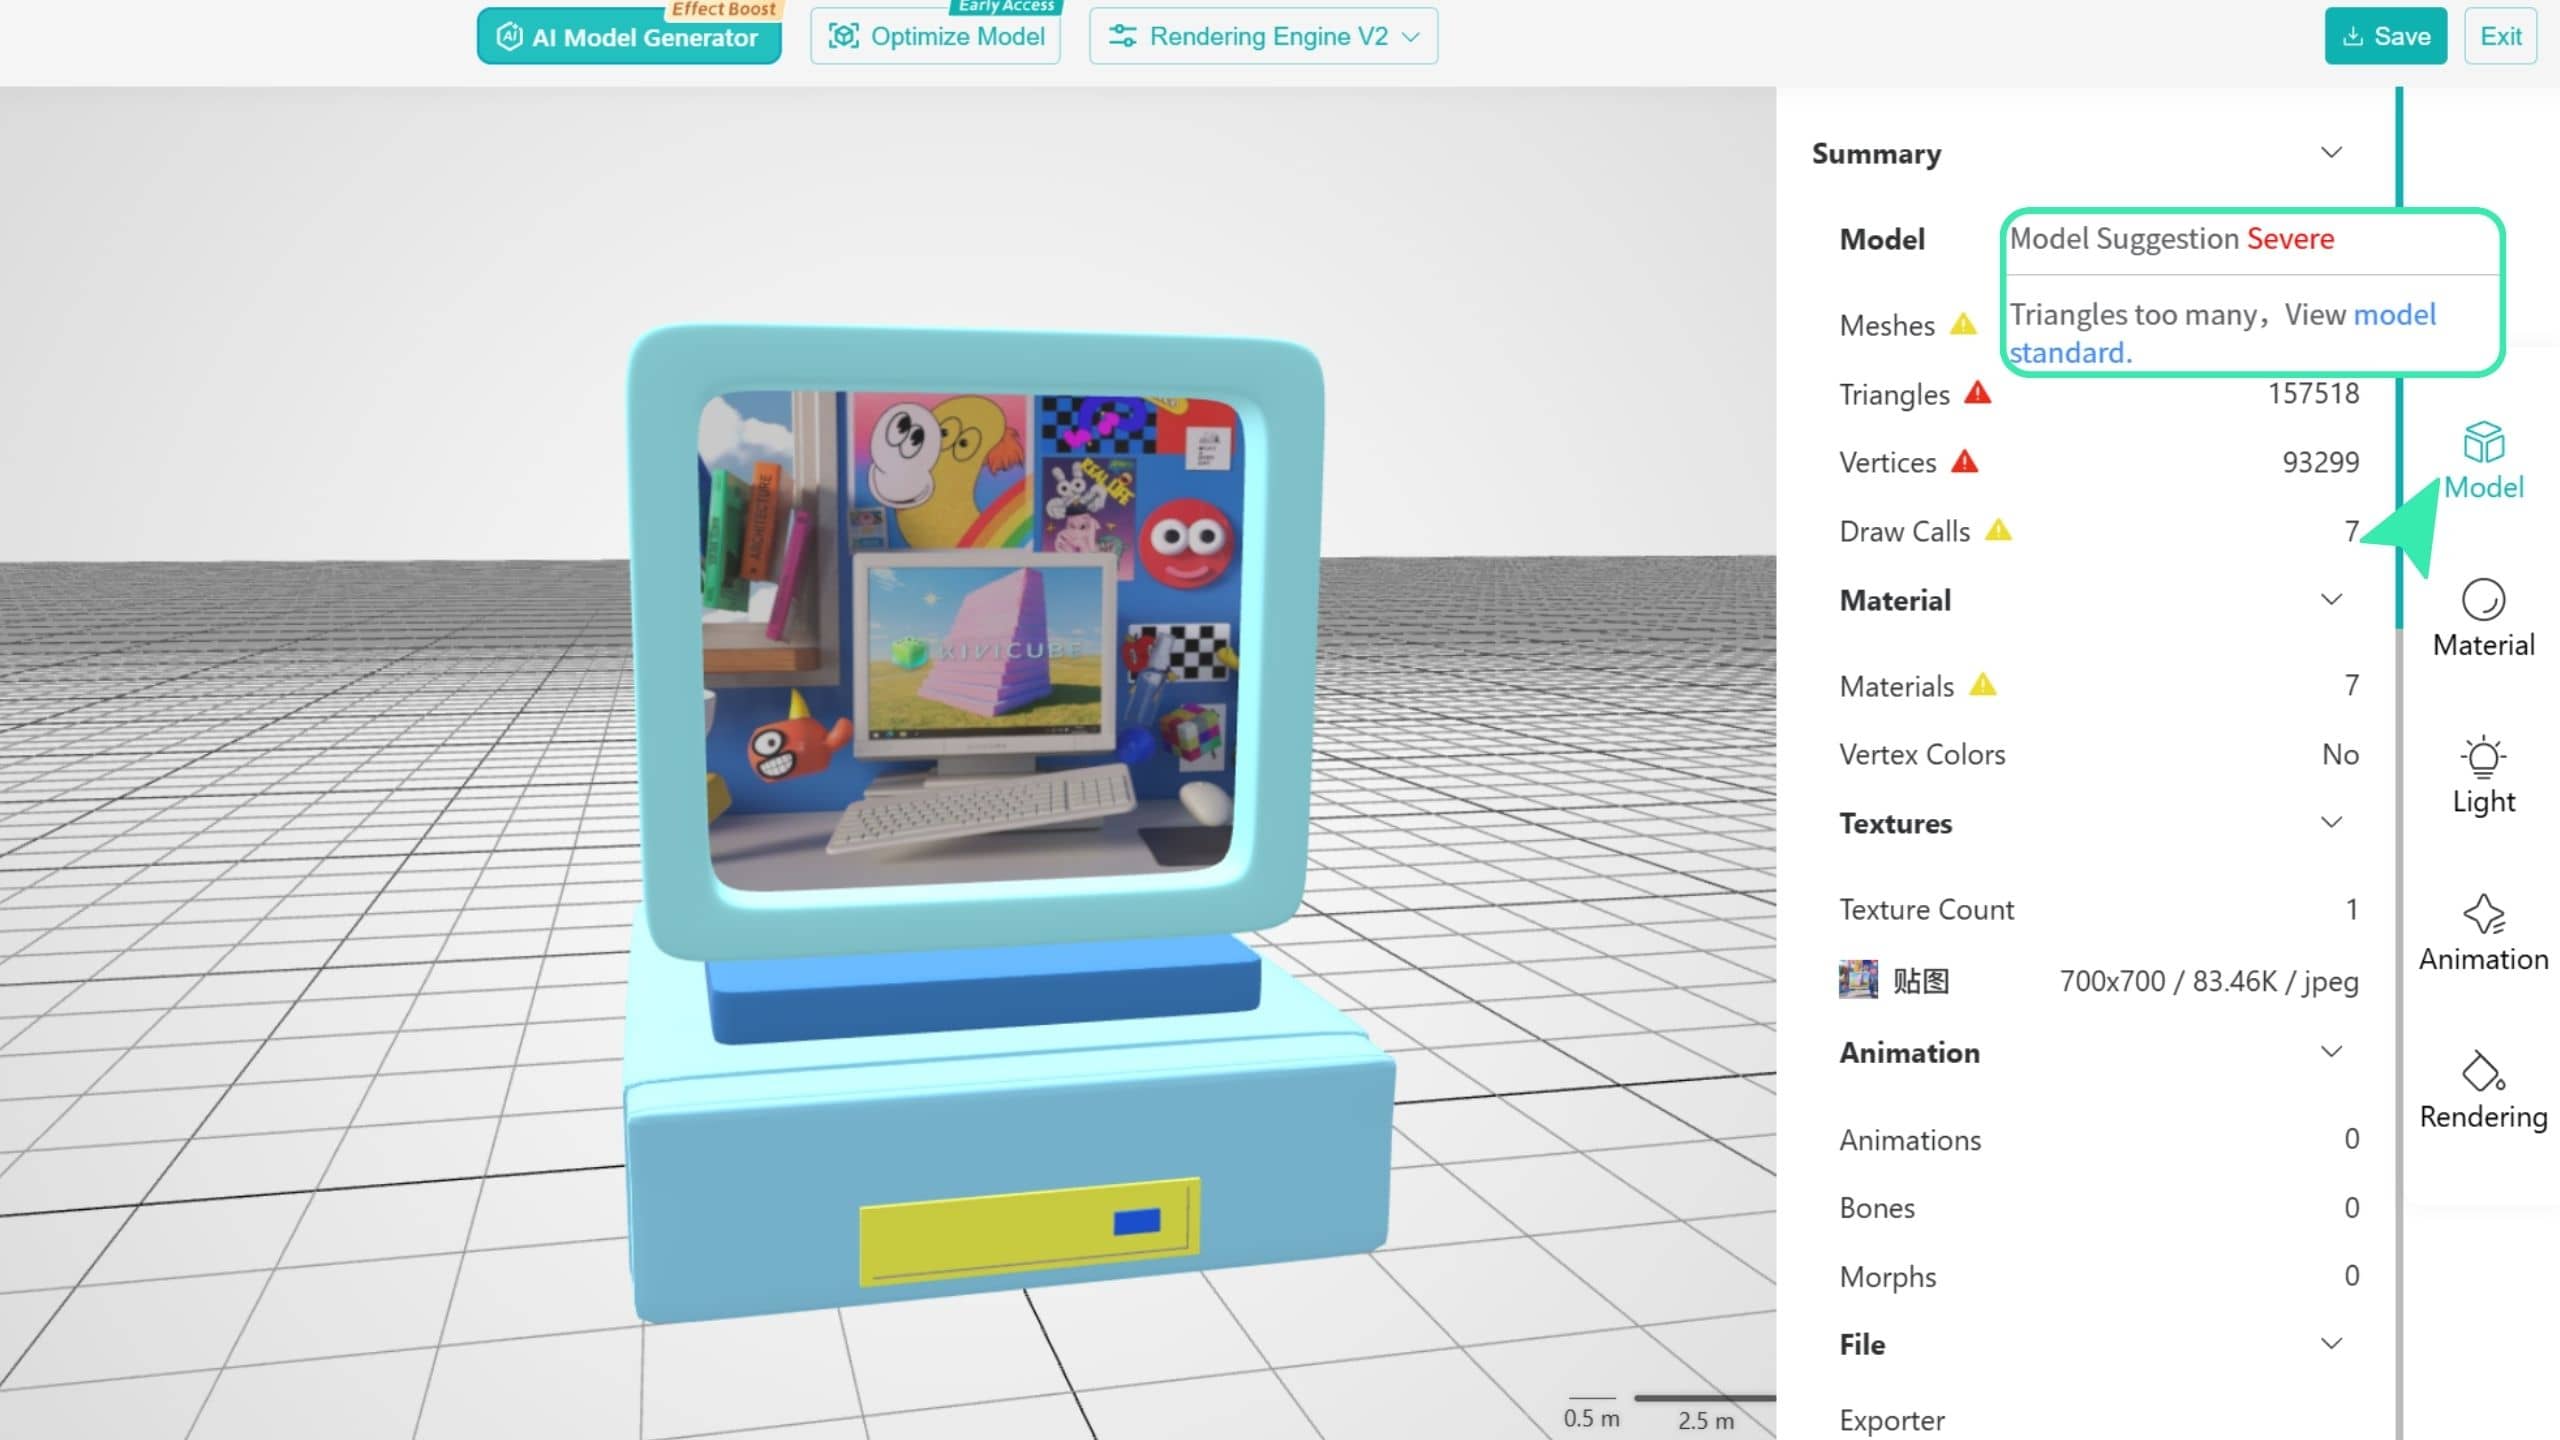
After uploading a model, we recommend clicking the Model button on the right panel to check the model and optimize it according to the Kivicube 3D Model Requirements .
This section displays detailed model information and highlights potential issues. Yellow notices indicate optimization items that need attention, while red warnings indicate more serious issues.
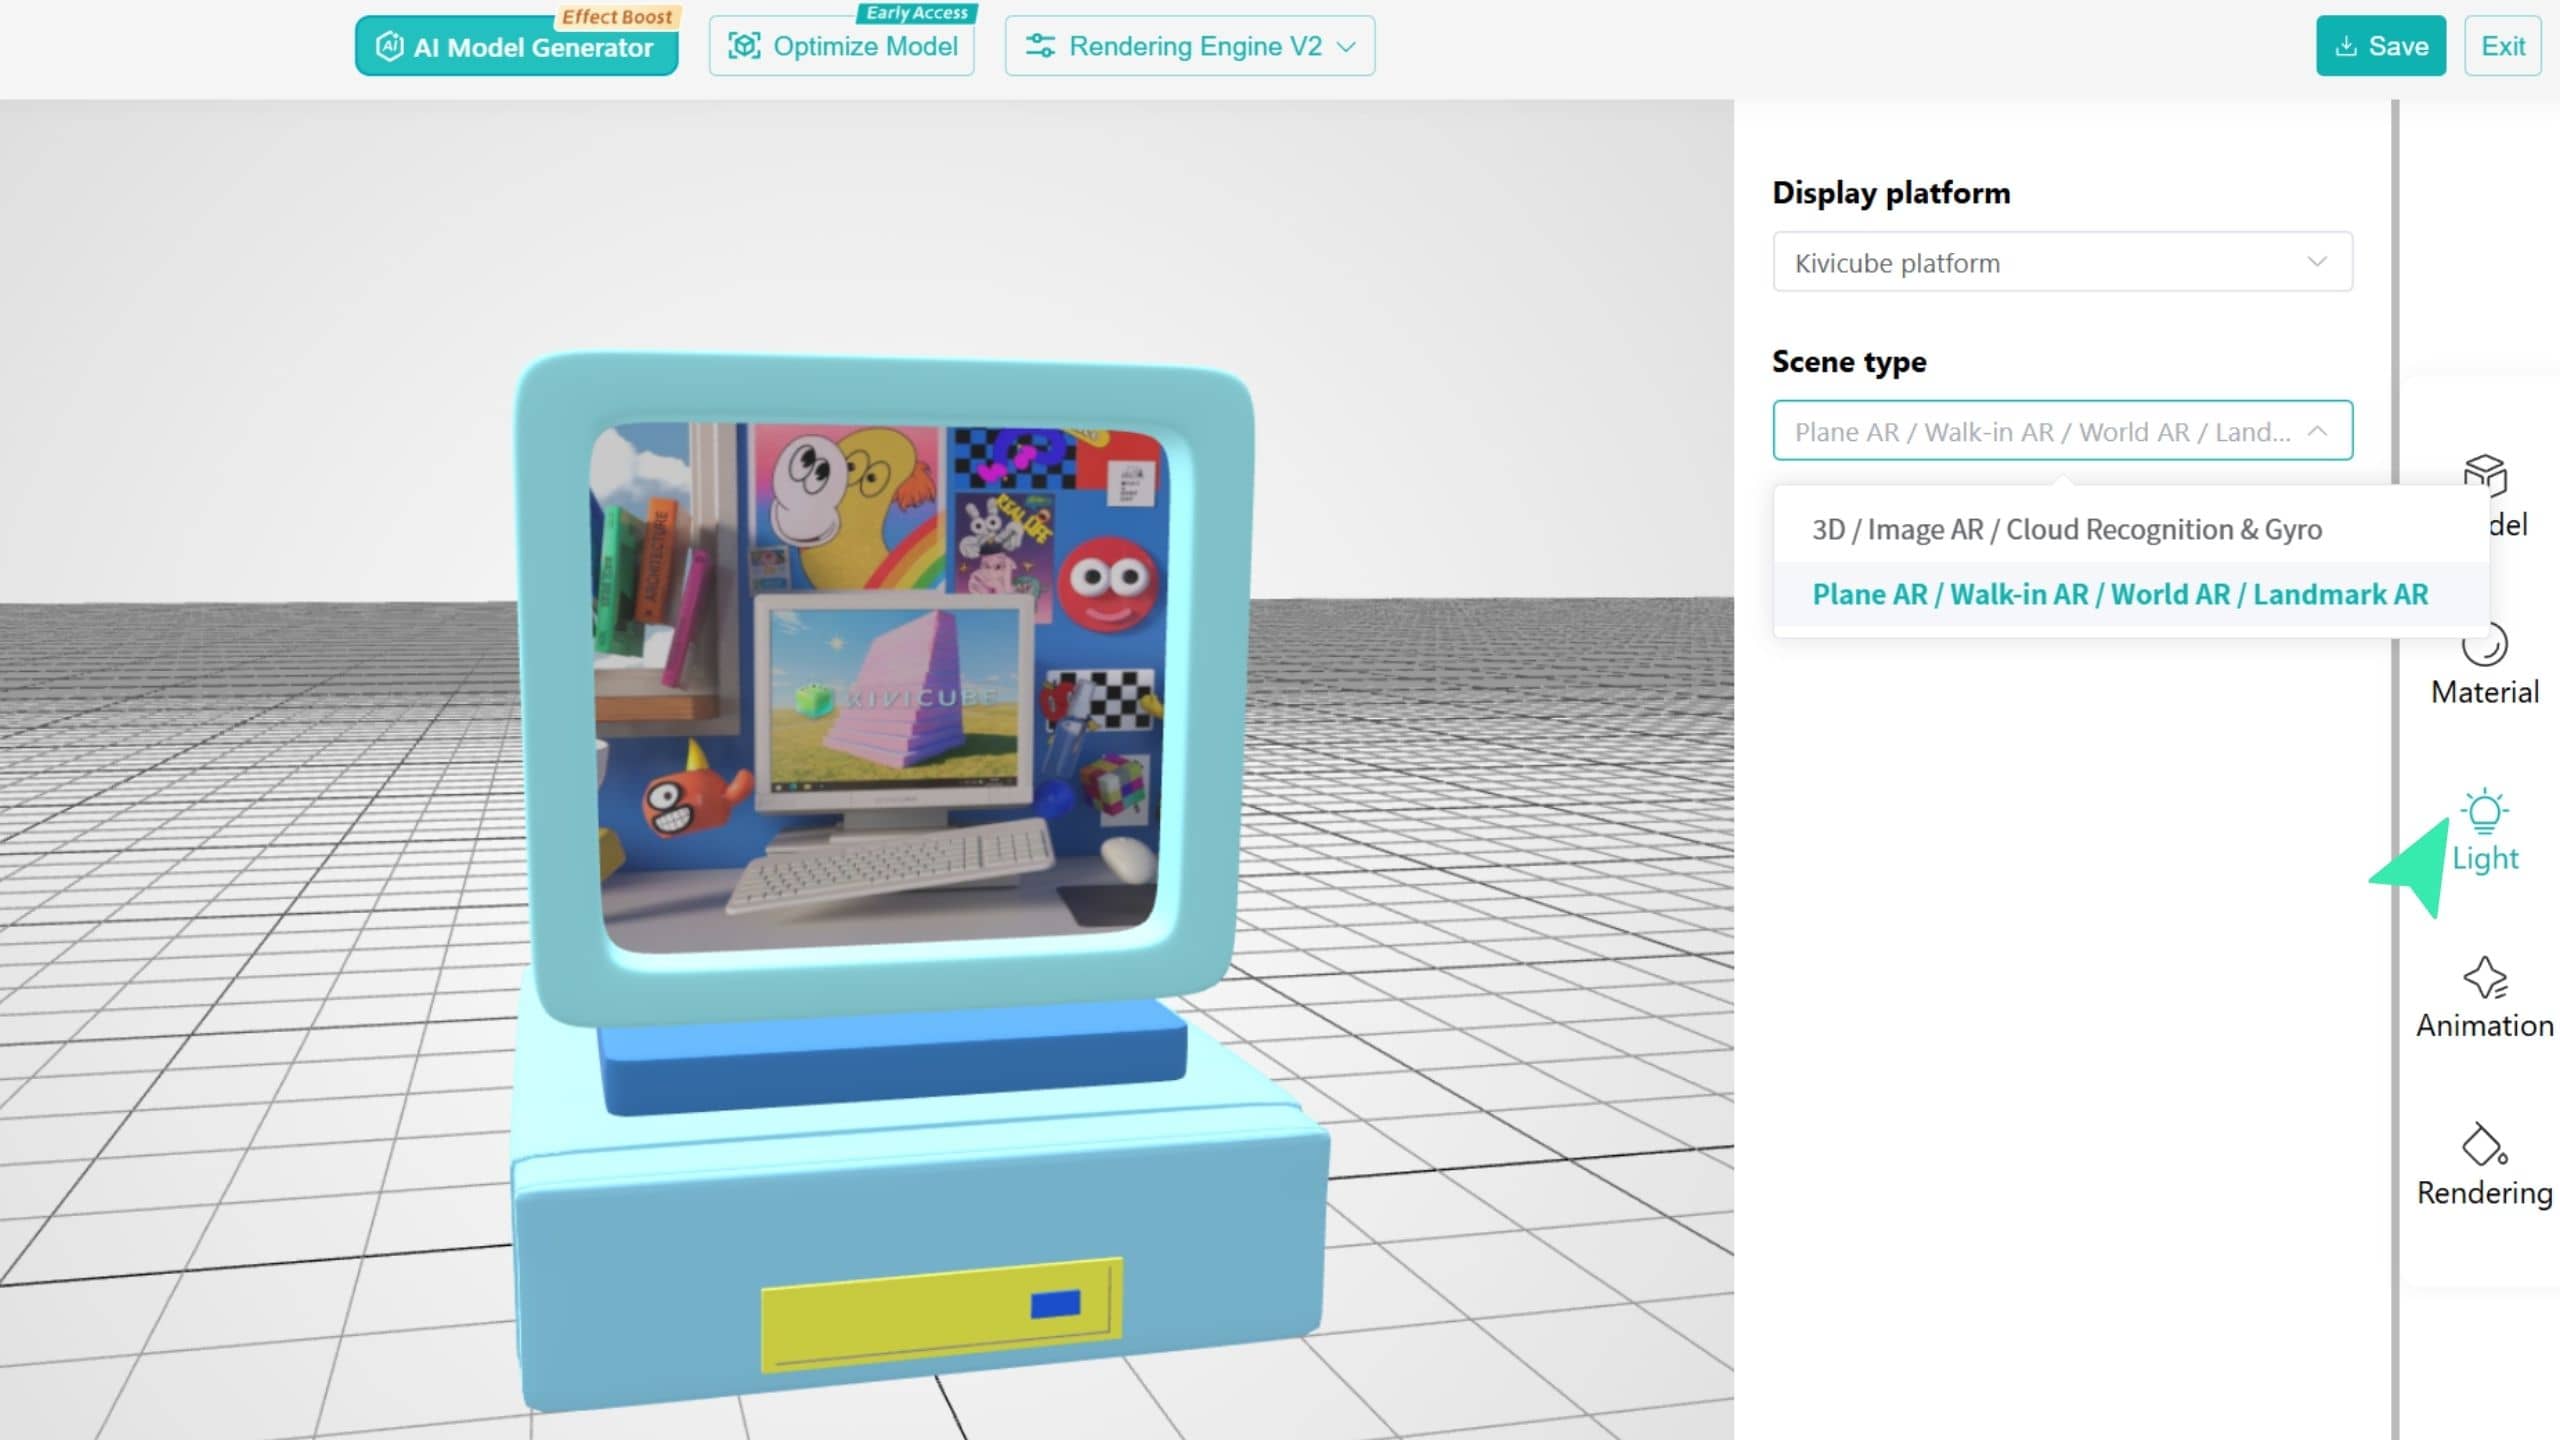
In the Light panel, you can preview how the model looks under the default lighting settings of different AR scene types.
TIP
Note that these settings are for preview only. To adjust the lighting in your actual AR scene, please configure it in the Scene Editor.
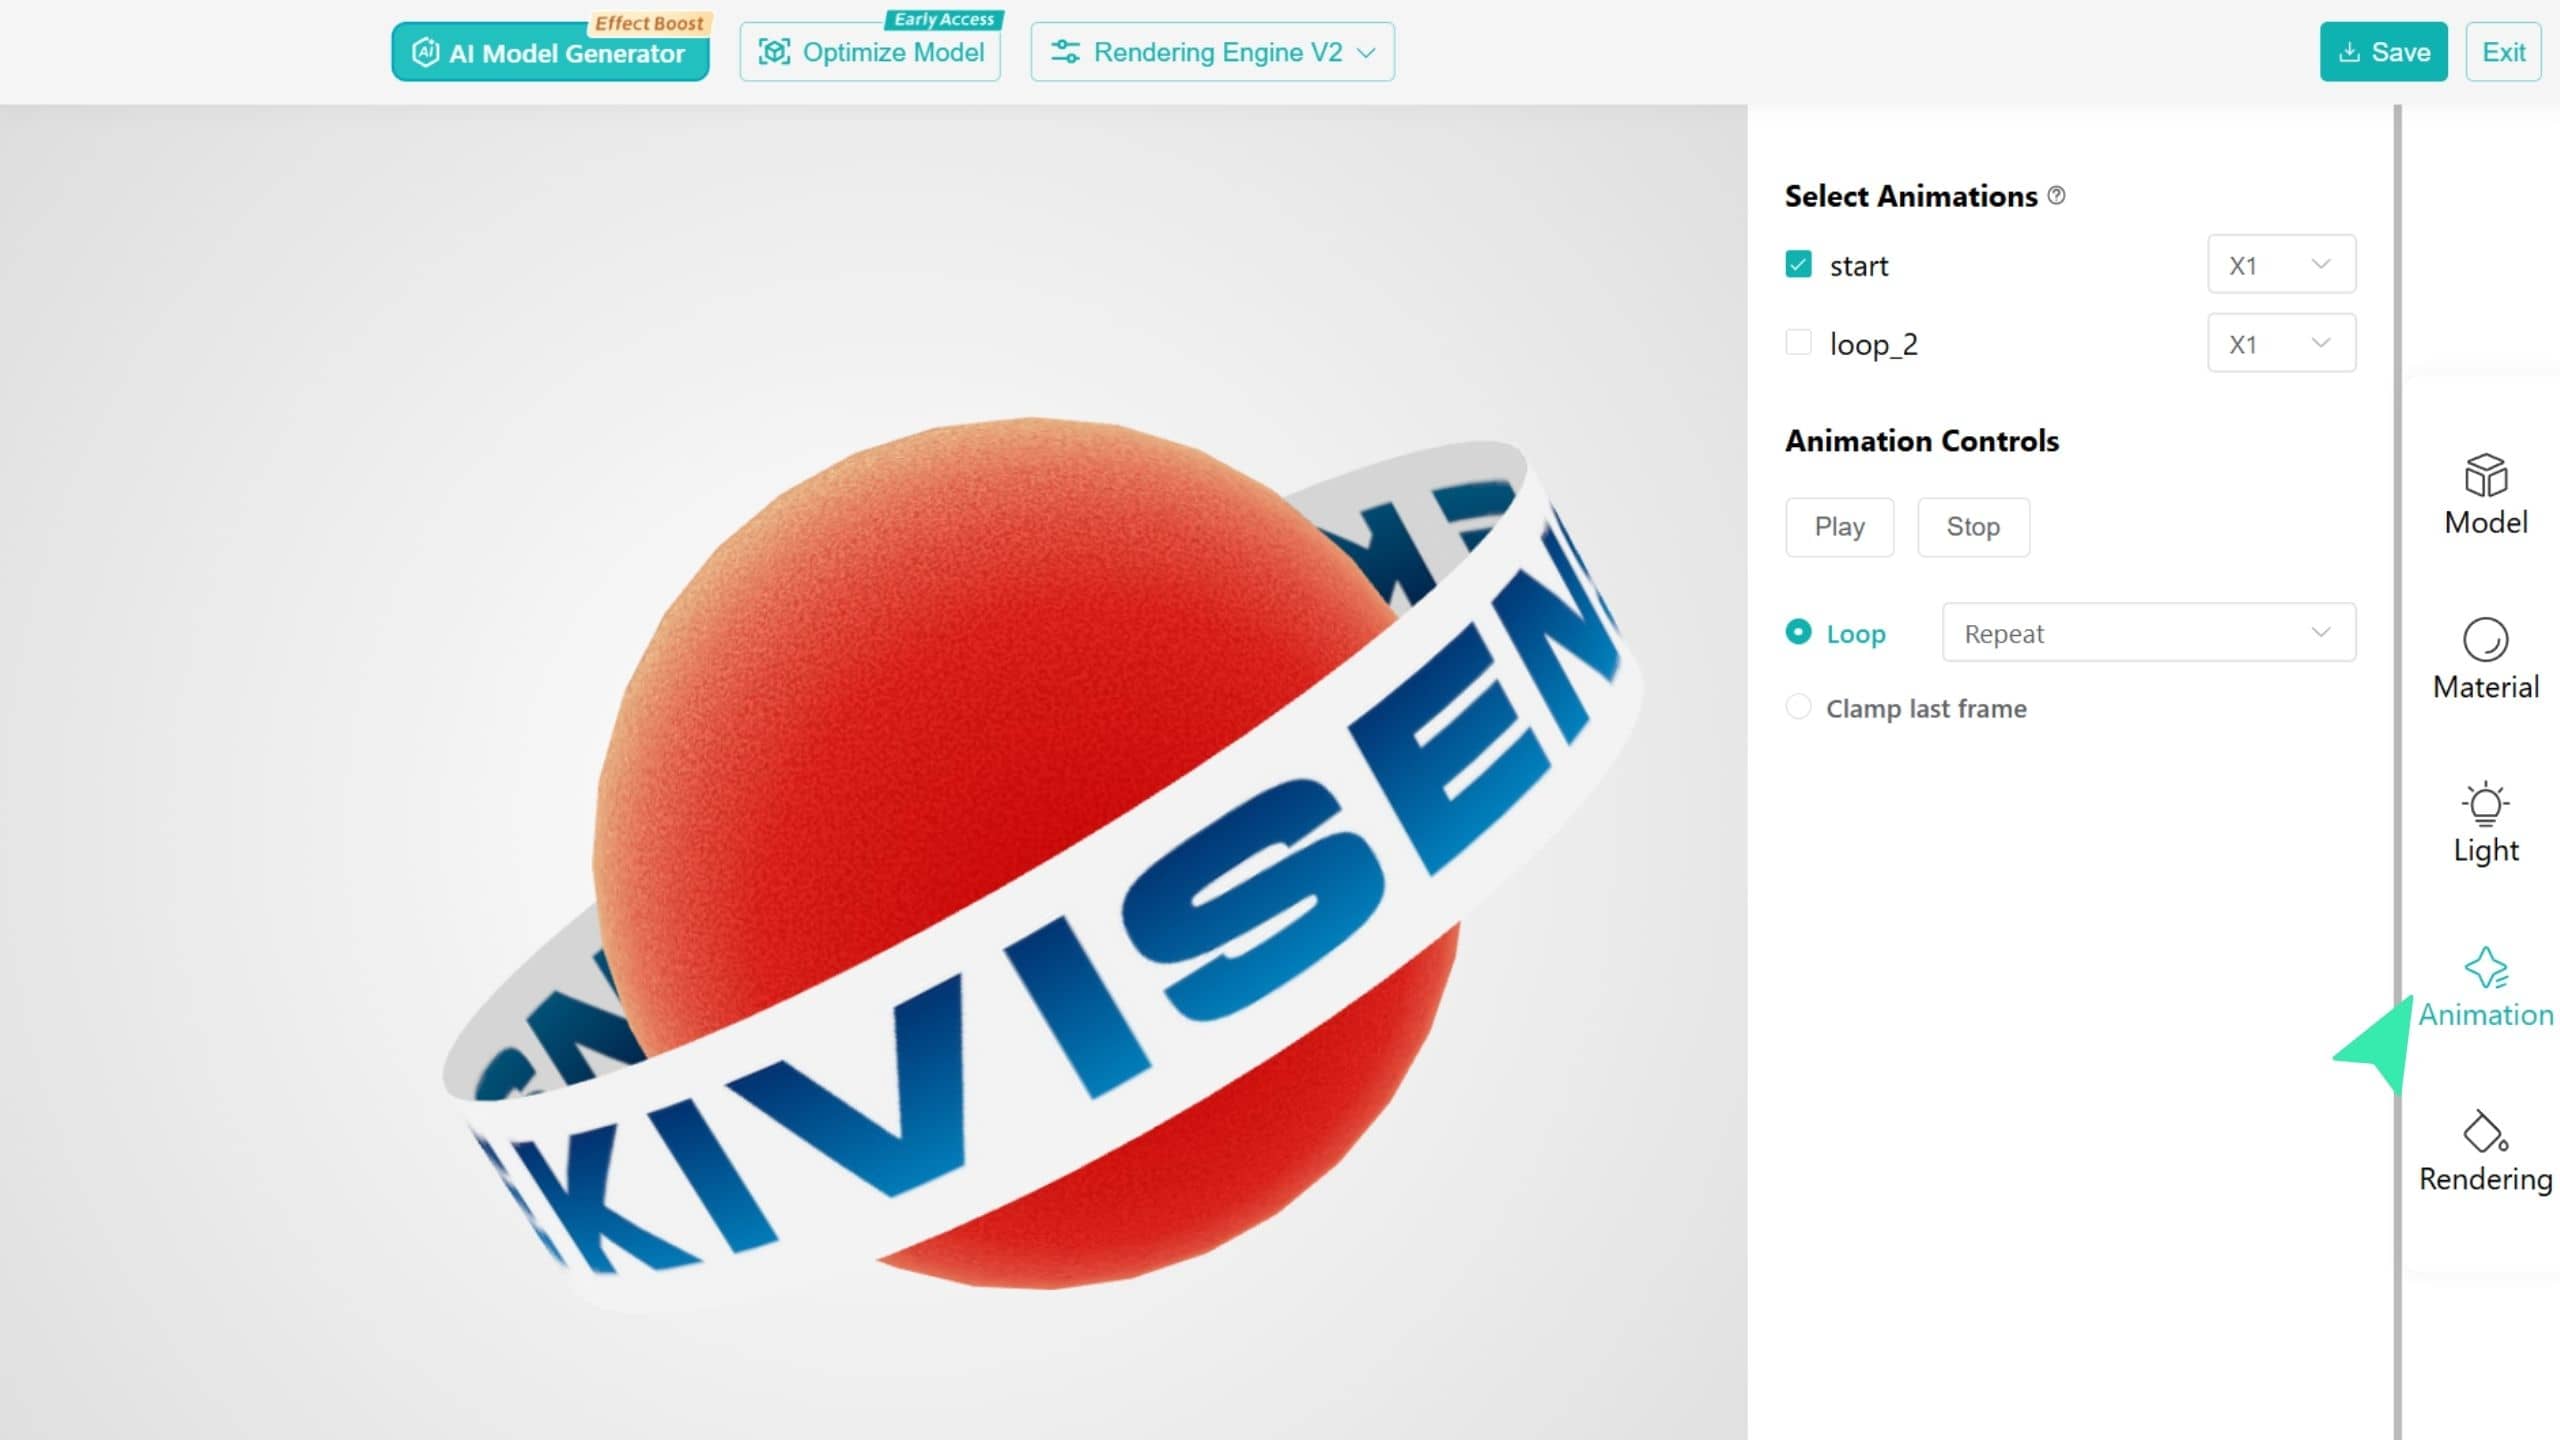
You can view and preview the animations included with the model in the animation list. After selecting an animation, you can adjust basic settings such as playback speed and save the changes.
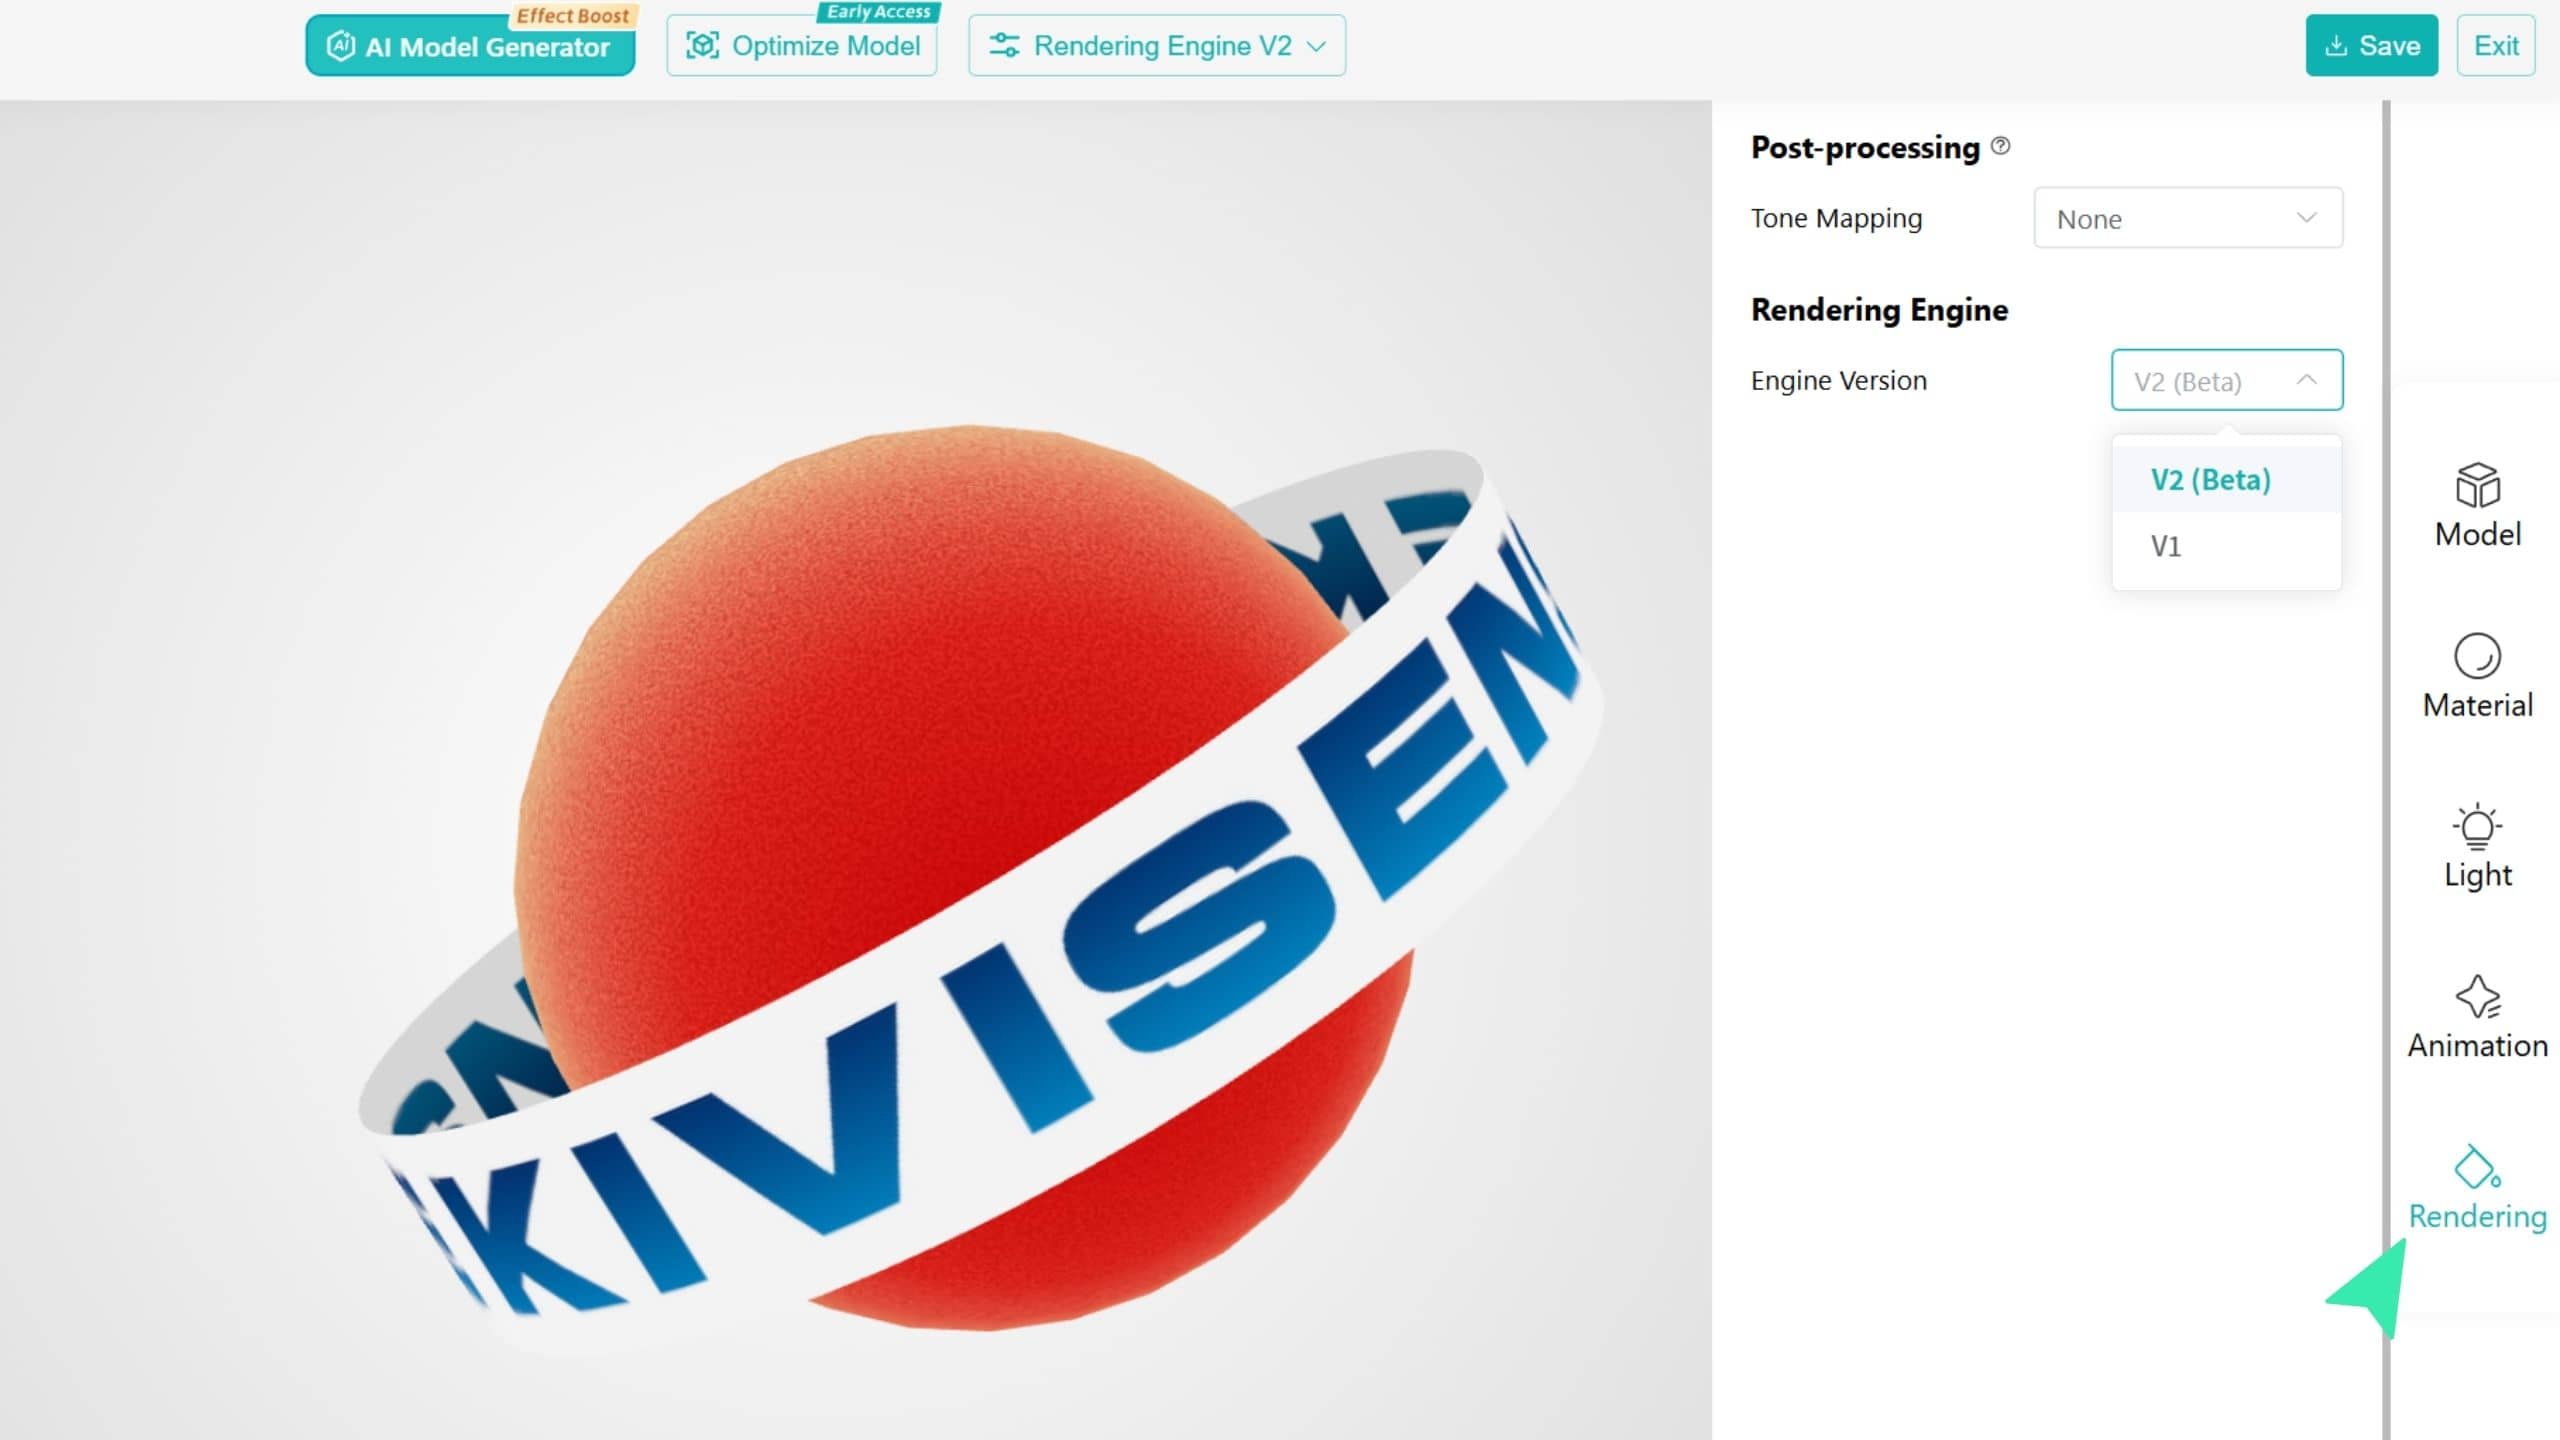
The Rendering settings allow you to preview how the model looks with different tone mapping options and rendering engine versions. Kivicube currently provides two rendering engines, V1 and V2, with V1 enabled by default.
You can manually enable the V2 Rendering Engine here. Once enabled, more material types and parameters will become available in the Material settings, allowing you to further refine the model appearance.
Post-processing effects here are for preview only. To apply changes to your AR scene, configure the post-processing settings in the Scene Editor.
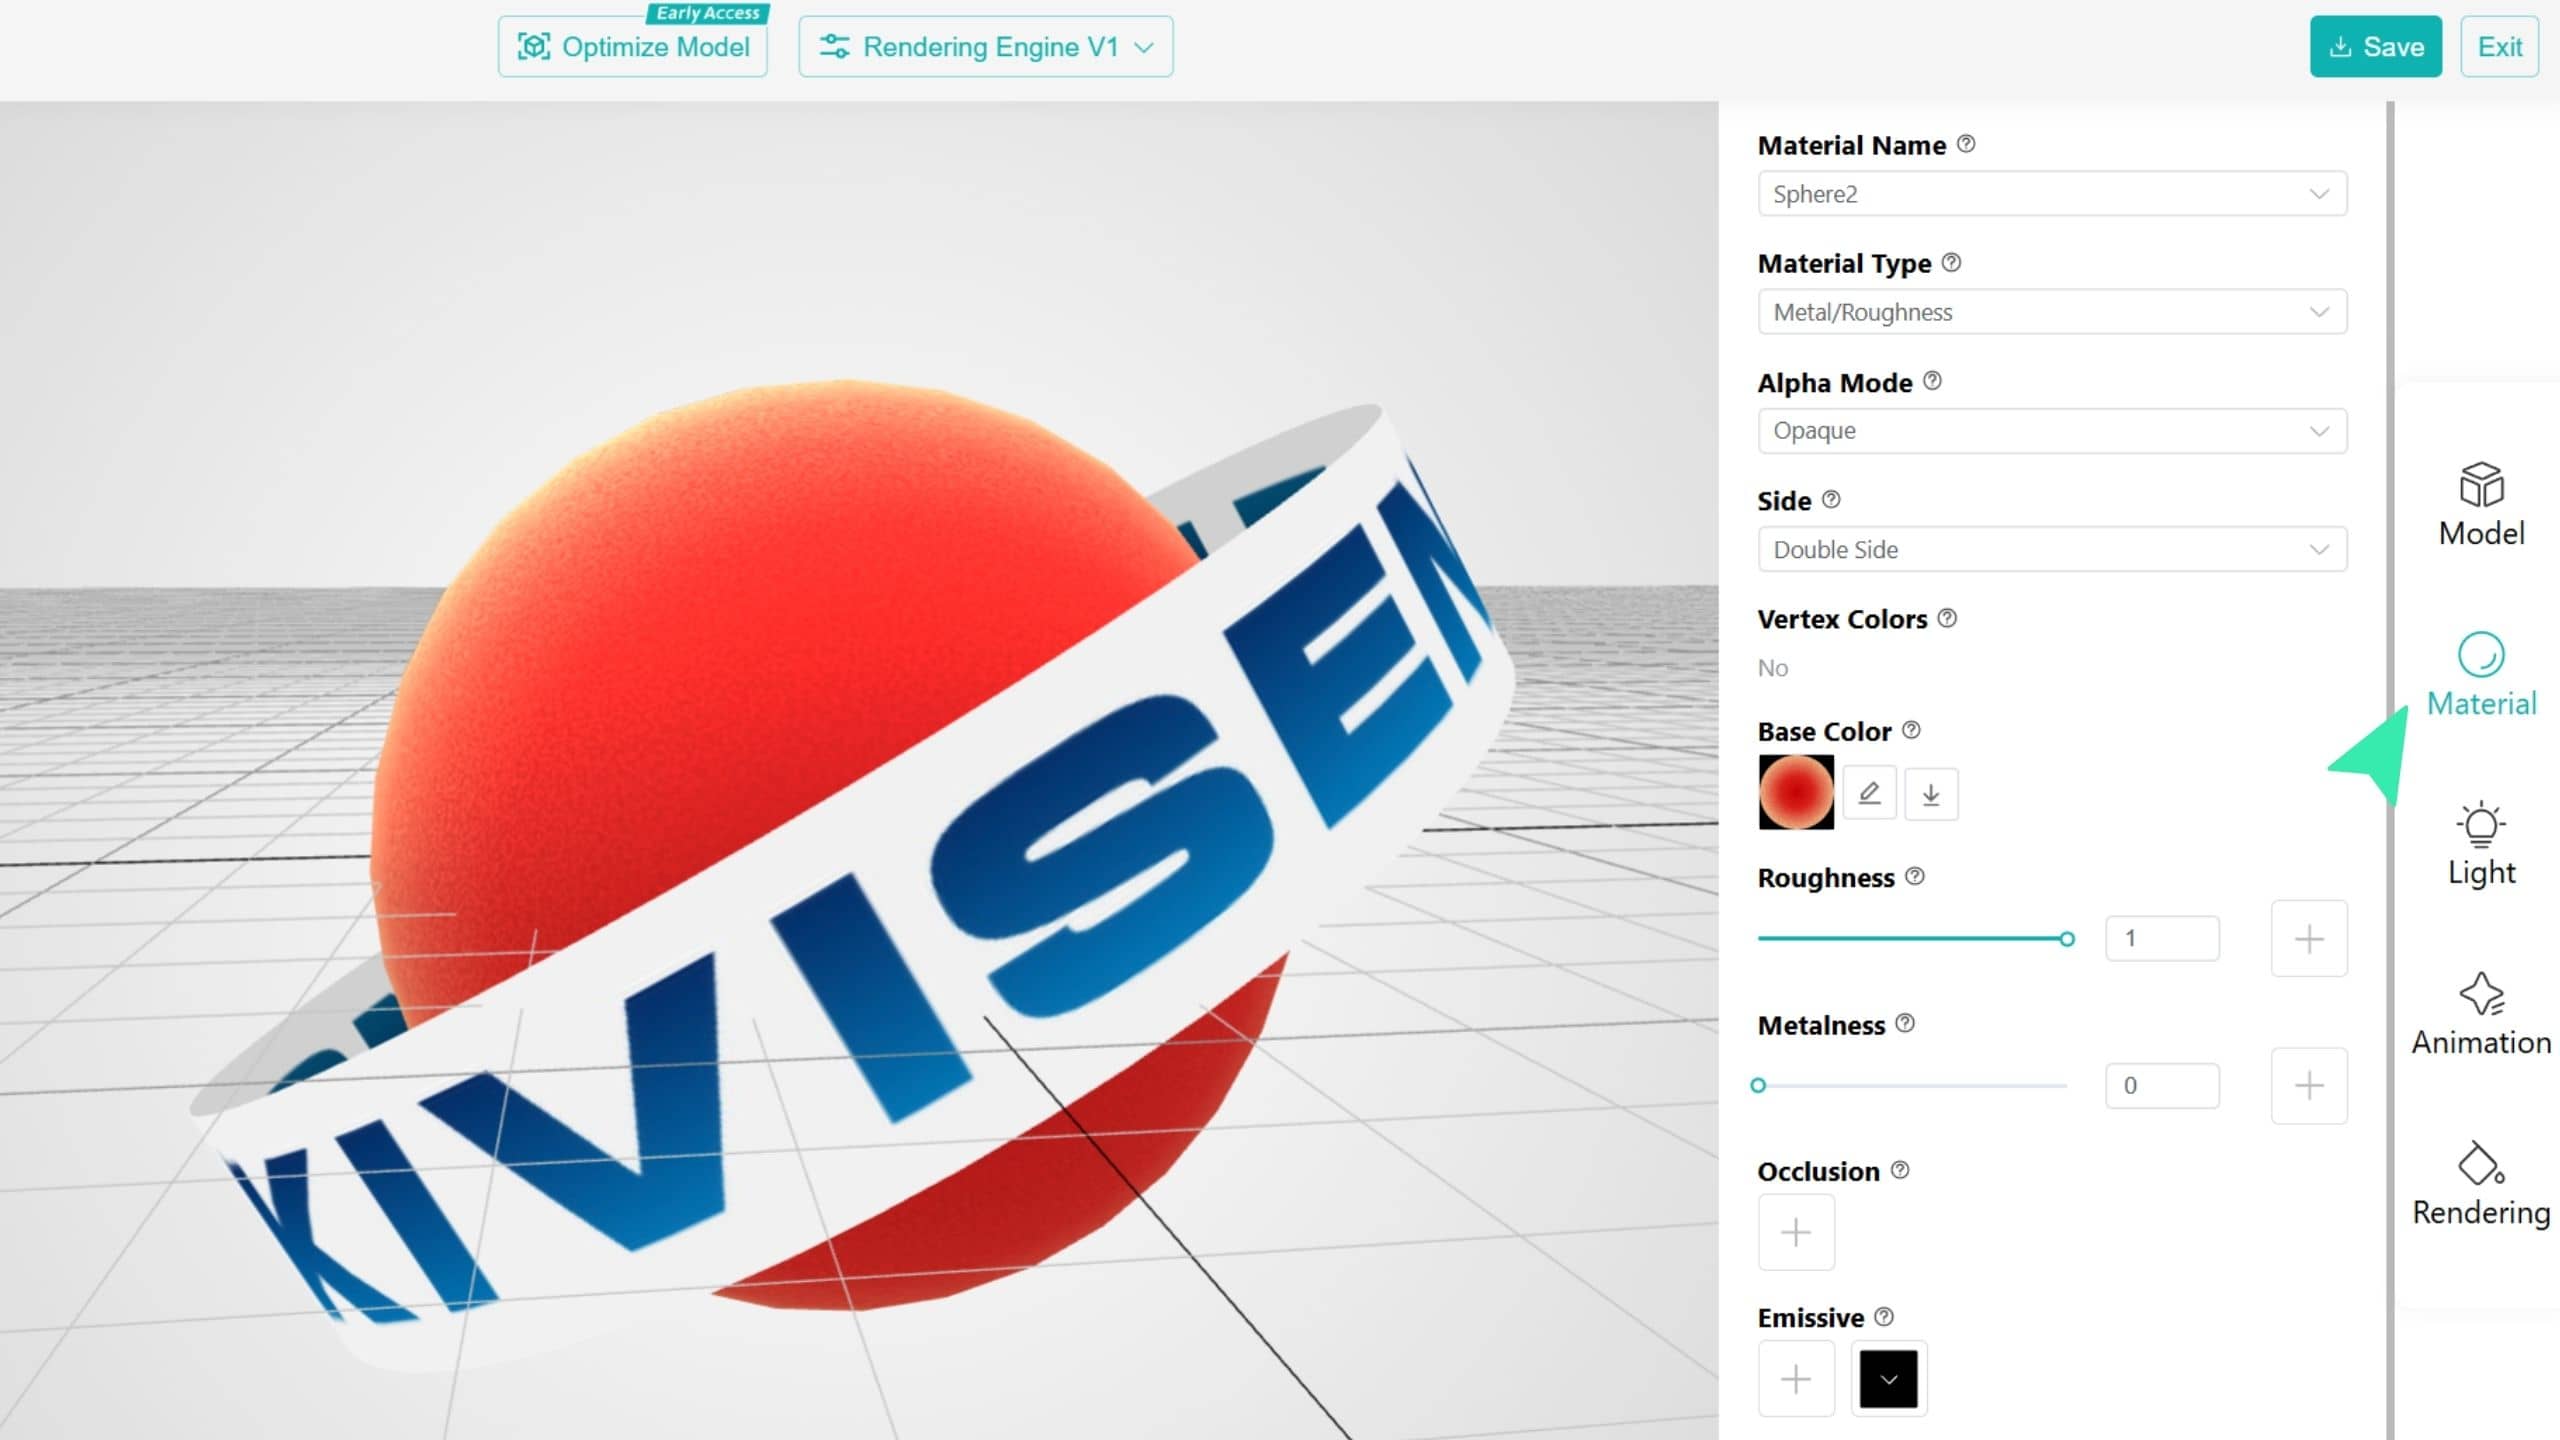
Material settings allow you to adjust the appearance of the model. You can refine the model look by adjusting parameters such as material type, color, transparency, roughness, and metallic value.
| Setting | Description |
|---|---|
| Material Name | A model may contain multiple materials. You can select each material to adjust its settings individually. Make sure all materials are configured correctly to avoid missing textures after import. If a texture is missing, simply select the corresponding material and reassign the texture. |
| Material Type | ● Metallic / Roughness: A material type based on the PBR workflow. It is affected by scene lighting and can be adjusted using parameters such as Metallic and Roughness. ● Unlit: A material type that is not affected by scene lighting. It only requires a base color texture to display the model appearance, providing better performance for AR scenes with higher performance requirements. If the model appears overexposed or has abnormal brightness, try switching to an Unlit material. |
| Alpha Mode | Used to configure the transparency of a material: ● Opaque: Suitable for materials without any transparency. ● Blend: Suitable for materials with gradual transparency effects, such as glass and water. ● MASK: Suitable for materials with only transparent and opaque areas, such as leaves and cutout patterns. The system determines whether an area is visible based on the Alpha Cutoff value. 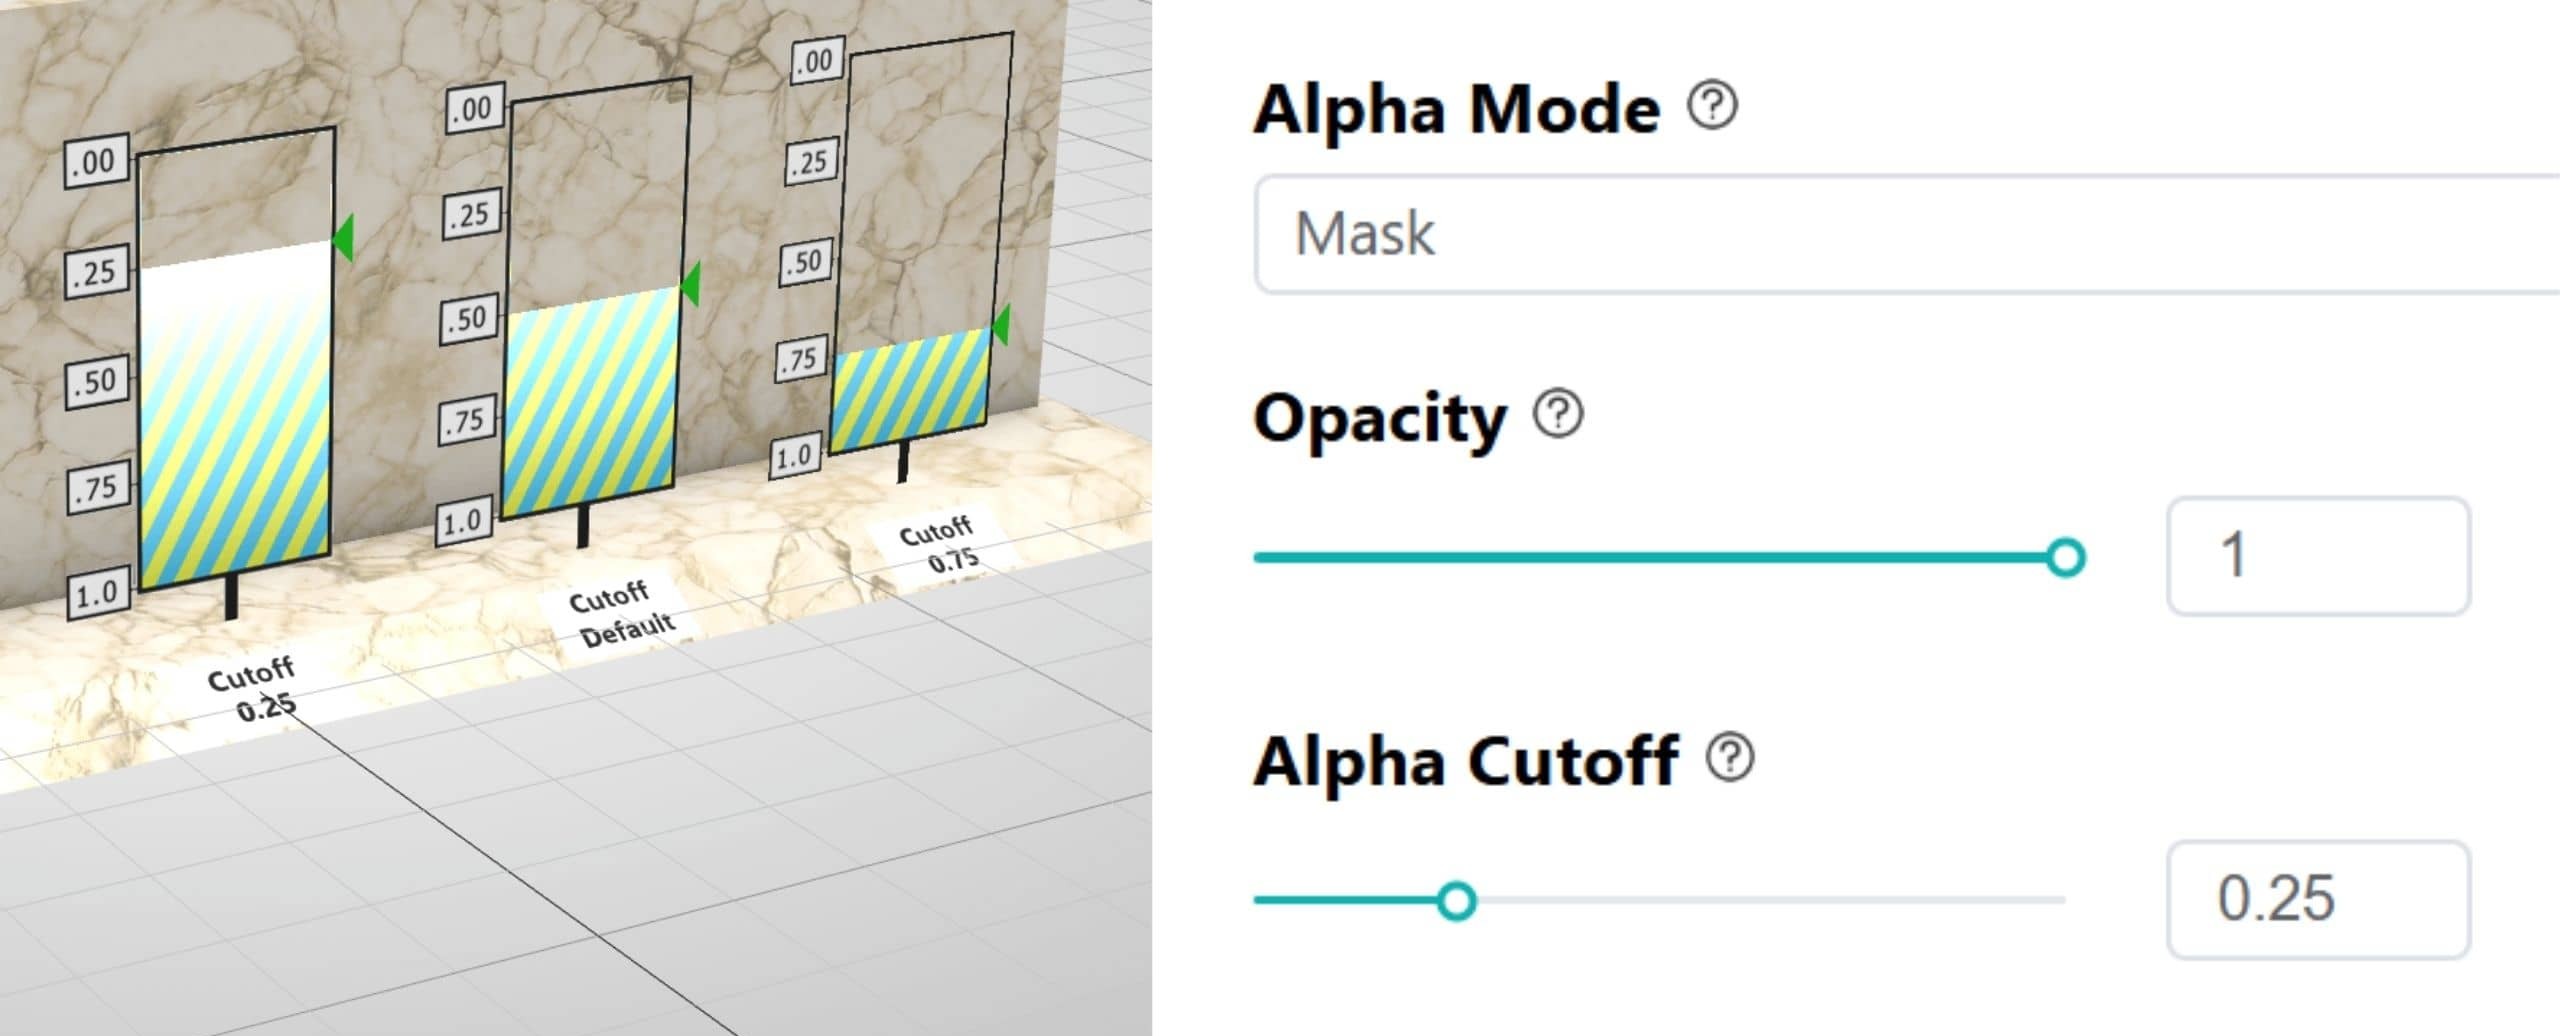 |
| Side | When Double Side is enabled, the material will display textures on both front and back faces. However, it may increase AR scene performance costs. Keep it disabled unless necessary. |
| Vertex Colors | Vertex Color displays the vertex color information stored in the model. If the model color appears incorrect, or you do not need vertex color effects, you can disable this option. |
| Base Color | Used to set the base color of the material. You can change the model appearance by adding a compatible texture or adjusting the color directly.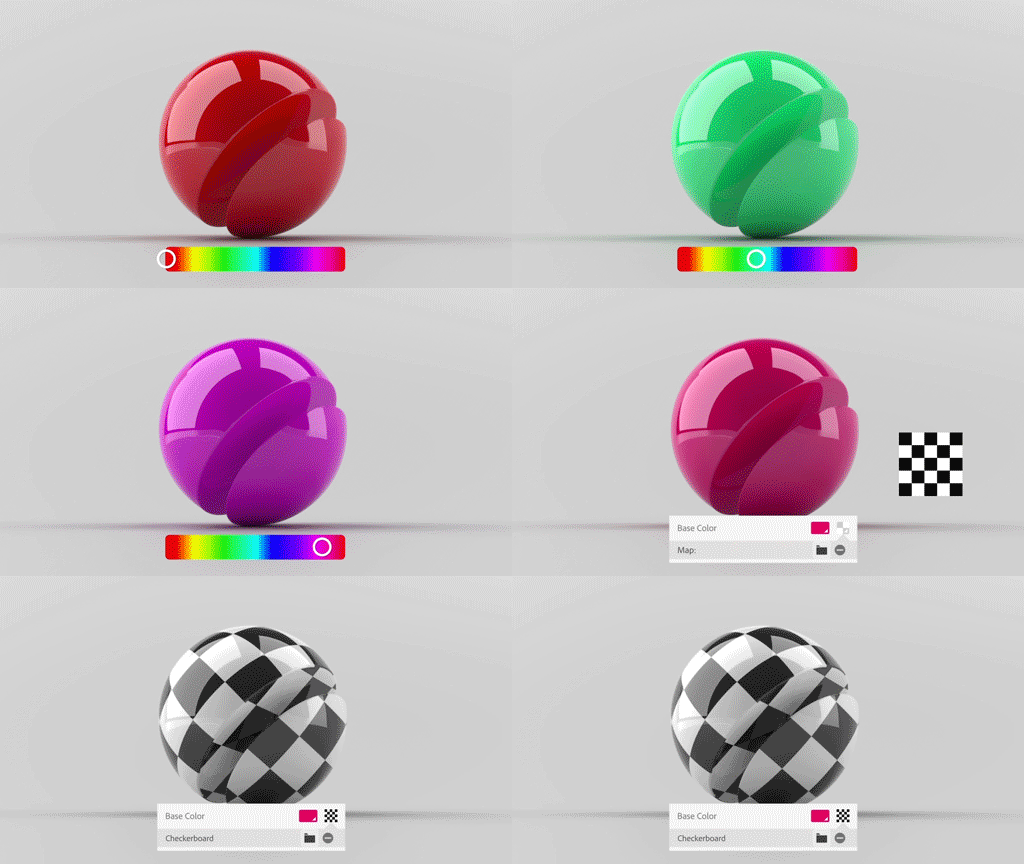 |
| Roughness | Only available when the Metallic/Roughness material type is selected. It controls the metallic appearance of the model. Higher values make the material look more metallic, while lower values make it behave more like a non-metal material. If different areas of the model require different metallic effects, you can add a metallic texture to control them. 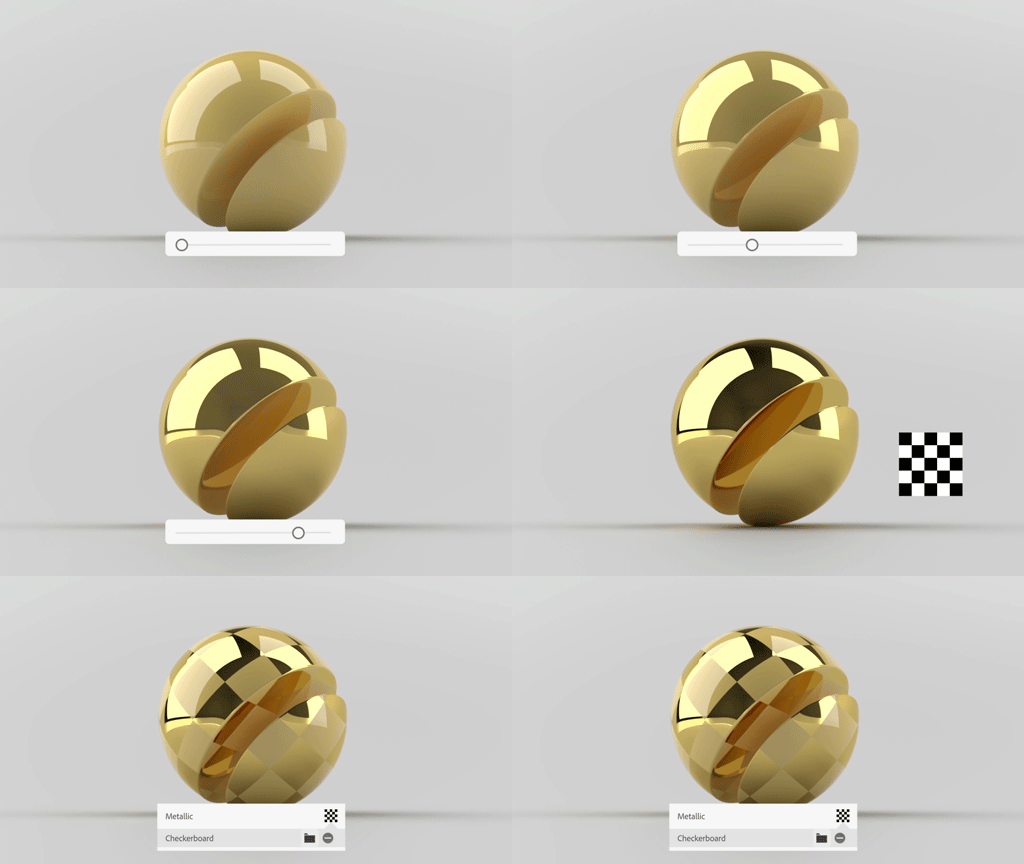 |
| Metalness | Only available when the Metallic/Roughness material type is selected. It controls the roughness of the material surface. Lower values make the surface smoother, while higher values make it rougher. If different areas of the model require different roughness levels, you can add a Roughness texture to control the effect, such as making some areas smoother and others rougher. 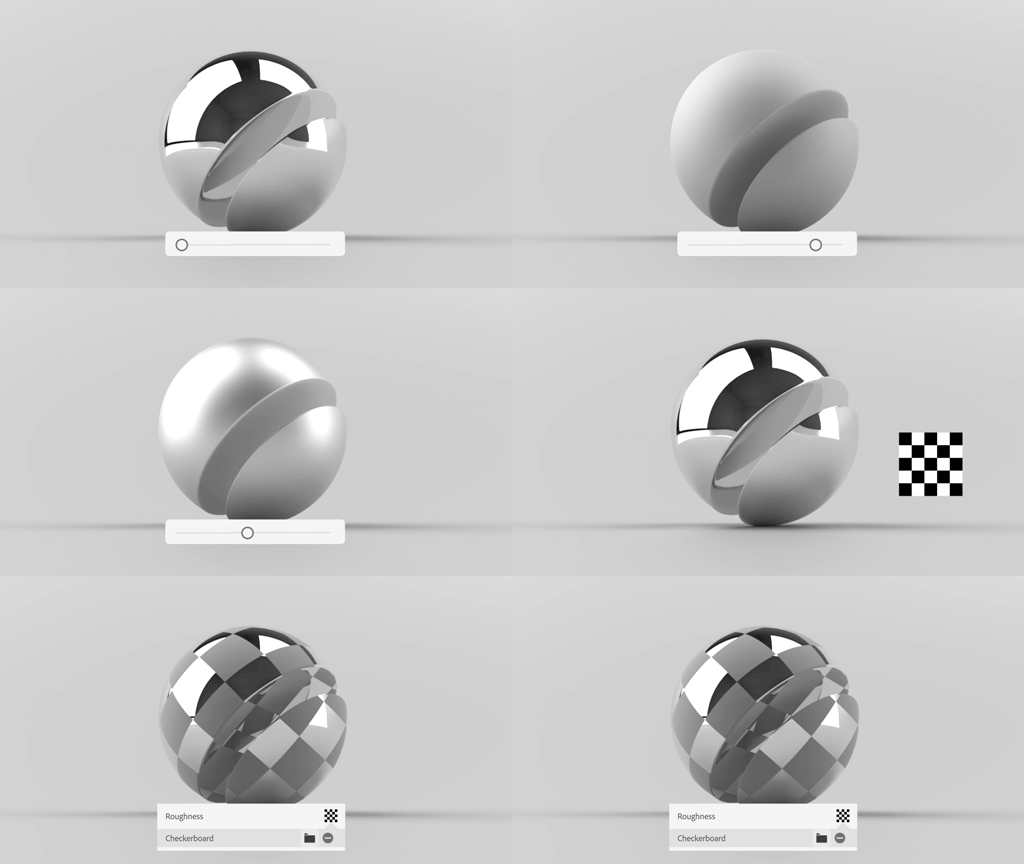 |
| Occlusion | Also known as an AO texture, it adds ambient occlusion effects to enhance shadow details and depth. By adding an AO texture, areas such as gaps and recessed parts of the model can display more natural shading. Some models may have shadow details directly baked into the Base Color texture to reduce the number of texture files. Although this does not follow the standard PBR workflow, it can still be used depending on the desired visual effect and performance requirements. |
| Normal | Used to add surface details to the model, such as bumps and scratches. Normal maps do not increase the model's polygon count, but they can create more detailed surface effects by affecting how light interacts with the surface. |
| Emissvie | Used to add an emission effect to the model. You can add an Emission texture or set the emission color directly. |
TIP
The following options are only available after enabling the V2 Rendering Engine in Rendering.
Click here to view how different material effects look in practice.
| Setting | Description |
|---|---|
| Emissive strength | Controls the intensity of the emission effect. Higher values make the model appear brighter. |
| Clearcoat | Used to add an additional reflective layer to the material surface. It can simulate effects such as car paint and glossy coatings. |
| Anisotropy | Adds directional reflections to the material. Use an Anisotropy texture to control the direction. Commonly used for brushed metal and CD surfaces.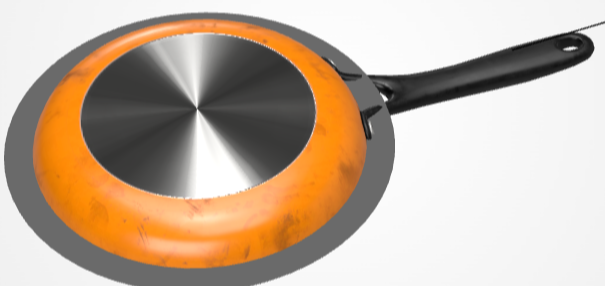 |
| Sheen | Adds a soft sheen effect to the material surface. Commonly used for fabrics, velvet, and other soft materials.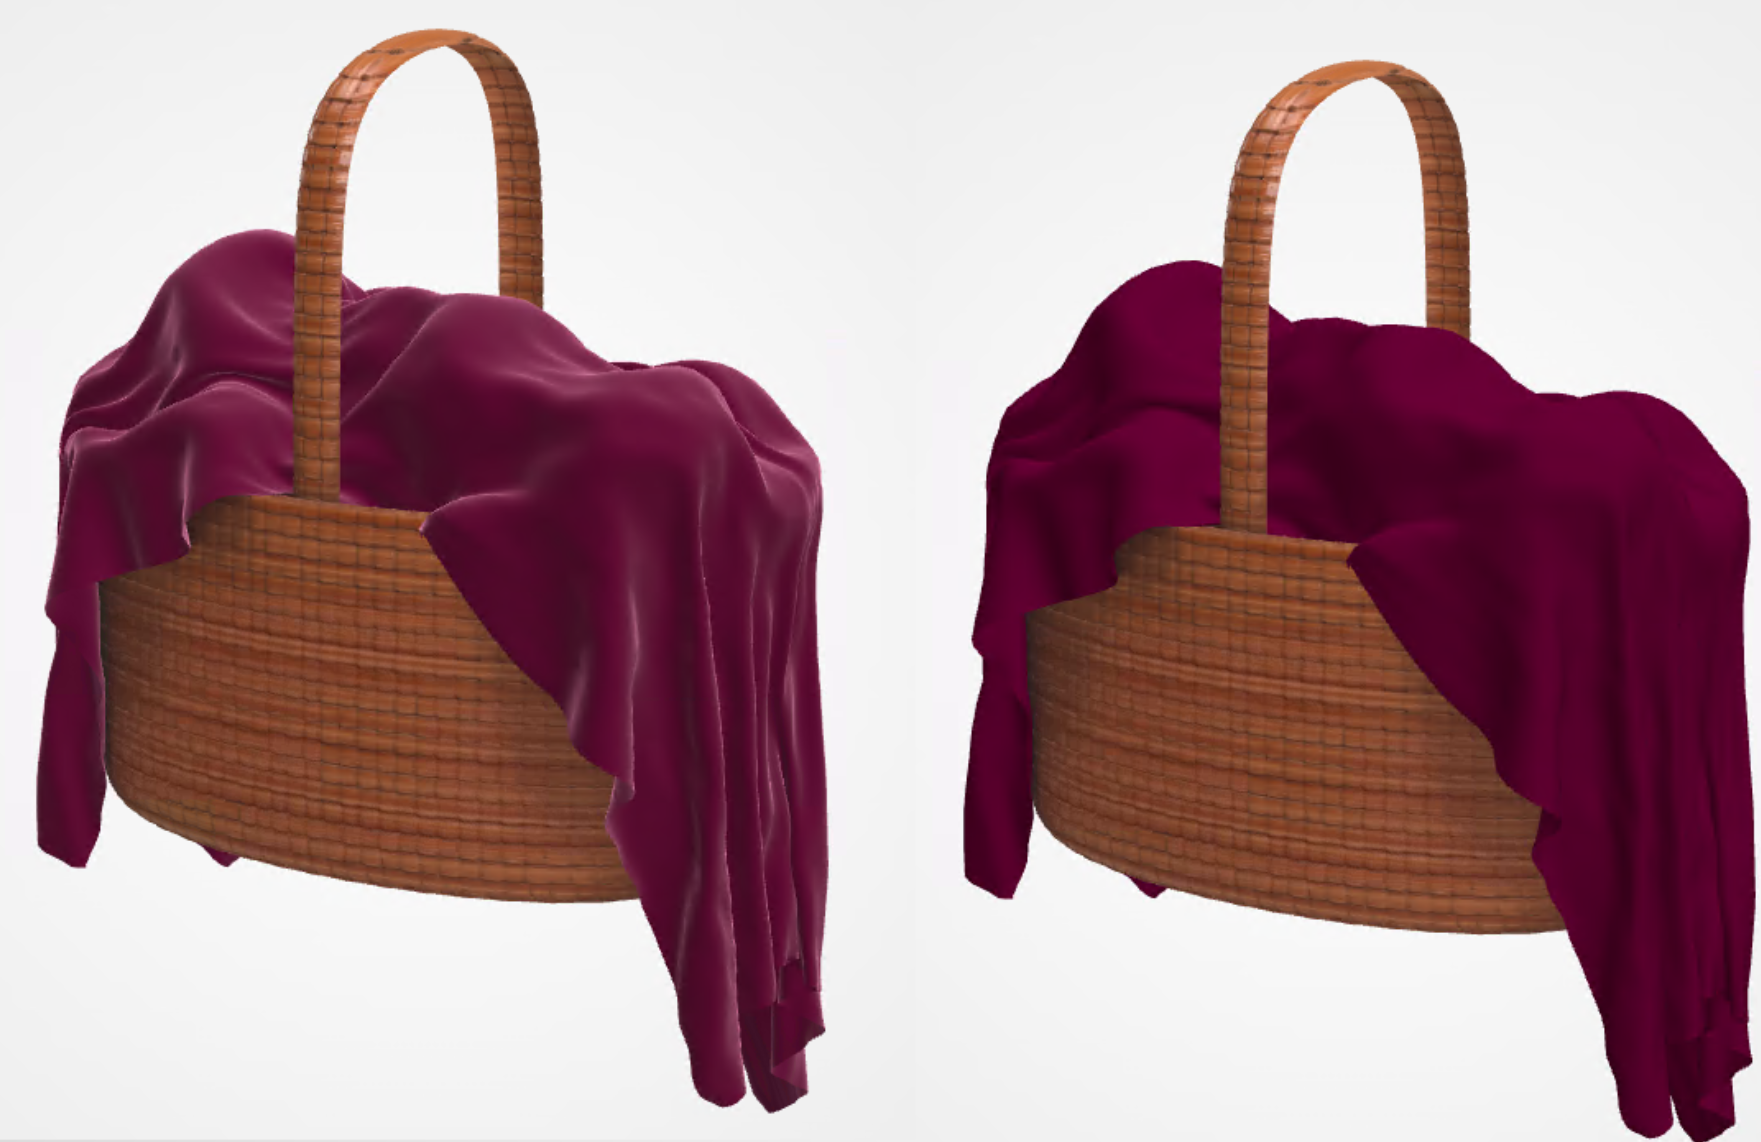 |
| Specular | Adjusts the reflective appearance of non metallic materials. You can change the specular intensity and color to create different reflection effects on the material. |
| IOR(Index of Refraction) | Adjusts the refraction effect of transparent materials, such as glass, water, and gemstones. Different index of refraction values change how light passes through the material and affects its visual appearance. |
| Transmission | Controls how light passes through a material, such as glass or water. Unlike transparency, transmission affects the appearance of light passing through the material. Combined with parameters like index of refraction, it creates more realistic transparent materials.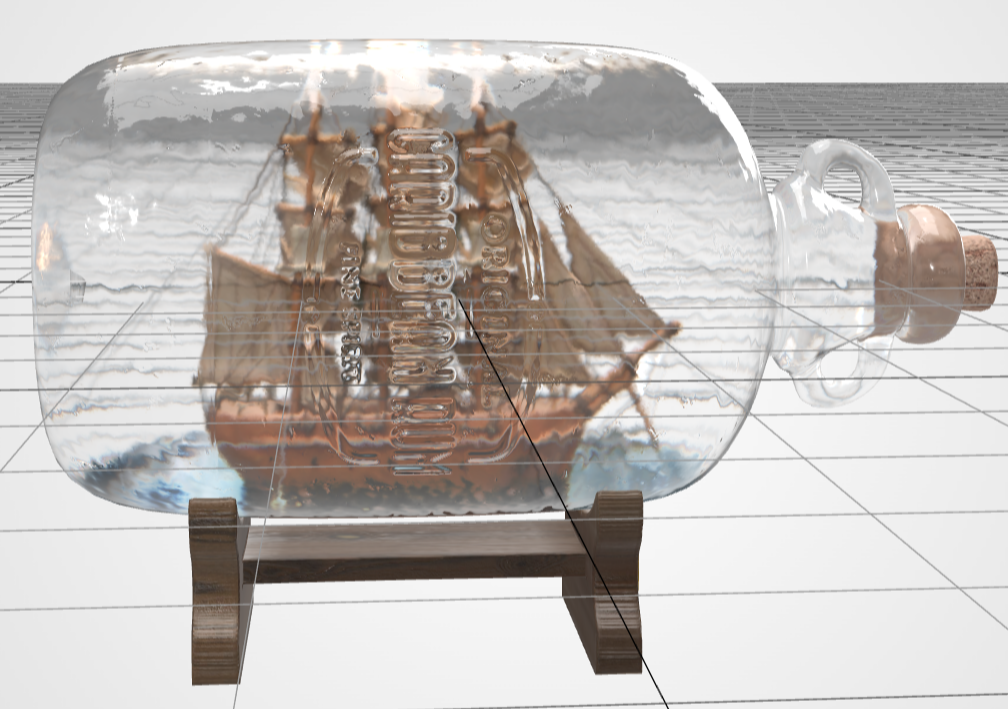 |
| Iridescence | Adds colorful reflective effects to a material by simulating the iridescent appearance created by light interference. Commonly used to create materials with color shifting effects, such as soap bubbles, sunglasses, and oxidized metals.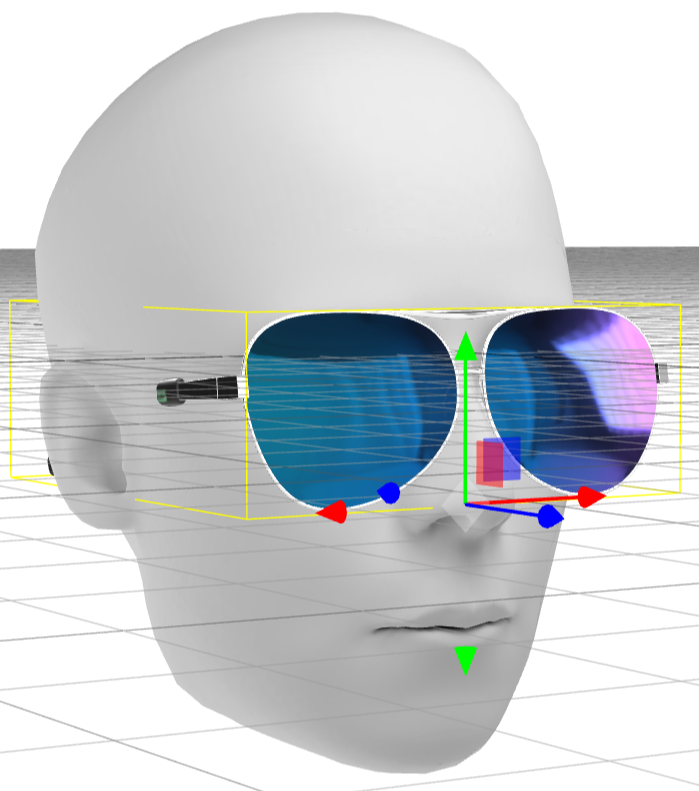 |
Click Textures in the material settings to access texture options. You can replace or remove the current texture, or adjust the model color directly to quickly change its appearance.
Model textures only support jpg, jpeg, and png formats. Please convert textures to a supported format if needed.
Use png format for textures with transparency.
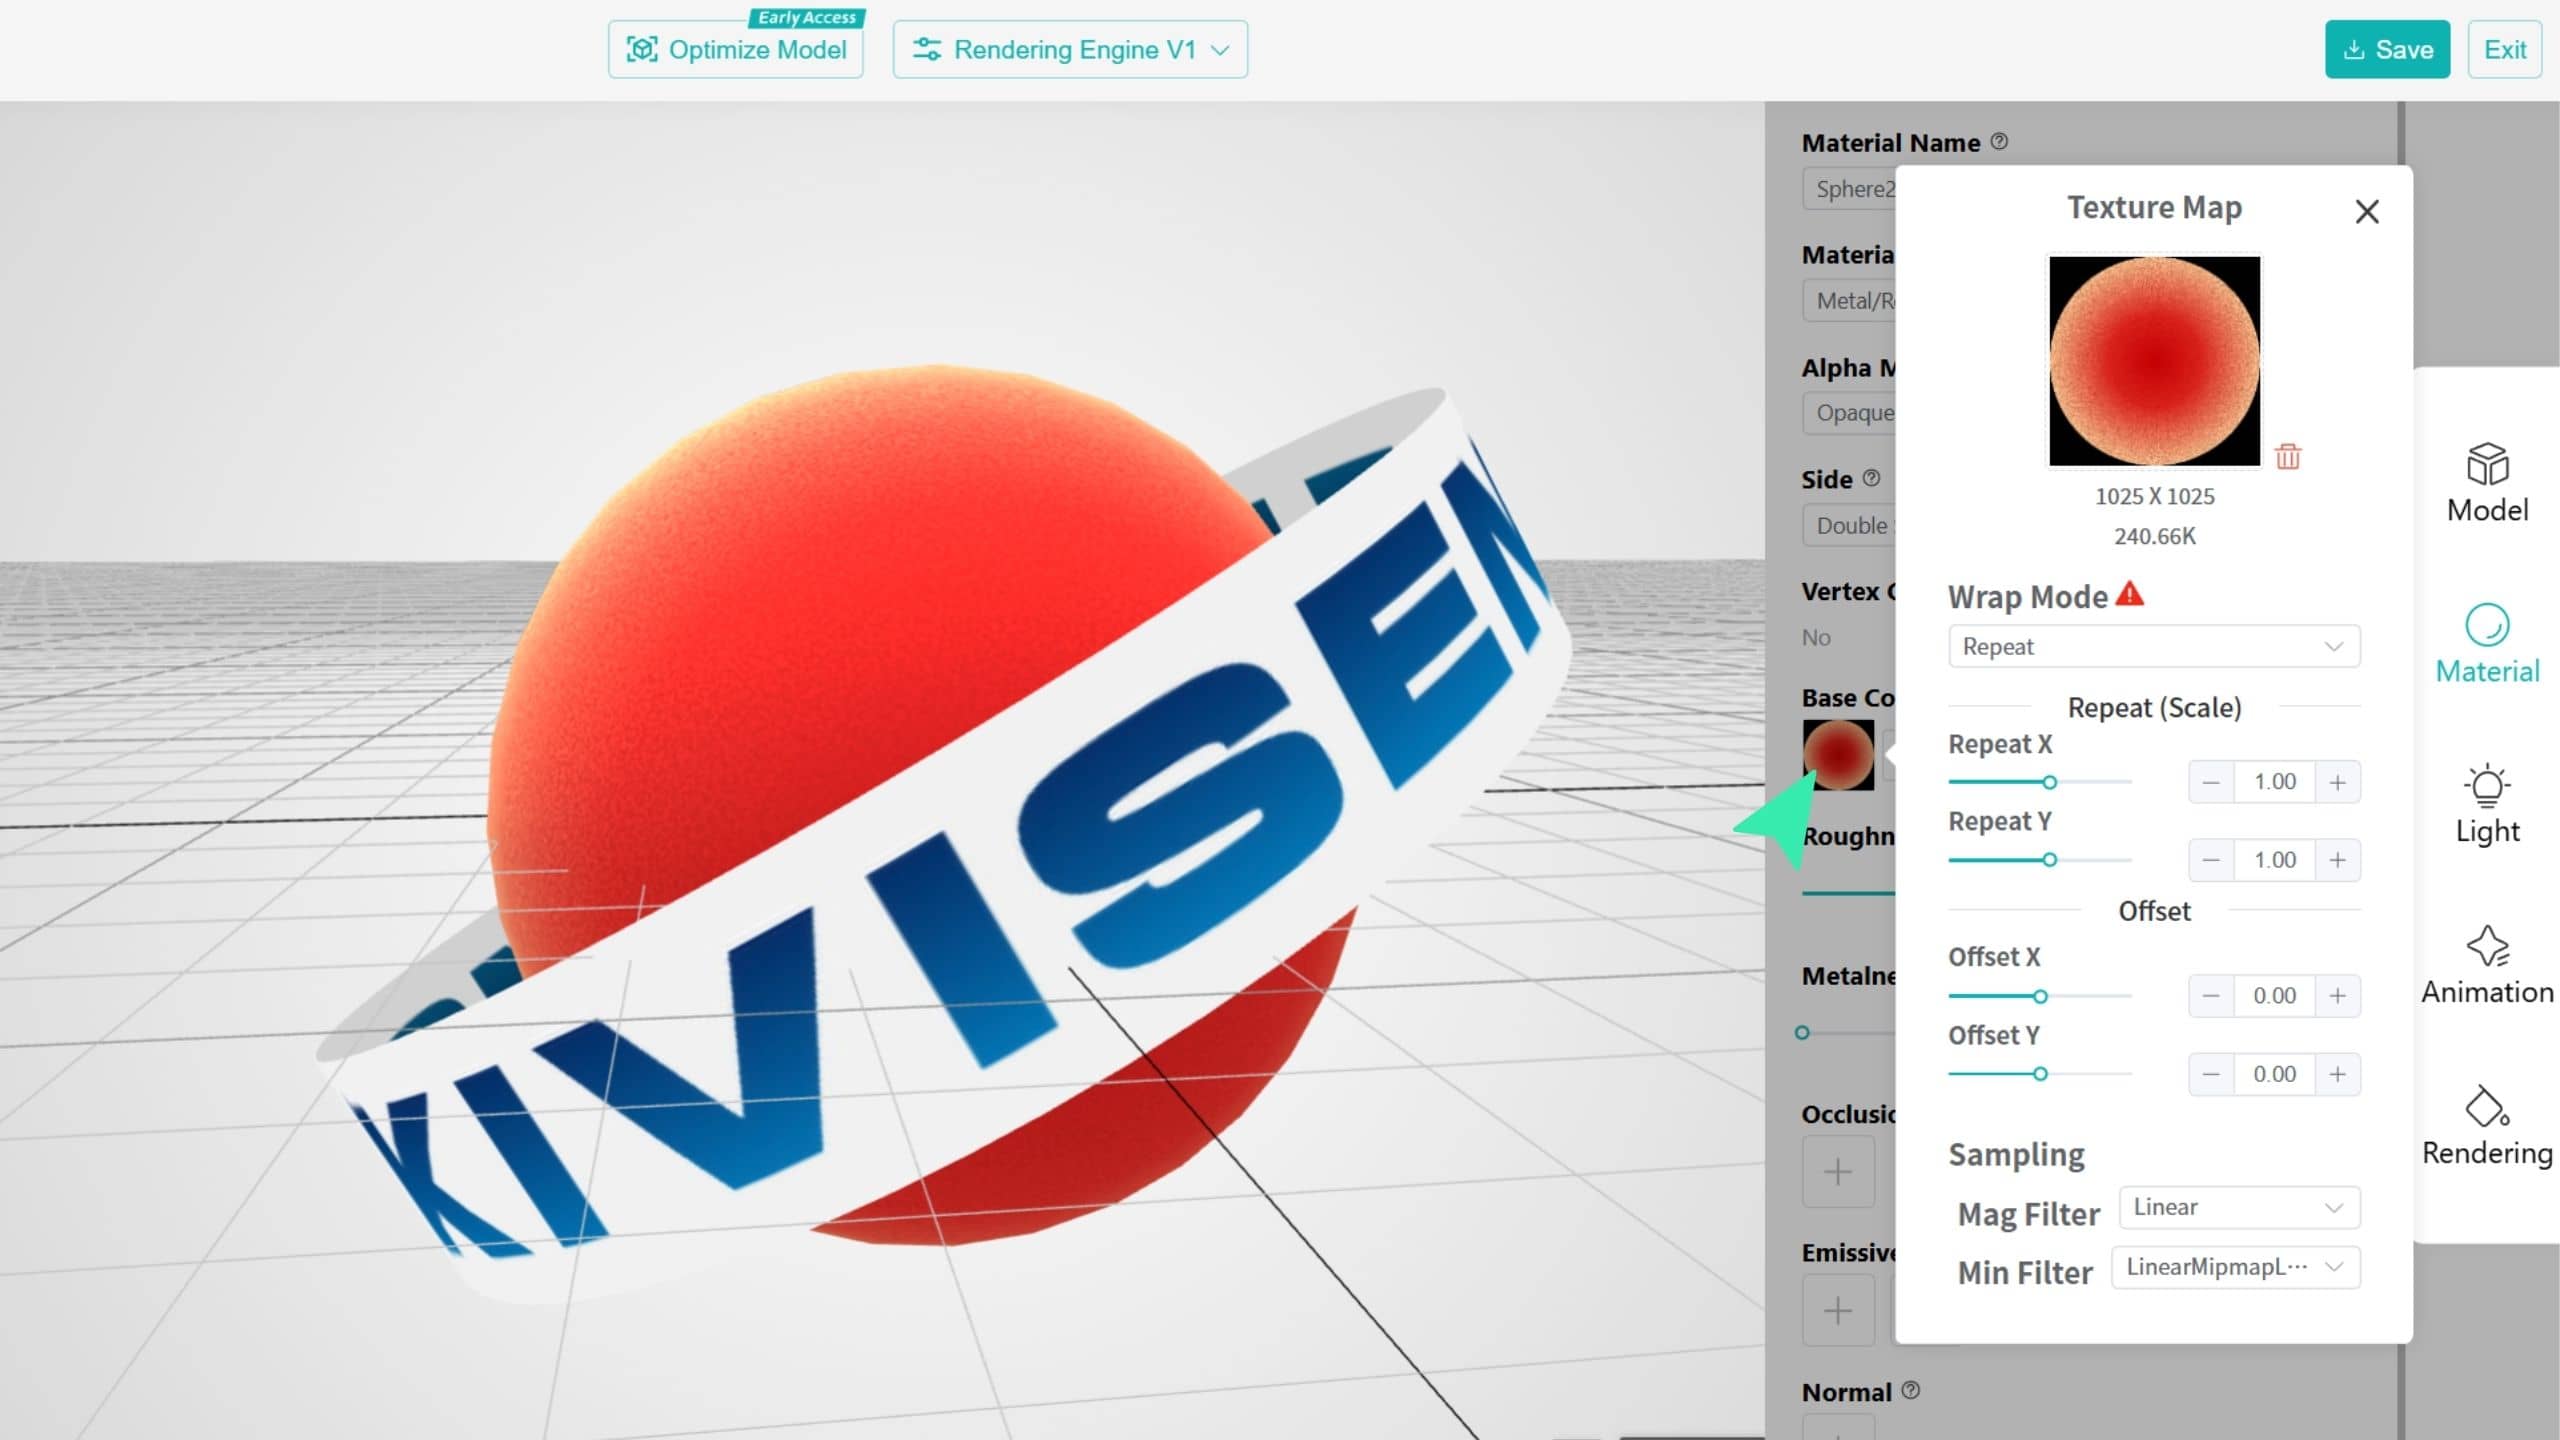
Automatically optimize 3D models to reduce file size and improve the AR experience. You can enable model optimization and adjust the settings based on your needs.
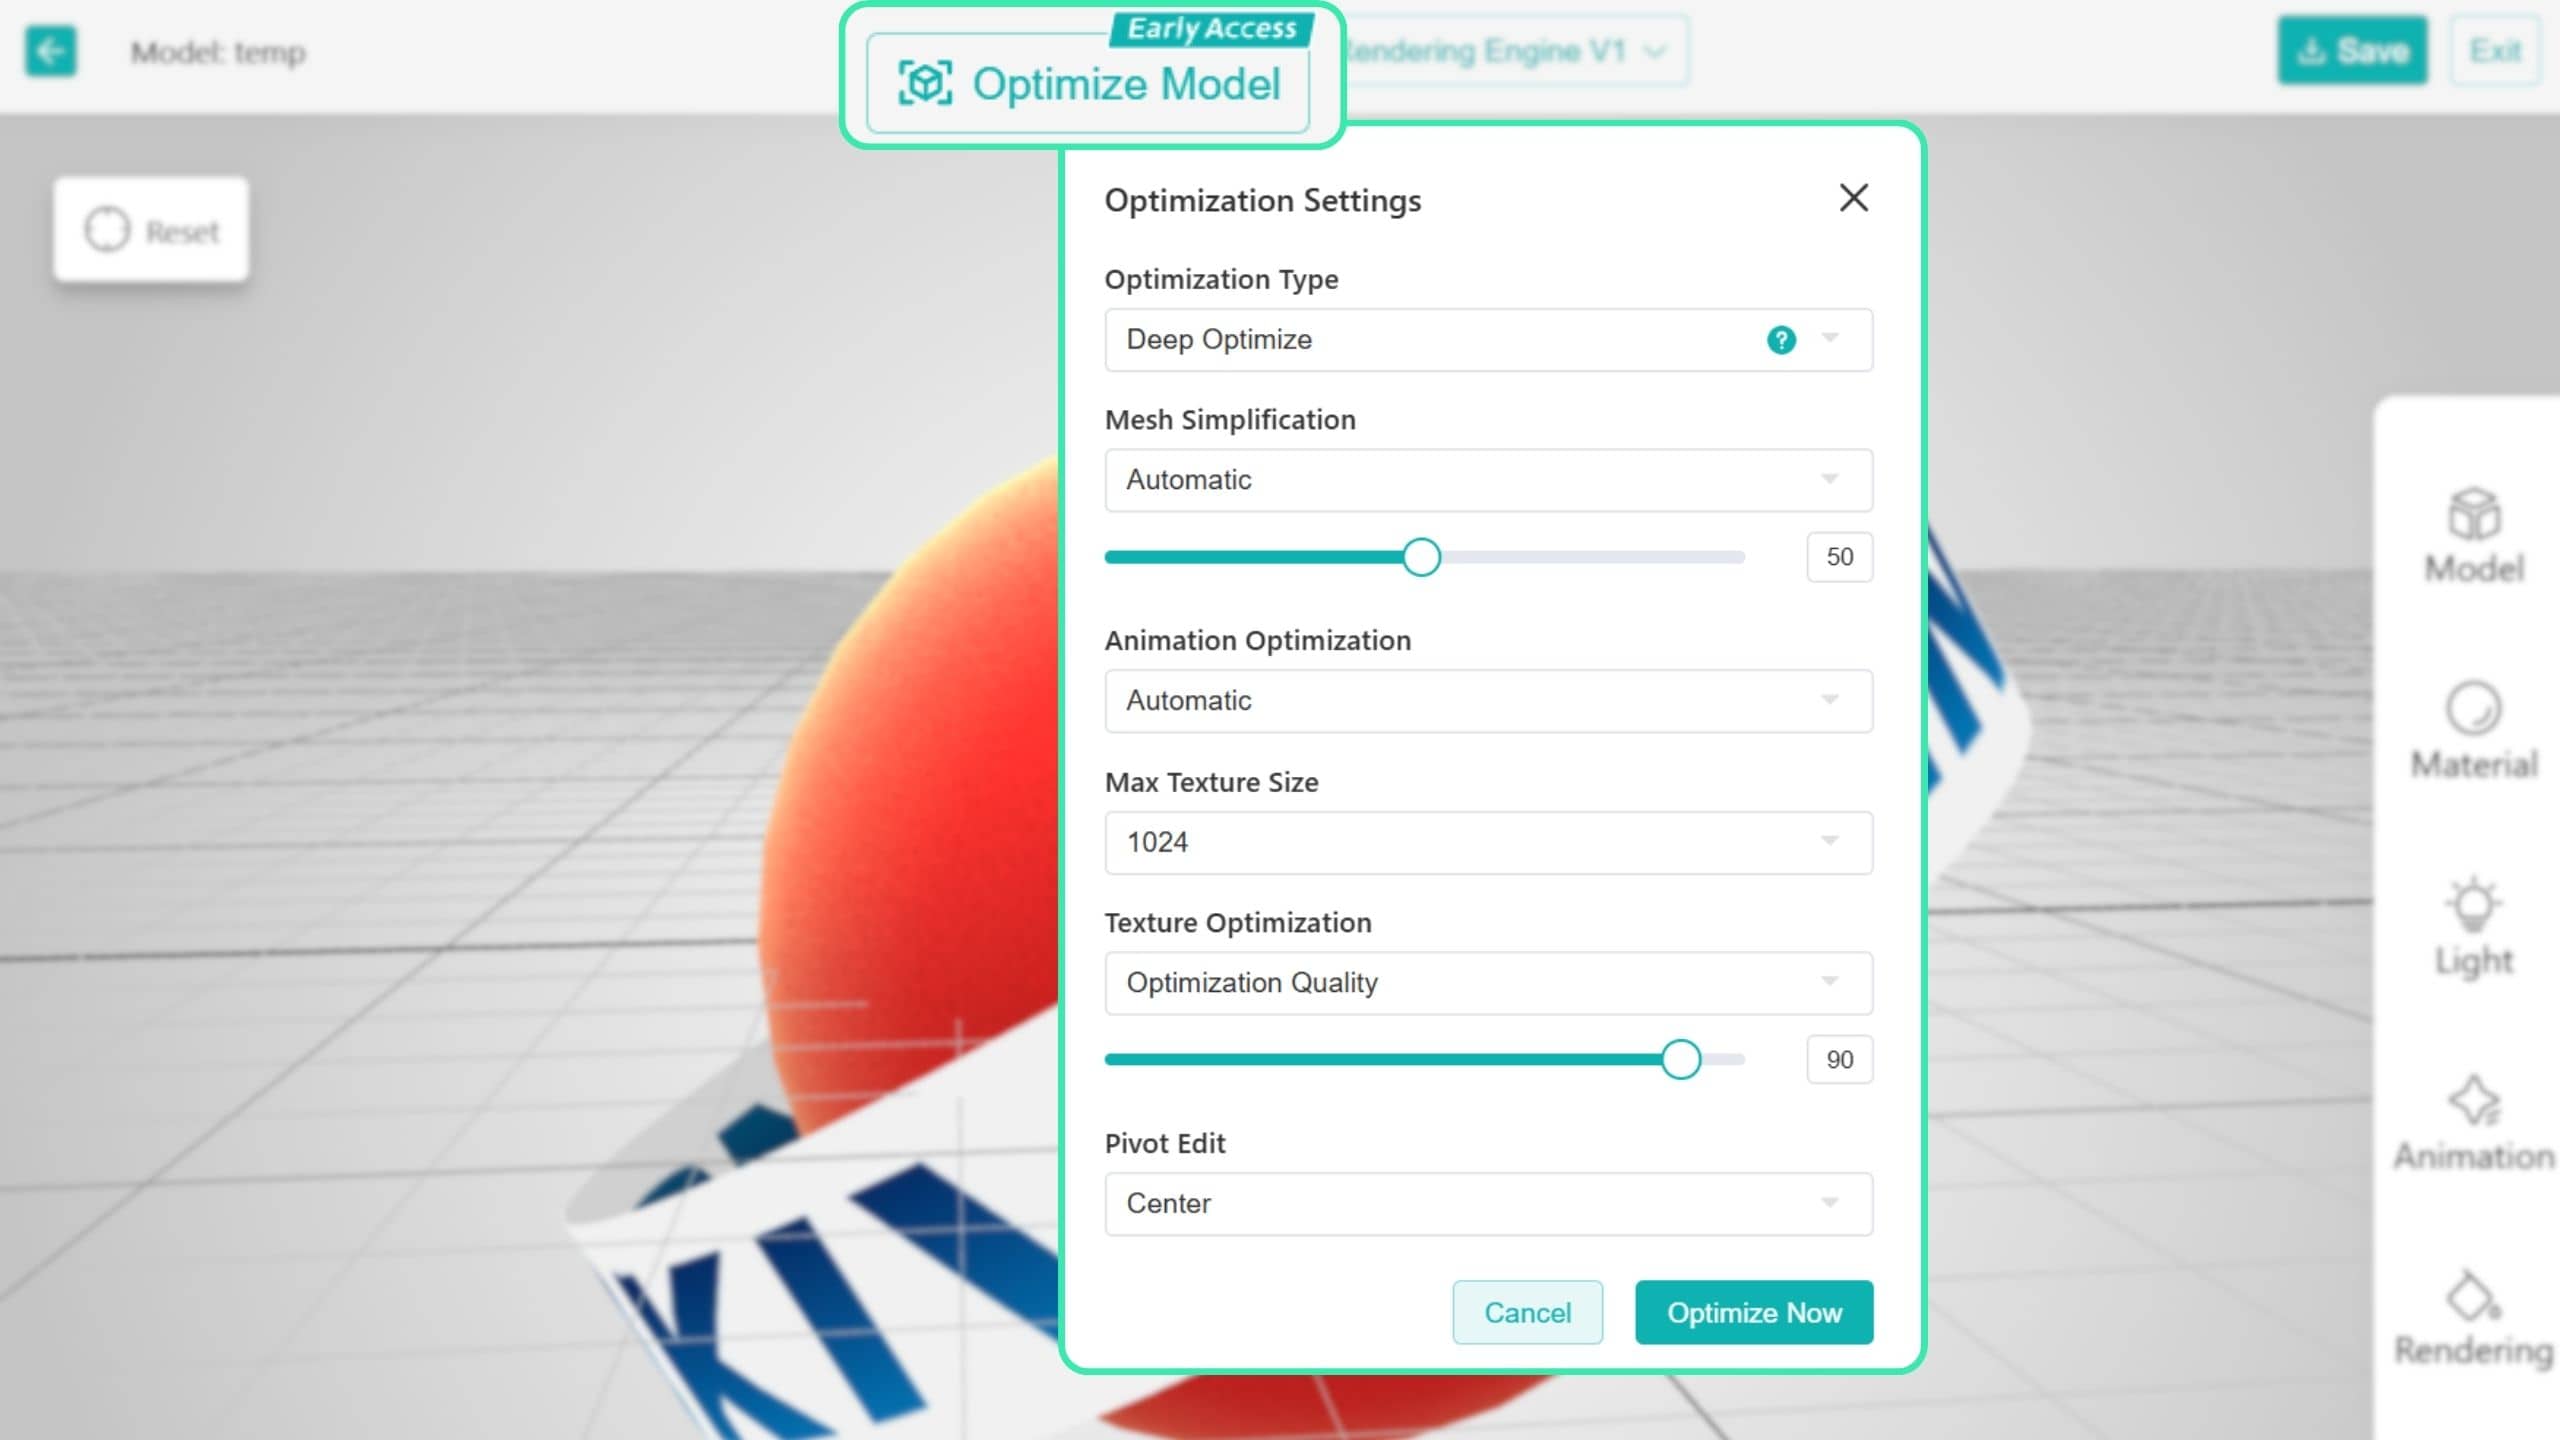
Optimization Type: Standard Optimization is recommended. For larger models or further optimization, enable the V2 Rendering Engine and use Deep Optimization.
Mesh Simplification: Reduces the number of polygons by the selected percentage.
Animation Optimization: Reduces the size of animation data.
Max Texture Size: Only textures that exceed the maximum resolution will be optimized. Textures within the limit will remain unchanged.
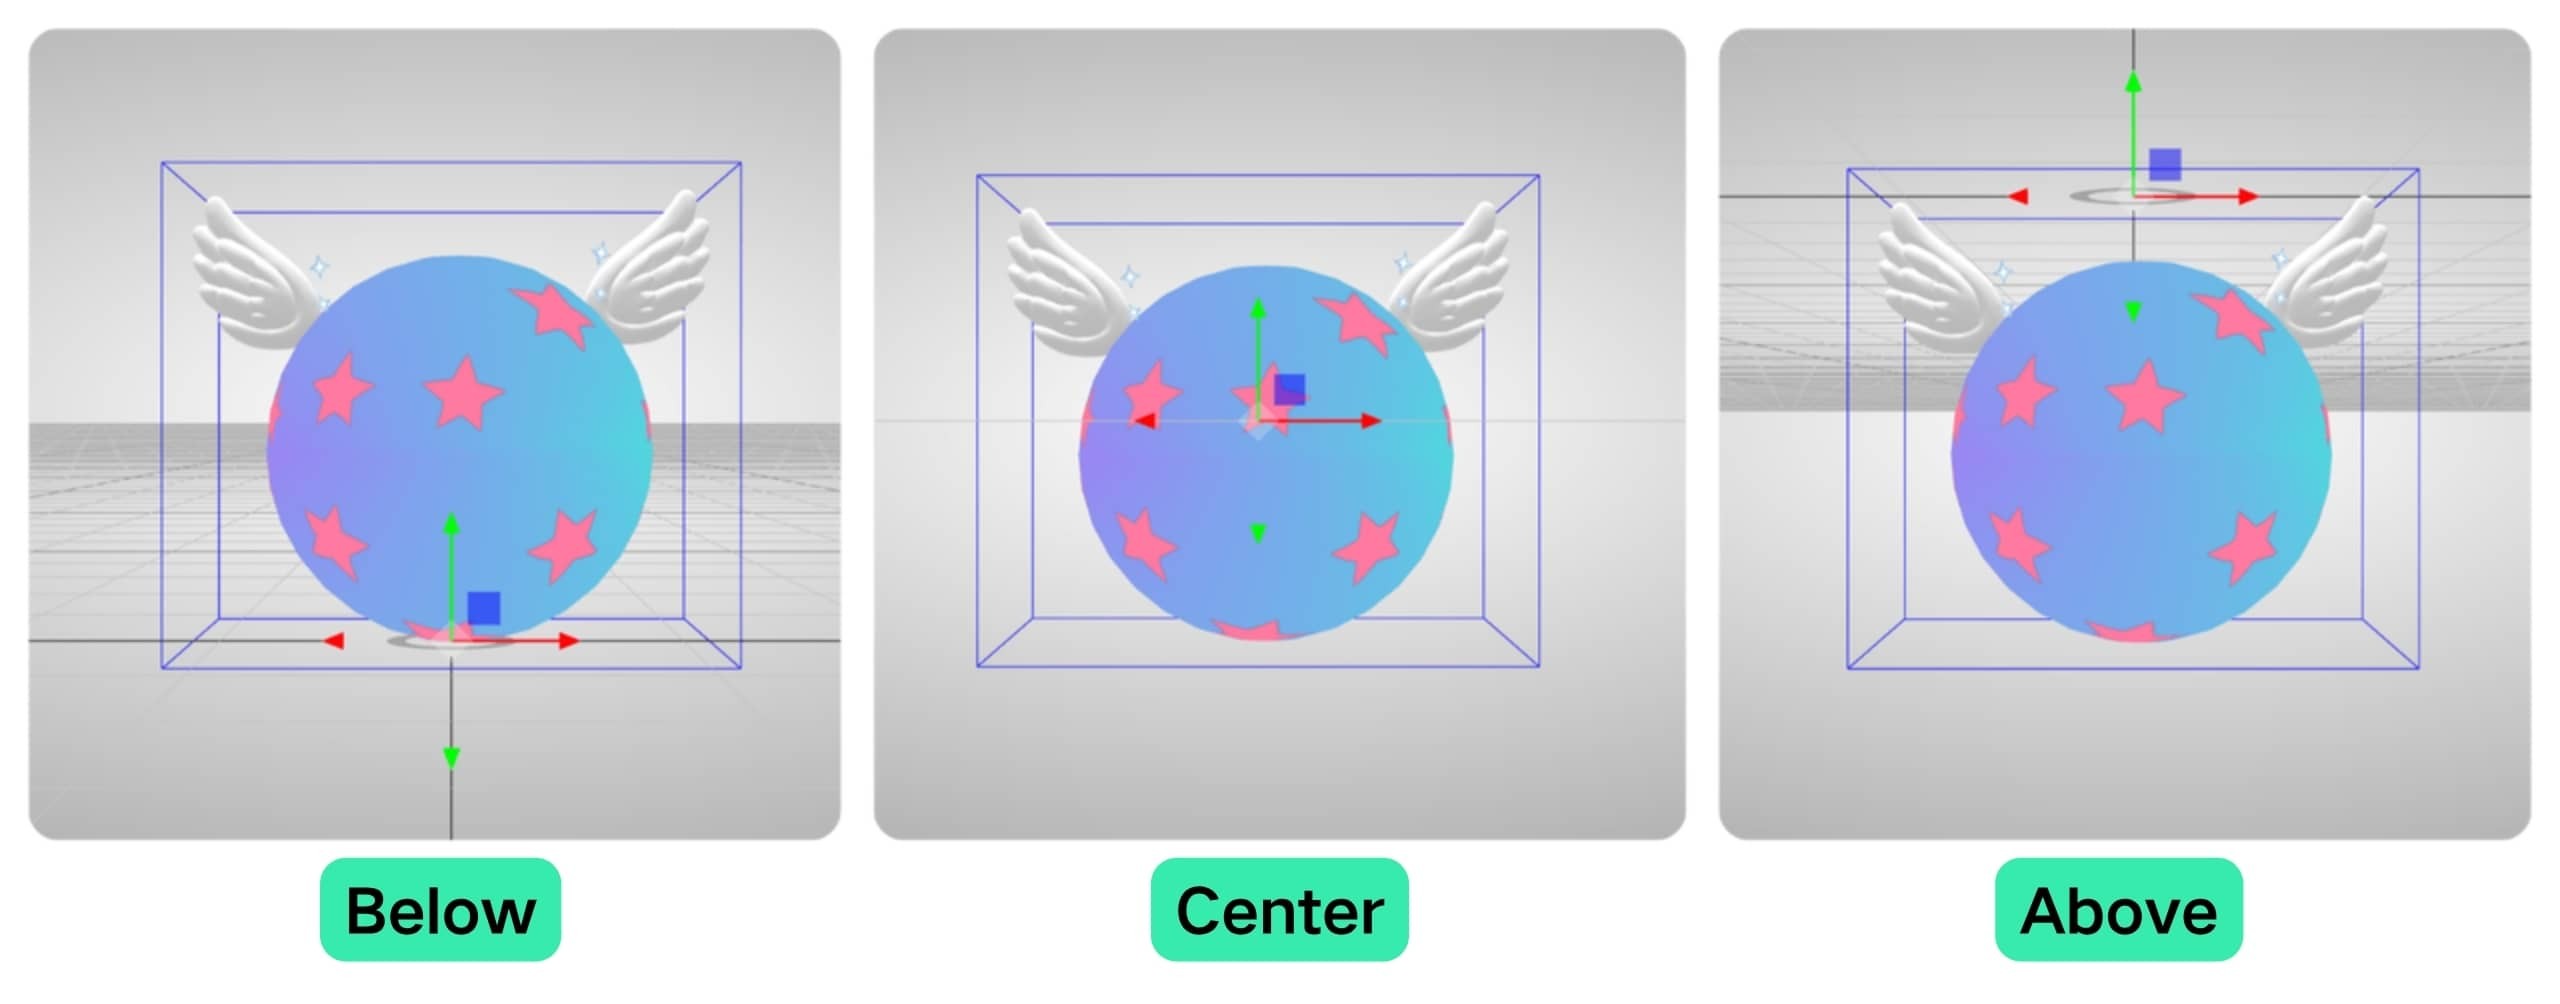
Pivot Edit: This setting is calculated based on the model’s overall bounding box. If there is no visible change after adjustment, modify the pivot point in your 3D modeling software or check if the model was exported correctly.