English
Appearance
Keyframe animation uses keyframes to mark time and position for an asset. The asset moves according to those keyframes.
You can create keyframe animations for assets in the Scene Editor: Model, Image, Video, Transparent Video, Chroma Video, and GIF.
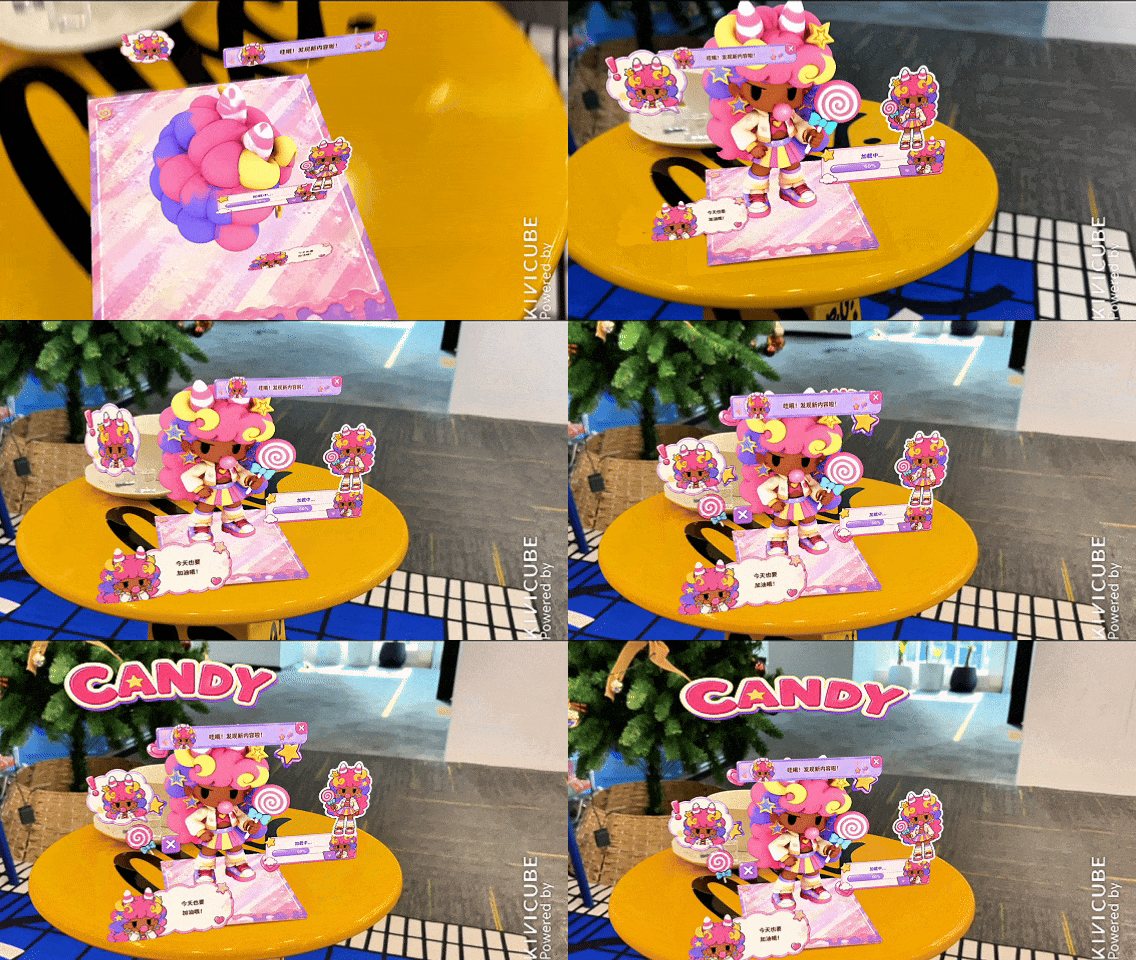
We use this animation as an example to show how to make a simple keyframe animation.
In the scene hierarchy, select the asset. In the Animation panel, add a new animation to open the keyframe editor.
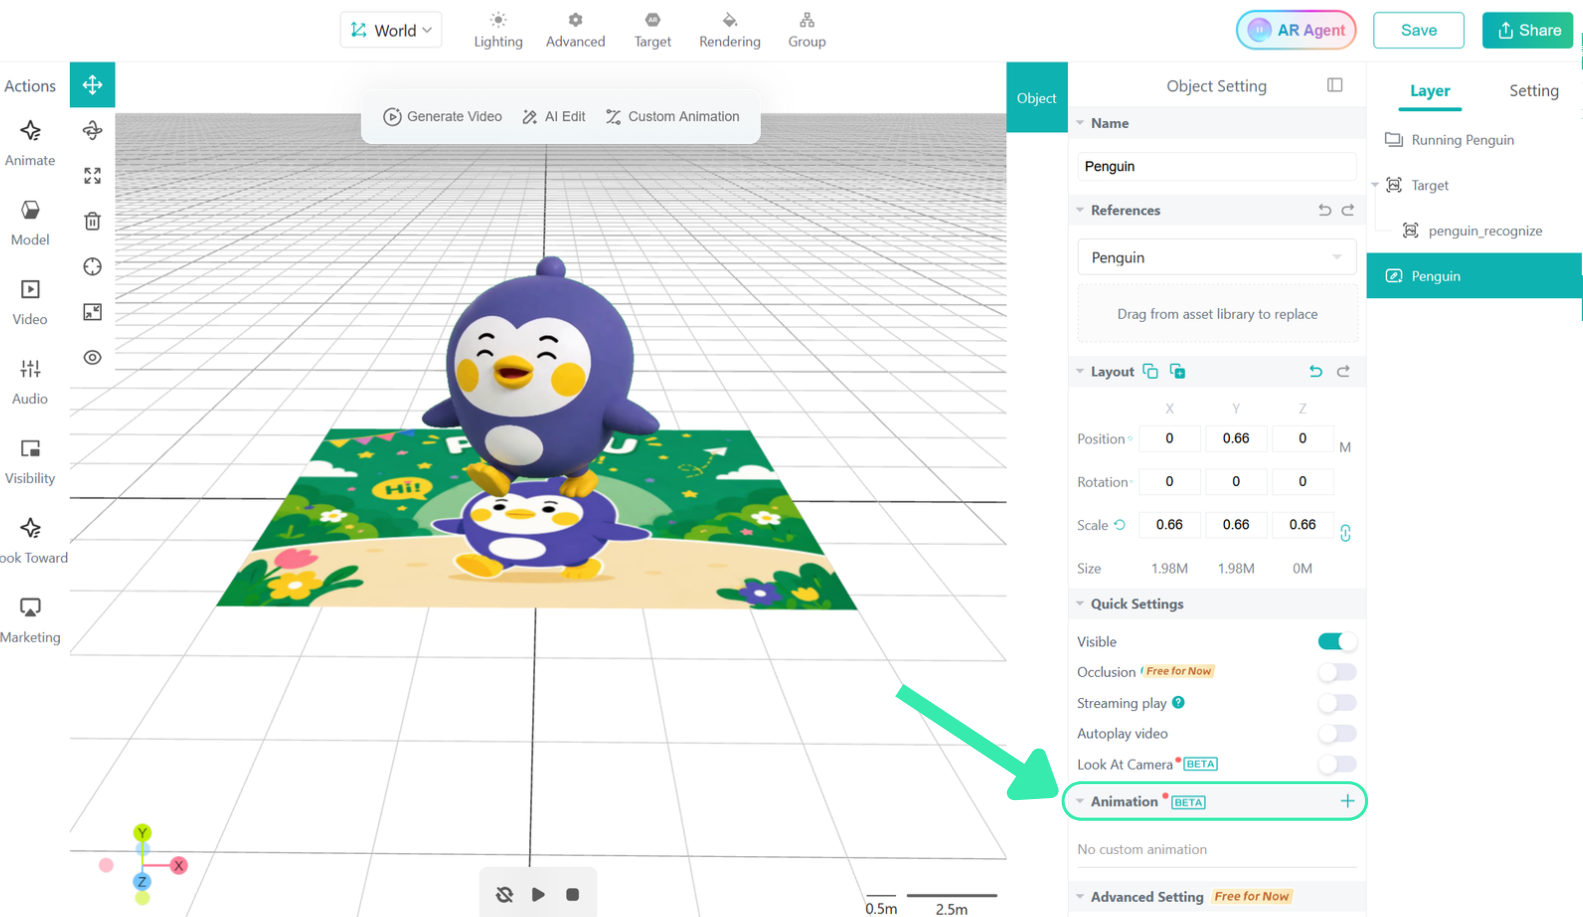
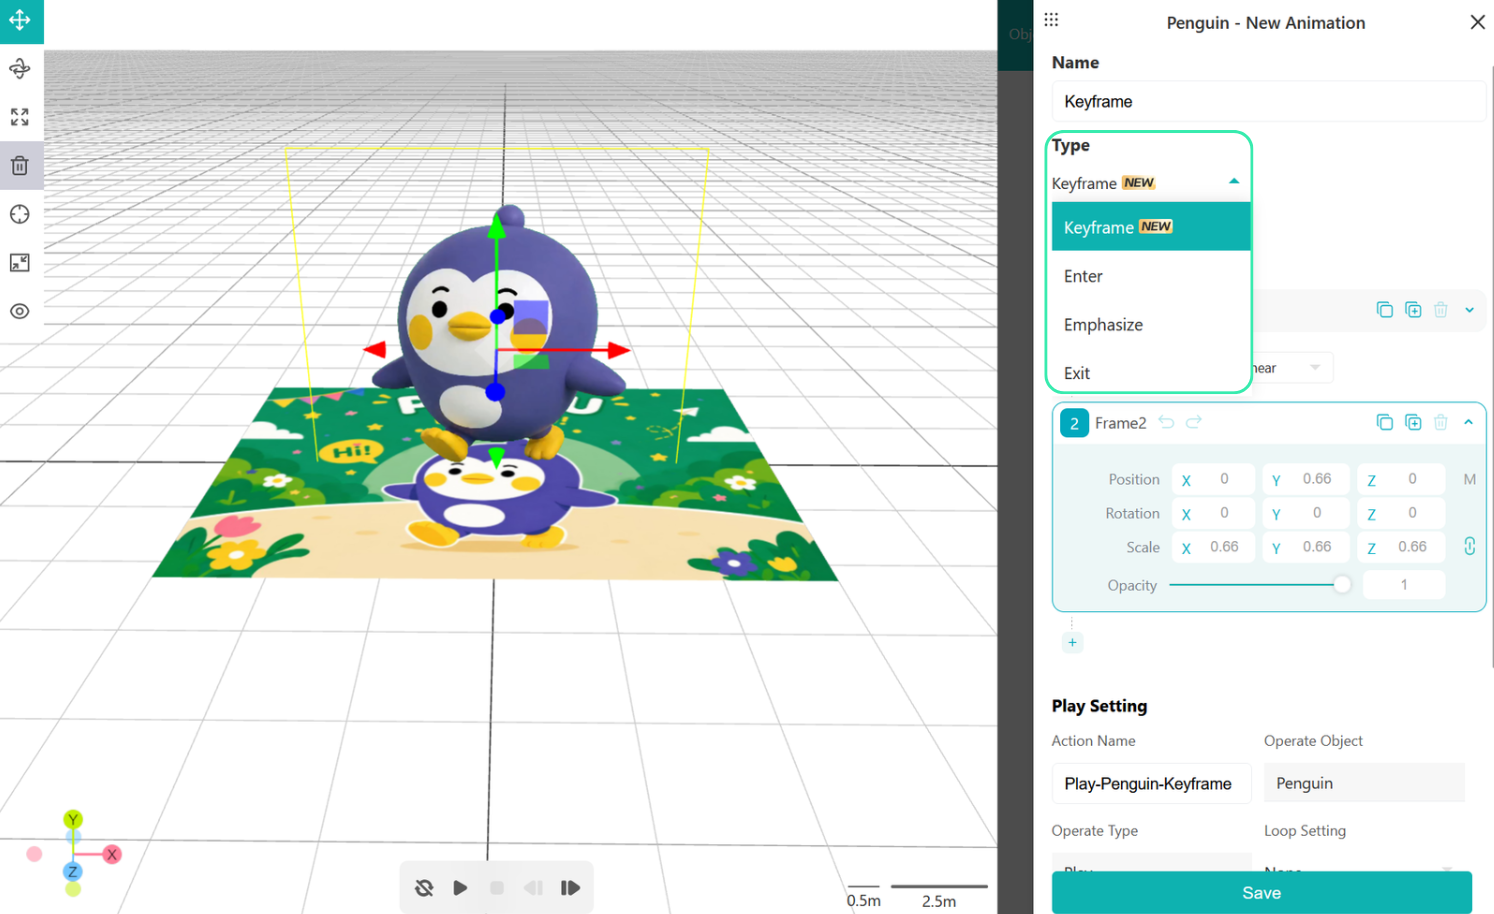
Choose the animation type 'Keyframe Animation'. The system creates two initial keyframes automatically. Their default values match the asset's current layout in the scene.
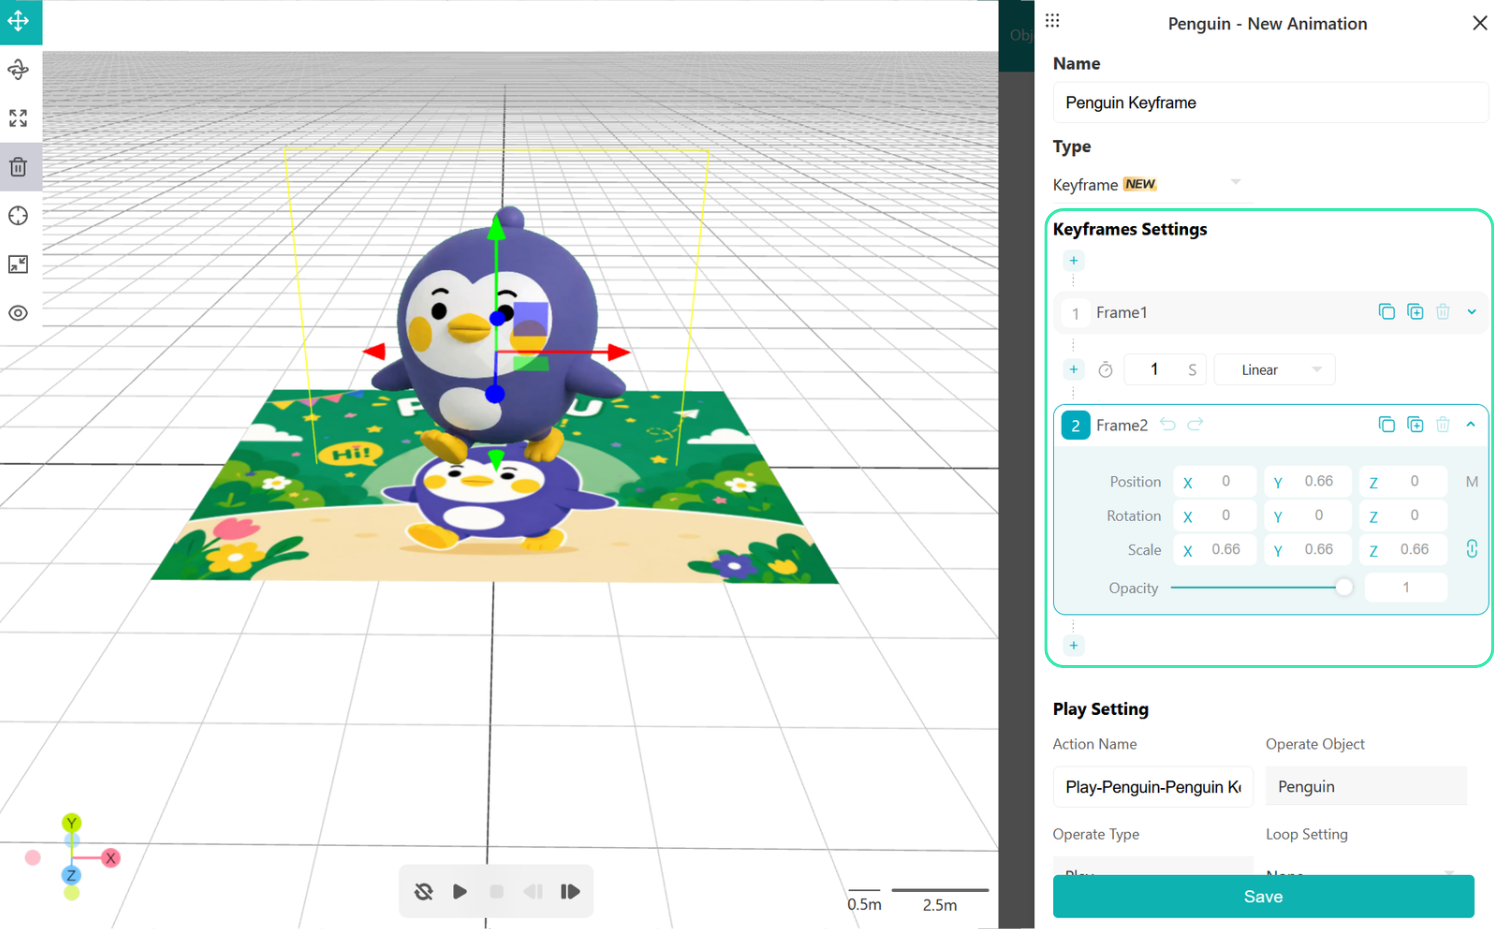
Select the keyframe you want to edit. Drag the asset on the canvas or enter position, rotation, scale, and opacity for each keyframe.
The following video demonstrates a simple animation.
The system selects the second keyframe by default. You can pick any keyframe manually. Drag the object's axes on the canvas to update that frame's position, size, rotation, and opacity in real time. Or paste numeric layout values for faster edits.
Click '+' to add a keyframe at the start, the end, or between any two frames. More keyframes and denser spacing make the motion smoother and more natural.
You can set each segment's duration and motion curve independently. Shorter segment durations make transitions faster and the animation speeds up.
Set when the animation plays. Toggle looping on or off. Choose whether the animation stays on the last frame. Set trigger conditions.
See Play Settings and Trigger for details.
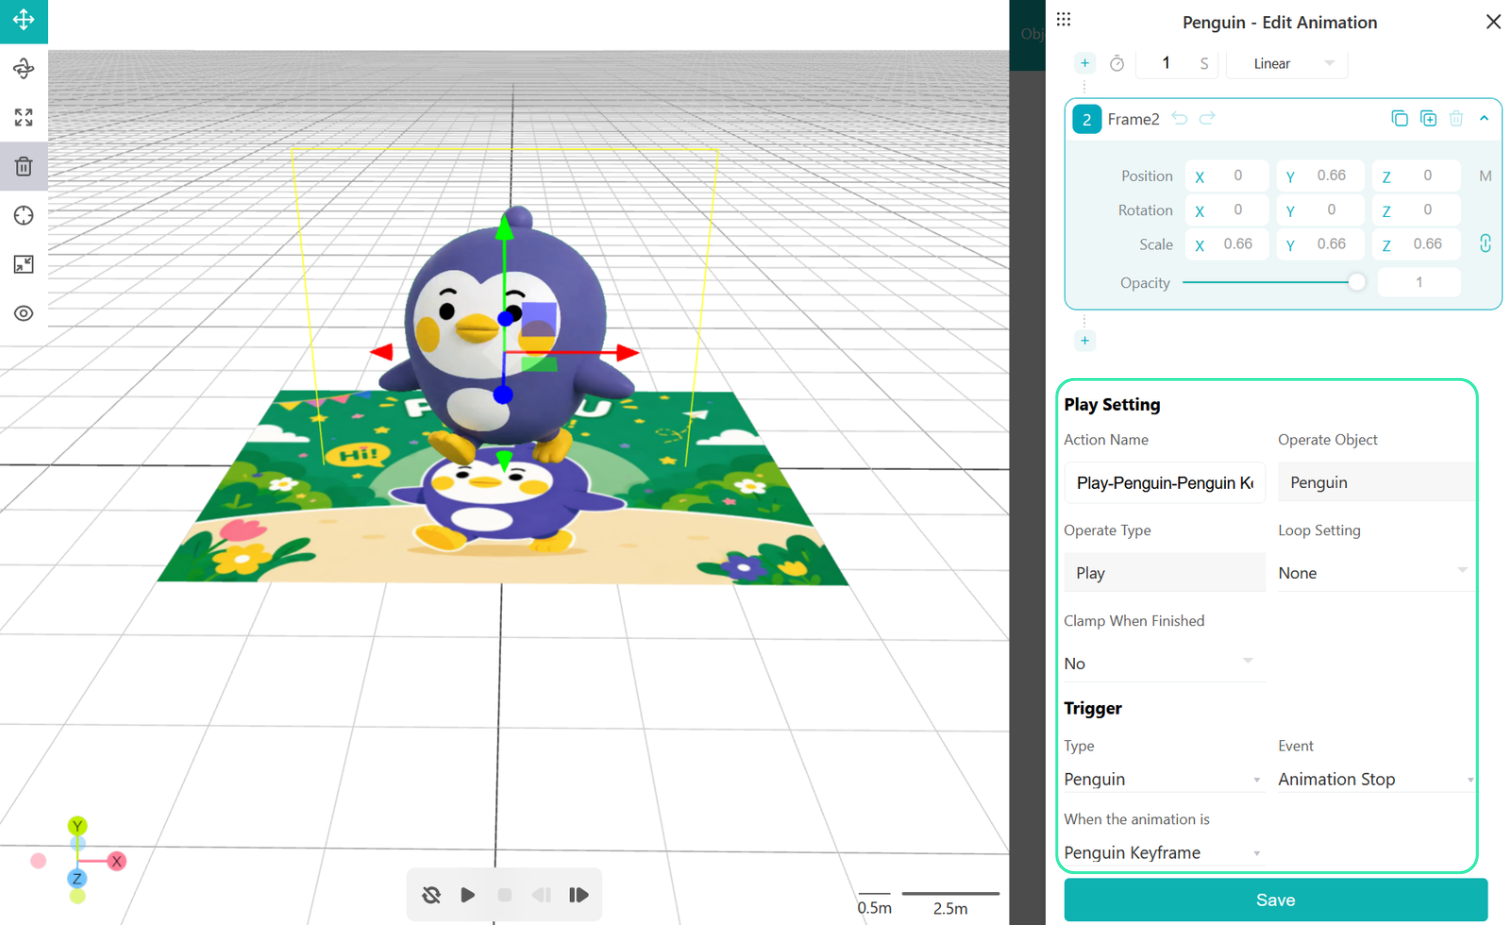
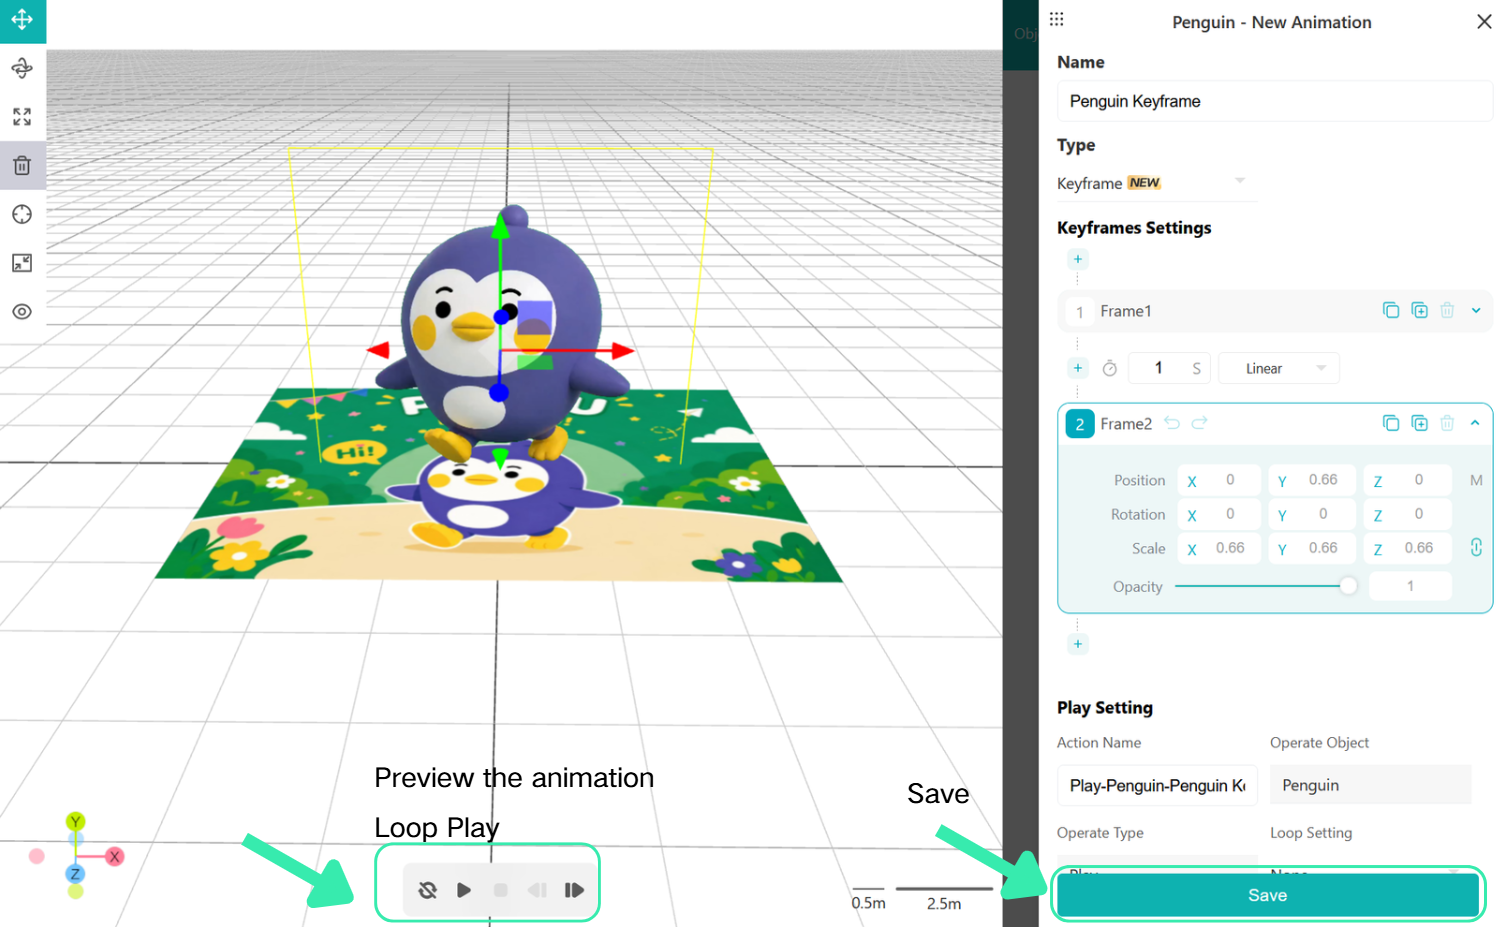
Click the Play button in the left editor to preview the animation.
Turn on Loop to play the animation repeatedly.
TIP
Remember to click Save after you finish editing the keyframe animation.
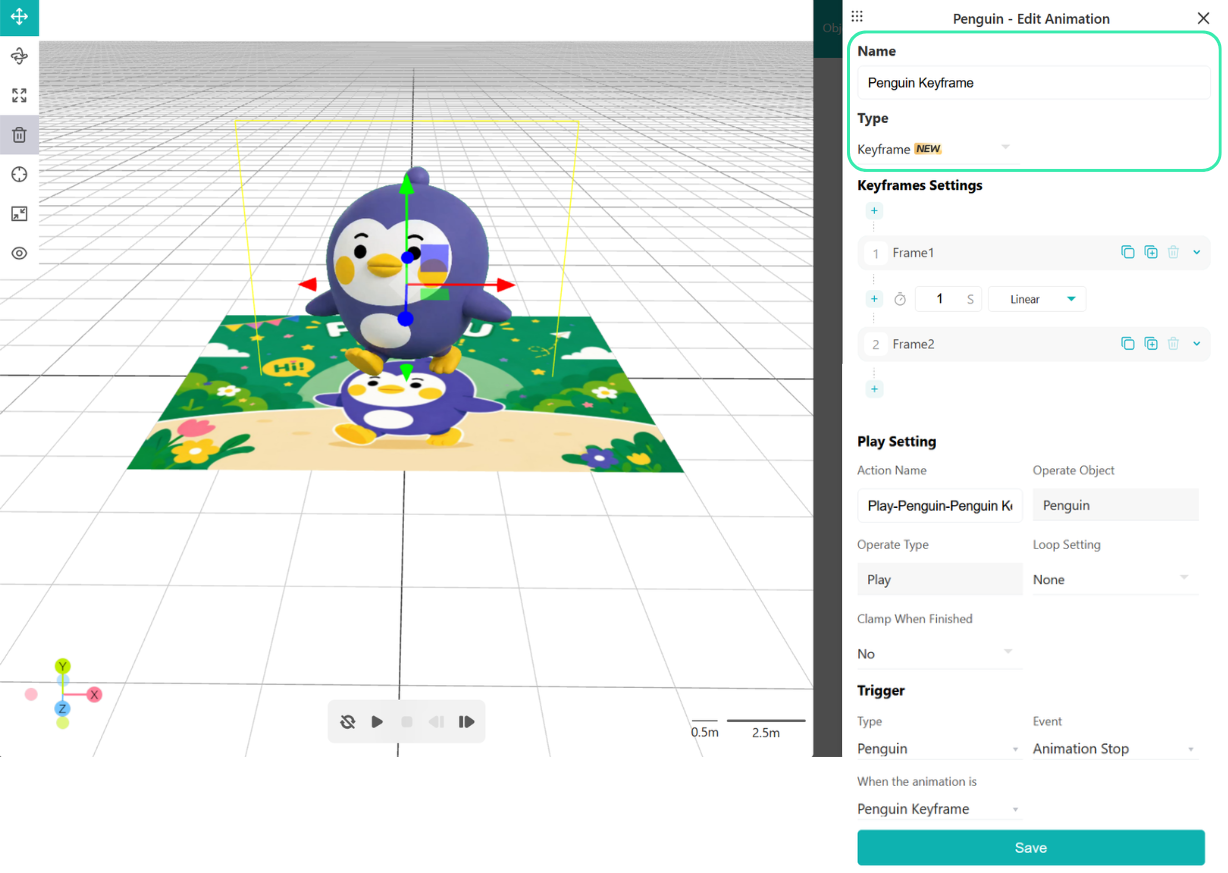
Other features (for example AR Agent) may call this animation by name. See the AR Agent docs.
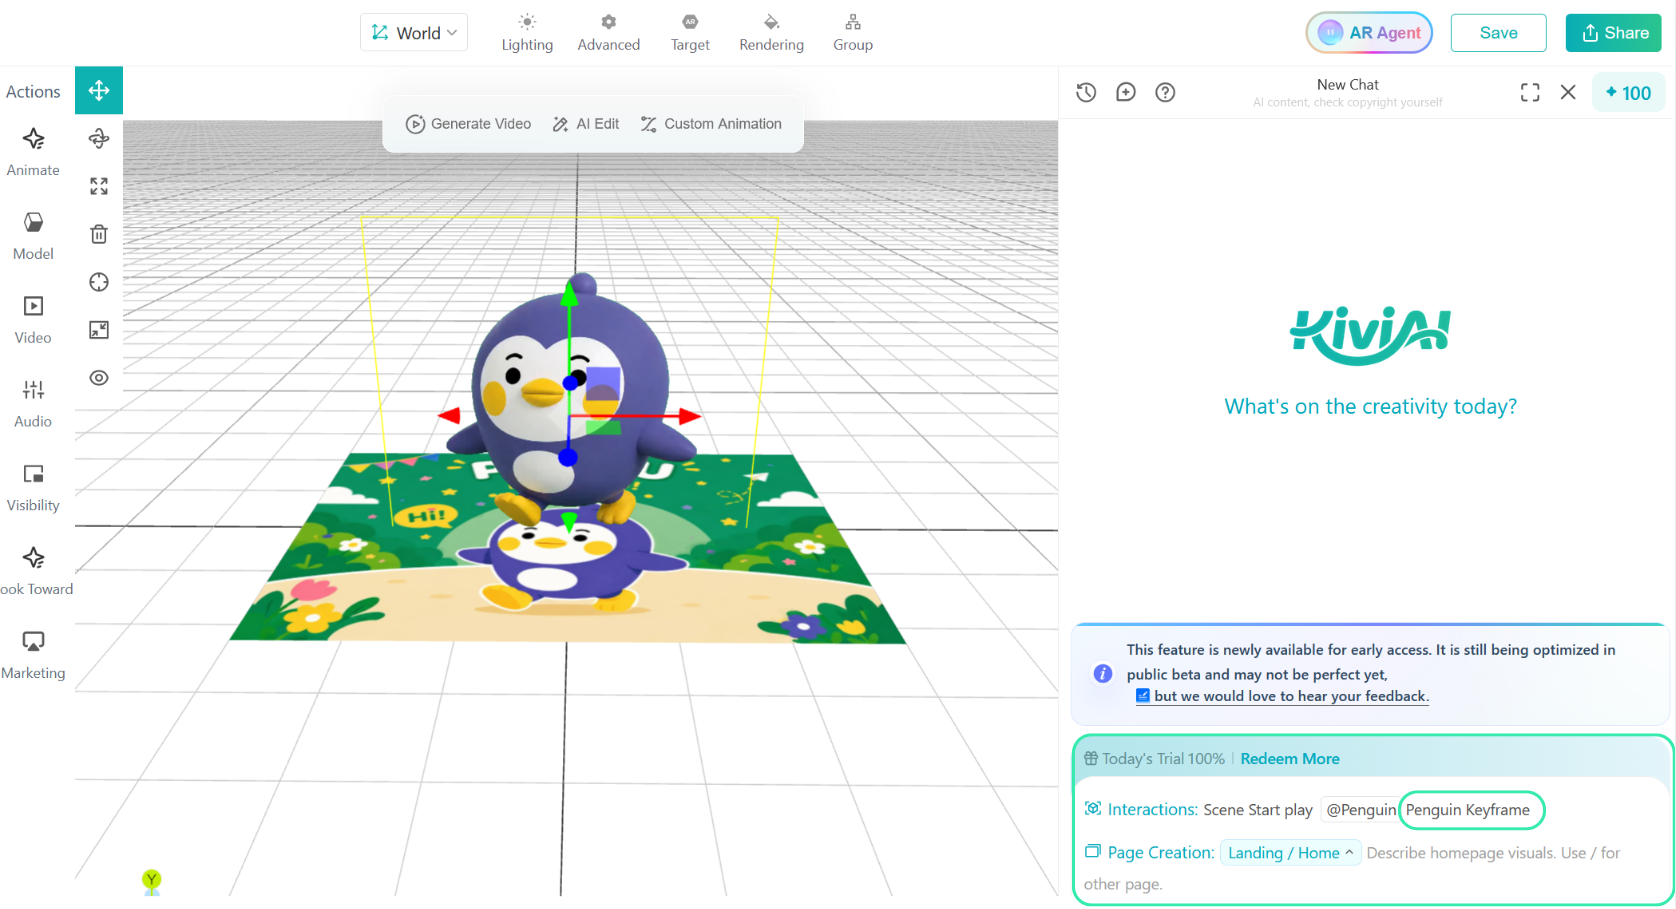
This may be invoked during event interactions (e.g., animation control or model control), as shown below.
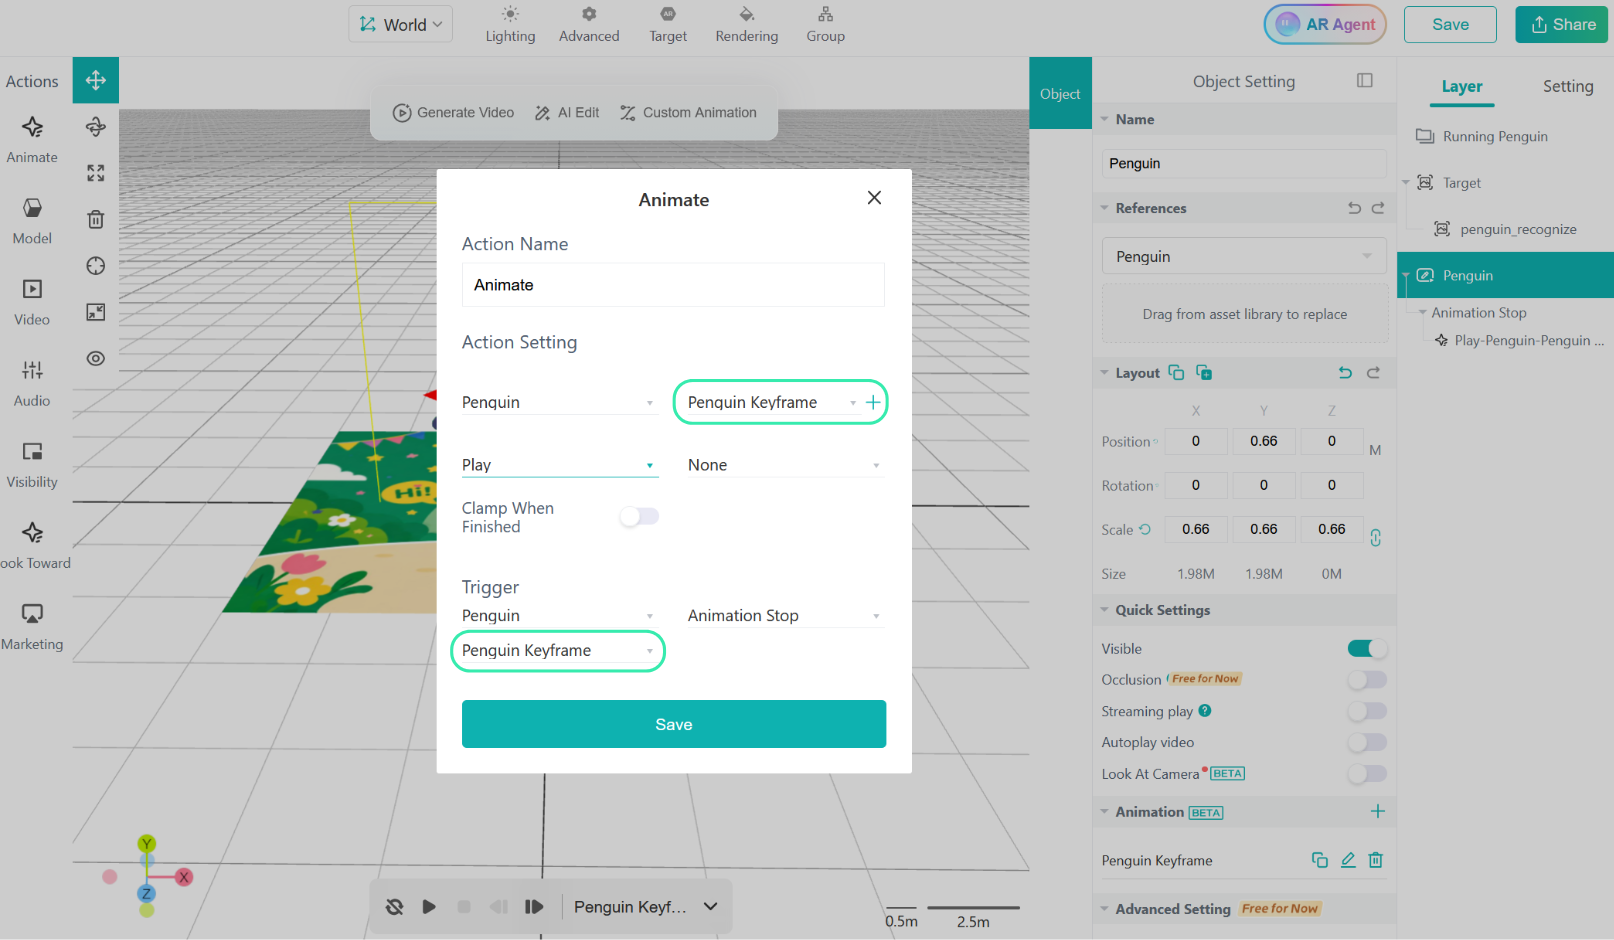
Set the motion curve for each frame-to-frame segment.
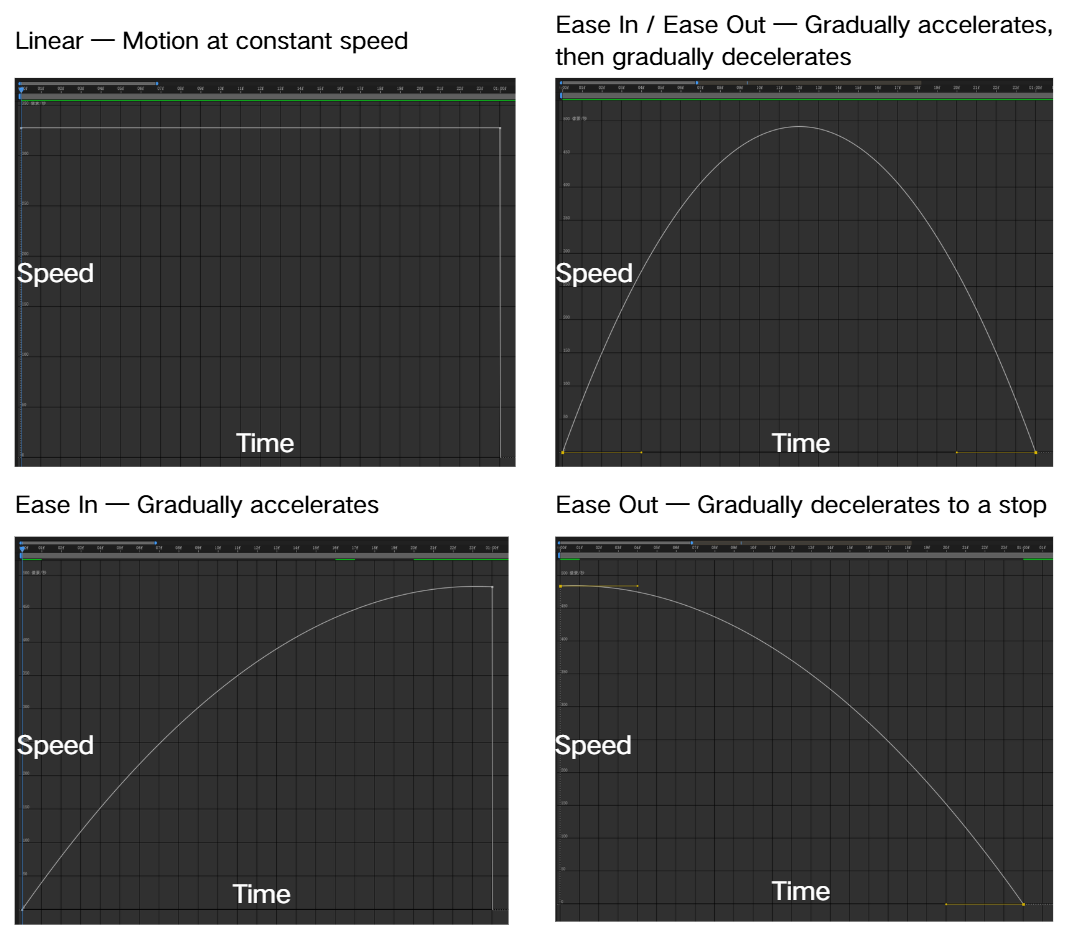
TIP
The horizontal axis is time. The vertical axis is speed.
Set the time between keyframes — seconds from one frame to the next.
Longer time means slower speed.
Example: distance is the same. The penguin moves right for 3 seconds in the first segment and 1 second in the second segment. The motion is slow first, then faster.
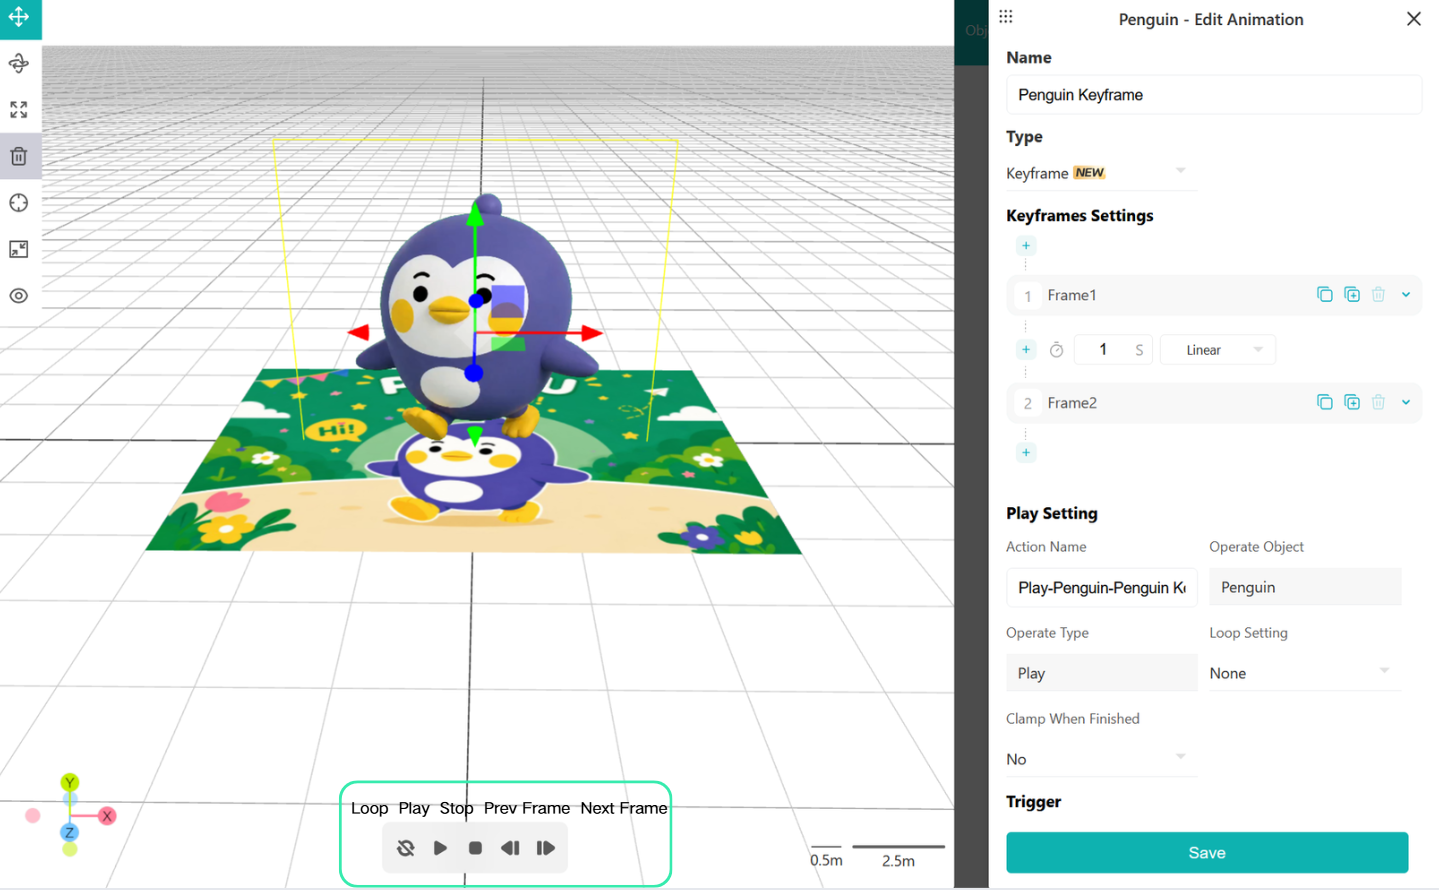
Click Play to play the current animation.
Click Stop to return to the first frame.
With Loop enabled, Play will loop the animation.
Use Prev Frame / Next Frame to step through the animation frame by frame.
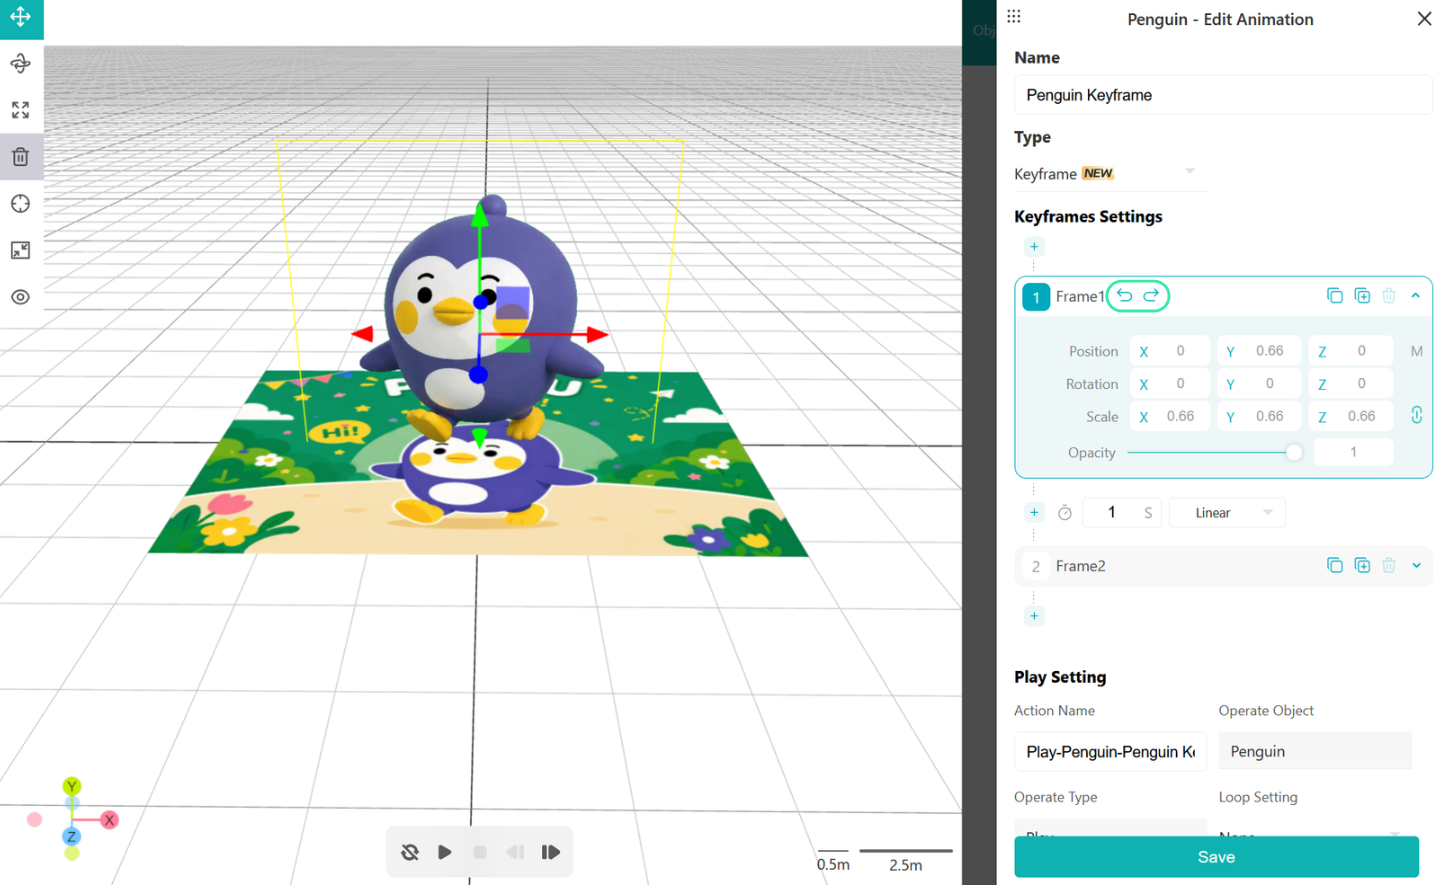
After editing position / rotation / scale, you can undo or restore those changes.
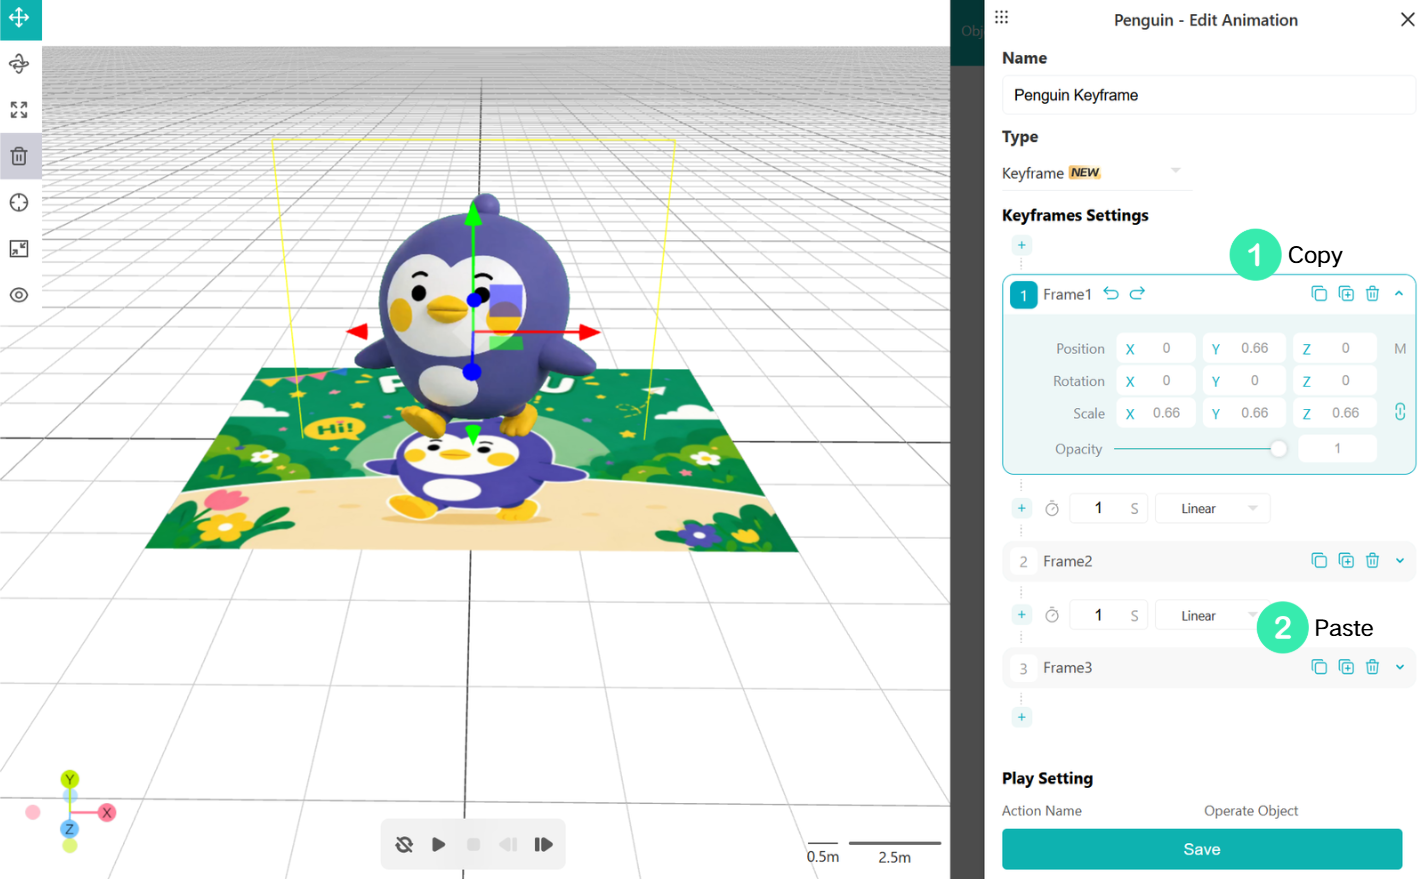
Copy a keyframe's position / rotation / scale and paste it to another keyframe. Pasting the first frame to the last frame helps create looping animations.
Delete a keyframe. Deleting a frame also removes the time and motion curve between it and the previous frame. Preview after deletion to check the result.
Paste layout values from other assets in the editor.
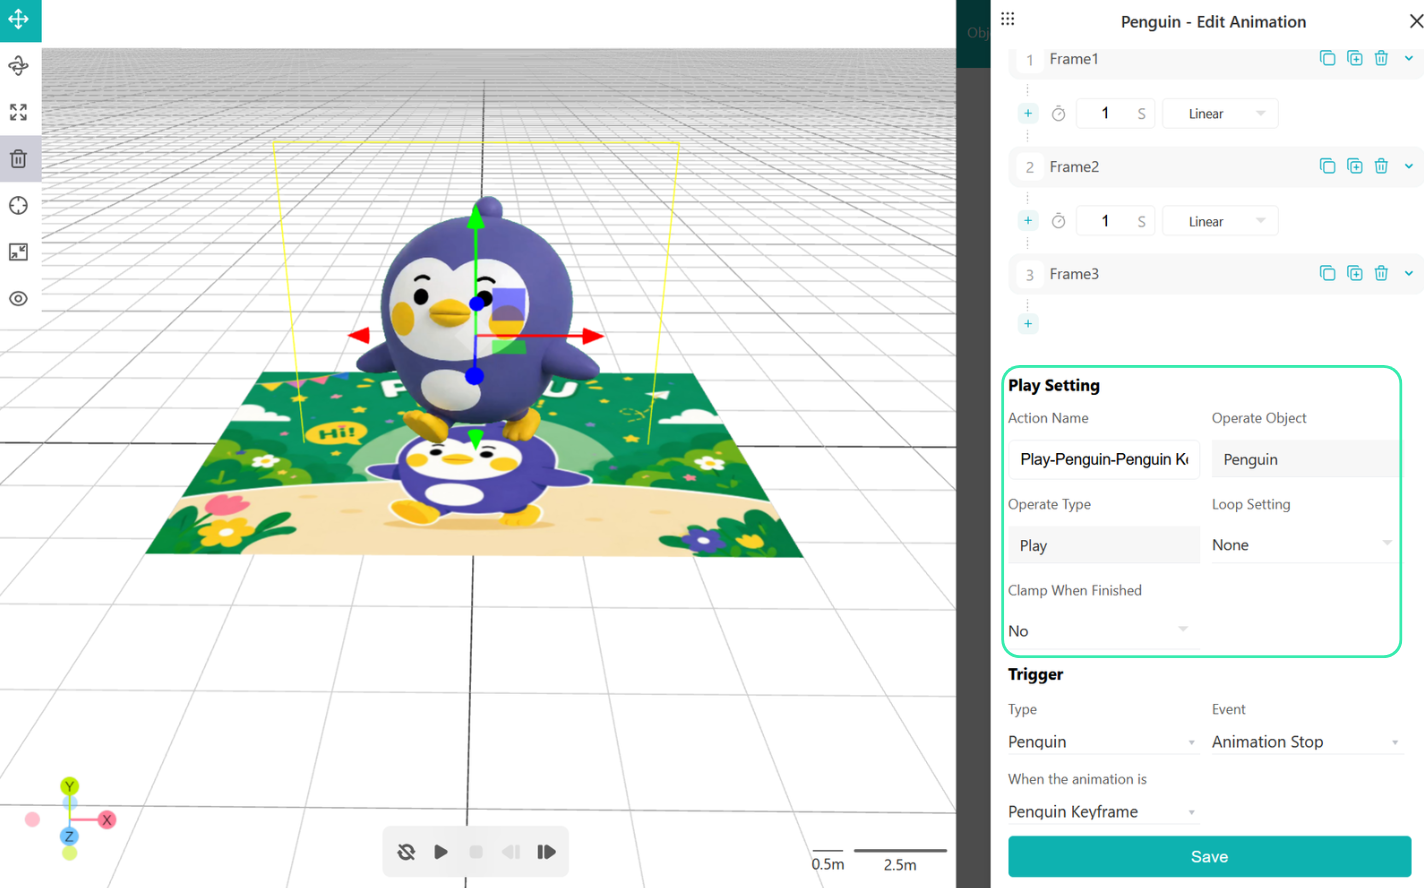
Keyframe animations support loop modes: none / infinite loop / loop by count. You can also set whether the animation remains on the last frame.
See Custom Animations for details.
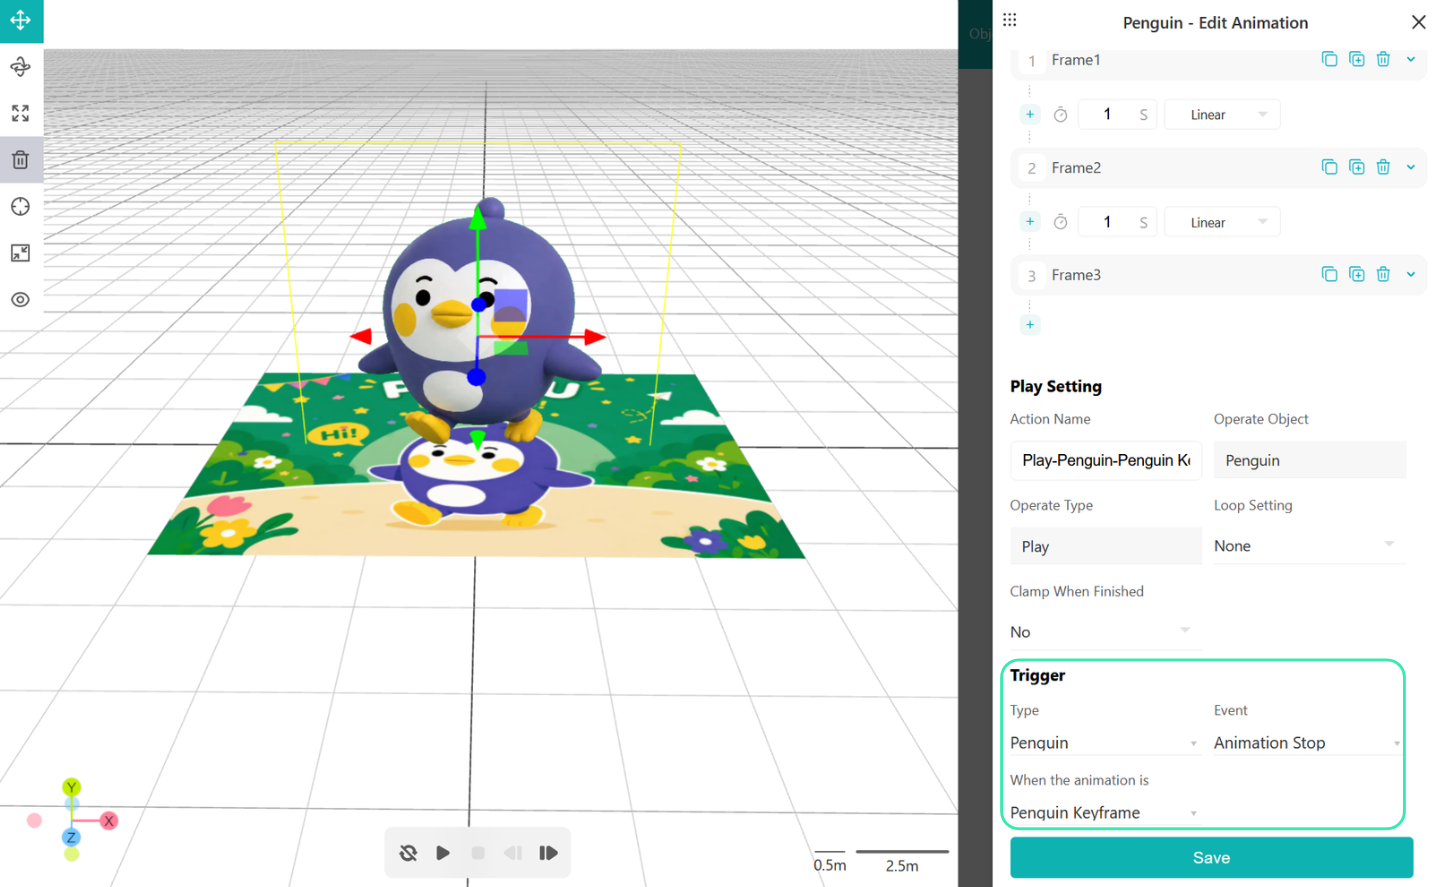
Set trigger types: Scene Start / Tracked / Lost Track / specific assets (for example Penguin).
Set trigger actions: Clicked / Animation Play / Video Play.
See Custom Animations for details.
You can add keyframe animation to a single object. You can also combine multiple animations. You can mix keyframes with video or model animations to create richer AR motion.
Example: the flying butterfly near the vase is a mix of a keyframe animation and a swing animation.
Keyframe animation can work together with videos, model animations, and GIFs.
Unlock the asset’s scale lock to change width, height, or depth independently. This enables shape-change animation between keyframes.
Branch growth example:
Select a plant branch and set frame 1. Unlock the scale lock so you can compress the asset very short.
Move the branch position and set the animation to stop on the last frame. This creates a simple branch growth effect.
Flower blooming example:
Create a keyframe animation for a petal. Unlock the scale lock and compress the flower. Shorten the time between frames. Add more frames and stretch the petal shape. Adjust the motion curve. This makes a petal-opening animation.
Copy the petal animation to other petal assets. Then fine-tune each petal's position. The flower opening animation is complete.
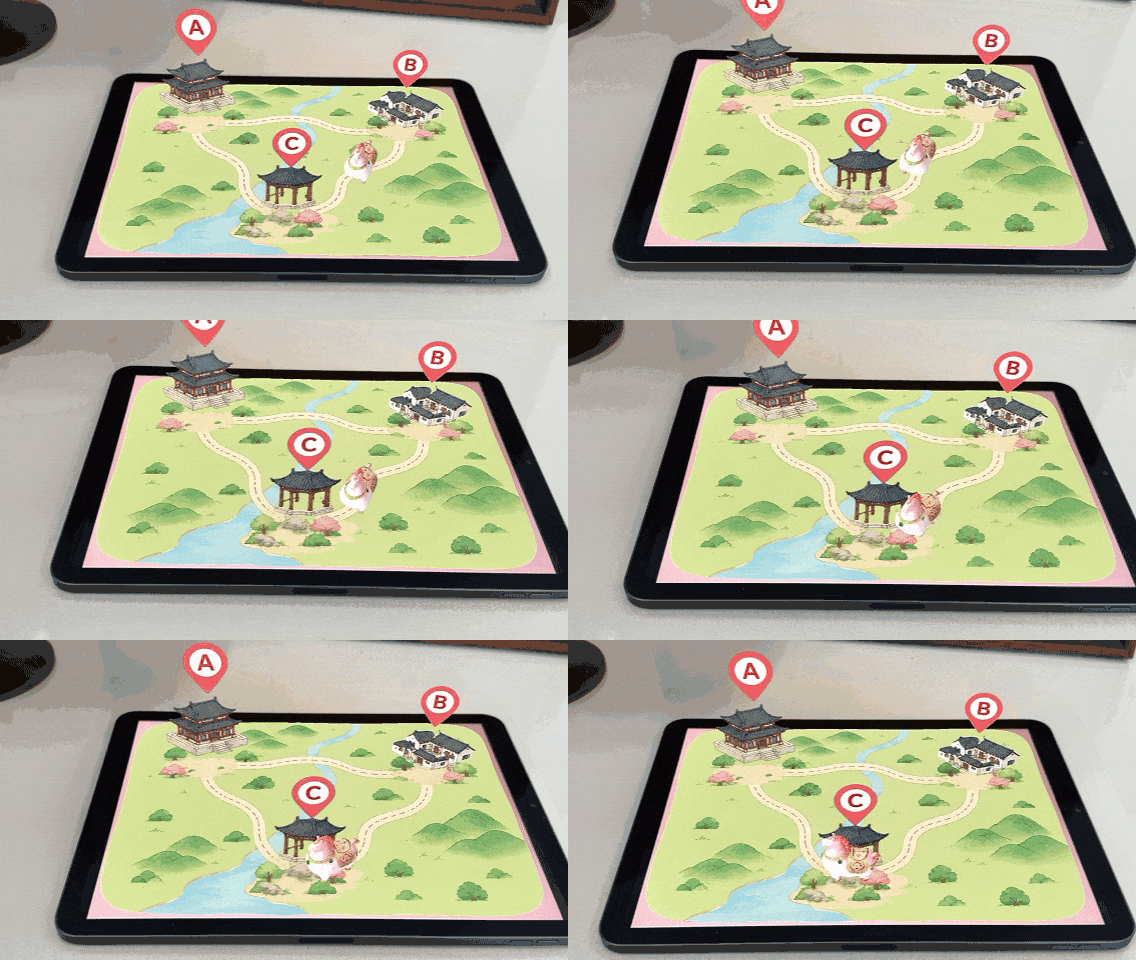
Using only three keyframes to move a model from A to B to C can look stiff.
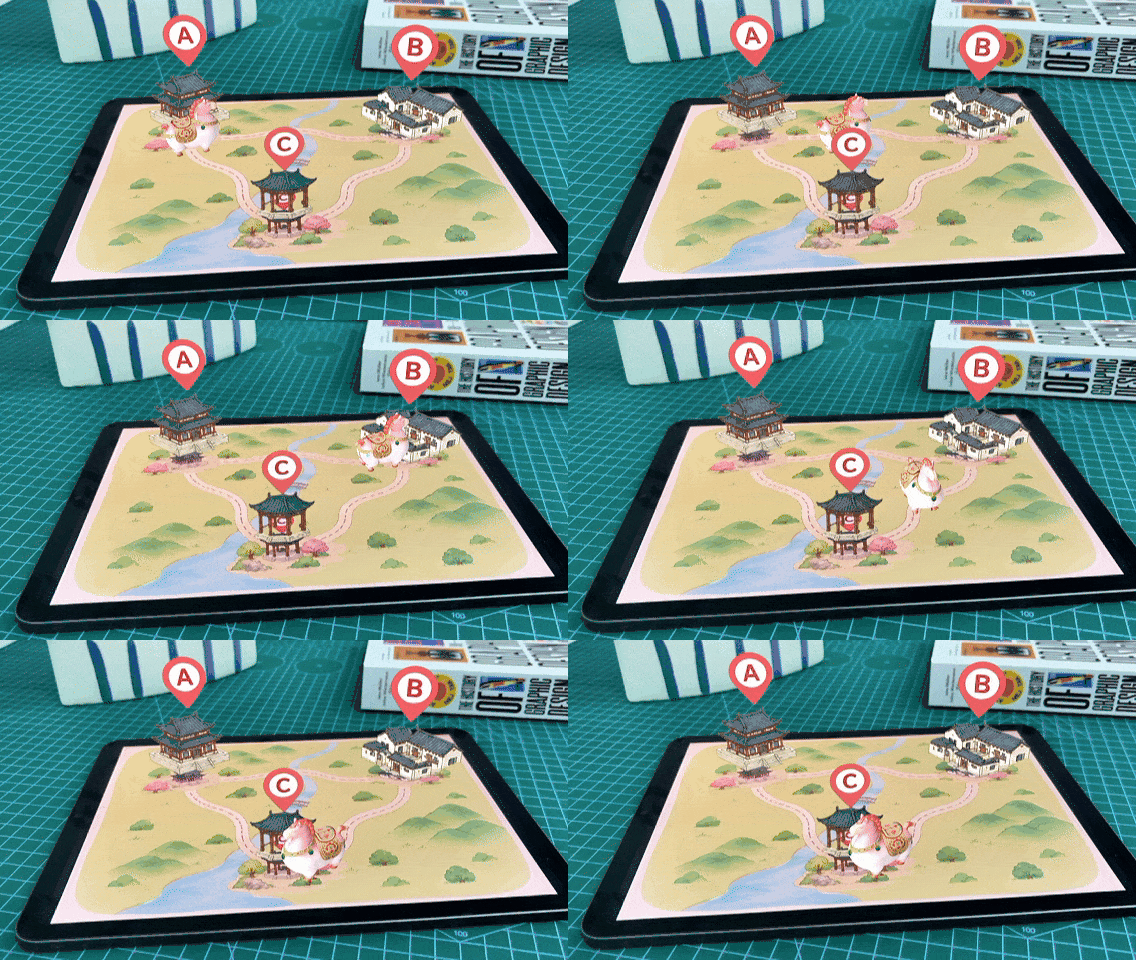
Add more keyframes and reduce layout change between frames to make motion smoother.
The otter popping out of a space box in the video is made by adding many keyframes and unlocking scale to adjust one side separately.
When looping, check the transition between the first and last frames. Adjust the motion curve and preview.
Try these common motion-curve styles and review their effects: