English
Appearance
Access URL: https://cloud.kivicube.com/content-editor/index.html
The Content Editor currently supports 3D models and image assets.
Support for AR videos, transparent videos, audio, particle effects, and more asset types will be added in the future.
Tutorial: https://youtu.be/tgWoqBMndYo?si=KWeyHfDaM7H-dVhP&t=82
| A / Q | Context |
|---|---|
| A | The model imported into the Content Editor looks different from how it appears in the modeling software |
| Q | This is expected behavior. The Content Editor uses a different renderer and lighting environment compared to modeling software. You will need to adjust materials and configure the lighting environment within the Content Editor. |
| A | The model imported into the Content Editor is missing textures |
| Q | Textures may be lost during the conversion process. You can simply reassign the textures to the corresponding materials within the Content Editor. |
| A | Model Import Failed |
| Q | %20(1).opngDJHP.png) |
Models that do not meet the following requirements cannot be imported into the Content Editor.
Kivicube currently only supports the following extensions:
KHR_materials_unlit
KHR_texture_transform
KHR_materials_pbrSpecularGlossiness
(After importing into the Content Editor, these will be converted into the standard workflow, and you may reset materials as needed.)
If you import from FBX, this issue usually does not occur.
The issue mainly appears when exporting GLB directly from modeling software or using third-party GLB files.
→ When exporting, do not include unsupported extensions.
Supported formats: JPG / JPEG / PNG
(Use PNG for transparent textures.)
Texture resolution must not exceed 2048.
Strongly recommended: use power-of-two square textures, such as:
2×2, 4×4, 8×8, …, up to 2048×2048
INFO
You can use Photoshop or XnView to export textures in formats such as GIF, TGA, DDS, PSD, TIF, BMP, EXR, HDR, etc. into JPG / JPEG / PNG.
The root bone of the model must not contain animations.
If the root bone has animation data, create an additional empty bone and bind it as the parent to the original root bone.
%20(1).BzJprLMp.png)
%20(1).CMIZvBLG.png)
| Type | Specifications |
|---|---|
| Mesh Count | Severe: ≥ 10 (mesh count too high); Moderately Severe: 5–10; Compliant: ≤ 5 |
| Triangle Count | Severe: ≥6W; Moderately Severe: 3–6W; Compliant:≤3W |
| Vertex Count | Severe: ≥6W; Moderately Severe: 3–6W; Compliant: ≤3W |
| Material Count | Severe: ≥10; Moderately Severe: 5–10; Compliant: ≤5 |
| Texture Count | Severe: ≥10; Moderately Severe: 5–10; Compliant: ≤5 |
| Animation Count | Severe: ≥10; Moderately Severe: 5–10; Compliant: ≤5 |
| Bone Count | Severe: ≥120; Moderately Severe: 60–120; Compliant: ≤60 |
| Morph Count | Severe: ≥30; Moderately Severe: 0–30; Compliant: ≤10 |
.jdADmJo-.png)
Register and Log In to Sketchfab
.wUNhM0H_.png)
.DIWc0h9J.png)
.BJIOJNs5.png)
Note
.BLli3Ulv.png)
%20(10).BRcynH0R.png)
.C5l92VhV.png)
Click the Save button to save the model to your asset library.
.ekPGptaY.png)
| Type | Saving Condition |
|---|---|
| Model Materials | When saving, the material settings are written directly into the model. This means the version stored in the asset library will include the updated materials. .BIGESE2N.png) |
| Lighting | Lighting adjustments are for preview purposes only. You will need to reconfigure again in the Scene Editor. .Dh-GcPQg.png) |
| Rendering | Render adjustments are for preview purposes only. You will need to reconfigure again in the Scene Editor. .CLj4qysP.png) |
| Model Display Setting | Model are for preview purposes only. You will need to reconfigure again in the Scene Editor. .CwD8yKO5.png) |
Be sure to use the Model Properties panel to verify that the model meets all required specifications.
.DWZLw3no.png)
File: Identifies which software was used to export the current model
Size: Models with a longest edge greater than 200 m will be automatically scaled down to 100 m upon import
glTF Extensions: Currently, only the following extensions are supported:
If any required extensions appear outside this list, the model may fail to load or render incorrectly.
.-Ni42kCs.png)
After clicking Save, none of the settings in Display Settings will be saved. You will need to reconfigure these settings in the Scene Editor.
Model Wireframe: Preview only; not saved.
(Wireframe preview is currently not available in the Scene Editor.)
Model Bounding Box: Preview only; not saved.
(In the Scene Editor, the bounding box appears automatically when an object is selected.)
Model Skeleton: Preview only; not saved.
(Skeleton preview is currently not available in the Scene Editor.)
Model Axes: Preview only; not saved.
(You can use the Scene Editor’s model axes to adjust the model’s position.)
Ground Grid: Preview only; not saved.
(Useful for checking whether the model is centered and for assessing its position, size, and orientation.)
Background Display: Preview only; not saved.
(Helps with visualizing the model in context.)
Field of View: Preview only; not saved.
(Field of view adjustments must be done in the Scene Editor.)
.KEiQtdD4.png)
A model may contain multiple materials, so be sure to configure each material properly.
After importing a model into the Content Editor, it is common to encounter missing texture maps.
Simply select the corresponding material and reassign the textures as needed.
.CBo33rHr.png)
%20(3).DzM-sU4R.png)
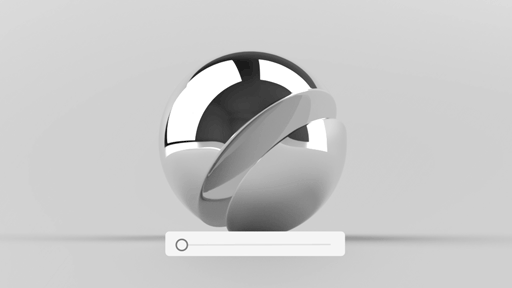
Material Types
Metal/Roughness
A PBR (Physically Based Rendering) workflow that responds to lighting. Suitable for realistic materials influenced by light.
Unlit
A material type not affected by lighting. This option offers higher performance and requires only a base color texture.
.BzNDDP2Q.png)
Alpha Mode
| Type | |
|---|---|
Opaque .6CafoKiz.png) |
|
Transparent / Semi-Transparent (BLEND) .DWVHSy09.png) |
|
Transparent MASK .DX_mgfTe.png) |
.UngrgA0B.png) .CIYSo-vT.png) |
Side
Enabling double-sided rendering will increase performance costs. Please avoid enabling it unless absolutely necessary.
Material Property Settings
| Property | Illustration | Description |
|---|---|---|
| Base Color | .Dt9OpQI3.png) | 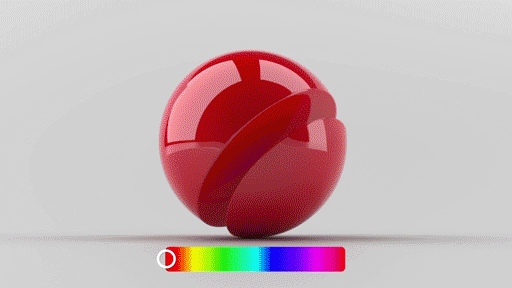 Add a color map to the model or set the color directly |
| Roughness/Metalness | .CqPkipoM.png) | Roughness controls how rough or smooth the model’s surface appears.
Metalness / Metallic Glossiness controls the metallic appearance of the model. 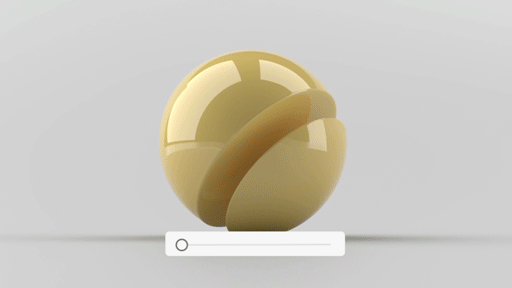
|
| Occlusion |
| Ambient Occlusion (AO) adds shadow detail to a model.
|
| Emissive |  | Add an emissive map to the model or directly set an emissive color. |
| Normal | .XiKJeJhC.png) | A normal map is used to add surface detail to a model. |
Texture Formats
Only jpg / jpeg / png are supported. Use png for transparent textures.
| Original Format | Converting Method |
|---|---|
| gif / tga / dds / psd / tif / bmp / exr / hdr | Use Photoshop or XnView to export the textures as PNG or JPG. |
Texture Size and Compression
.VulIYrGq.png)
| Q | The bounding box does not fit the model |
| A | Symptom: After importing the model into the Content Editor, the model’s position does not match the bounding box. This is caused by bounding box alignment issues. We recommend adjusting the bounding box directly in your modeling software. If the model is only intended for use on the platform, you can use our model compression tool to correct the issue. |
| Q | The Content Editor shows a popup message: “imageLoader onimageError” |
| A | Refer to “Texture size limit / Unsupported texture formats.” If the texture size is too large, please compress it. |
.CJggr01p.png)