English
Appearance
The “Look At Camera” feature allows objects in a scene to automatically face the camera, another object, or the scene origin when specific trigger conditions are met, making it easy to achieve interactive effects such as character turns, dynamic guidance, and pseudo-3D.
For example: You can make a character always face the camera during an AR experience.

You can make the selected object always "Look At Camera" quickly via shortcuts, or add a "Look Toward" feature to the object so that it faces the camera, an anchor, or any object/group under specified conditions.
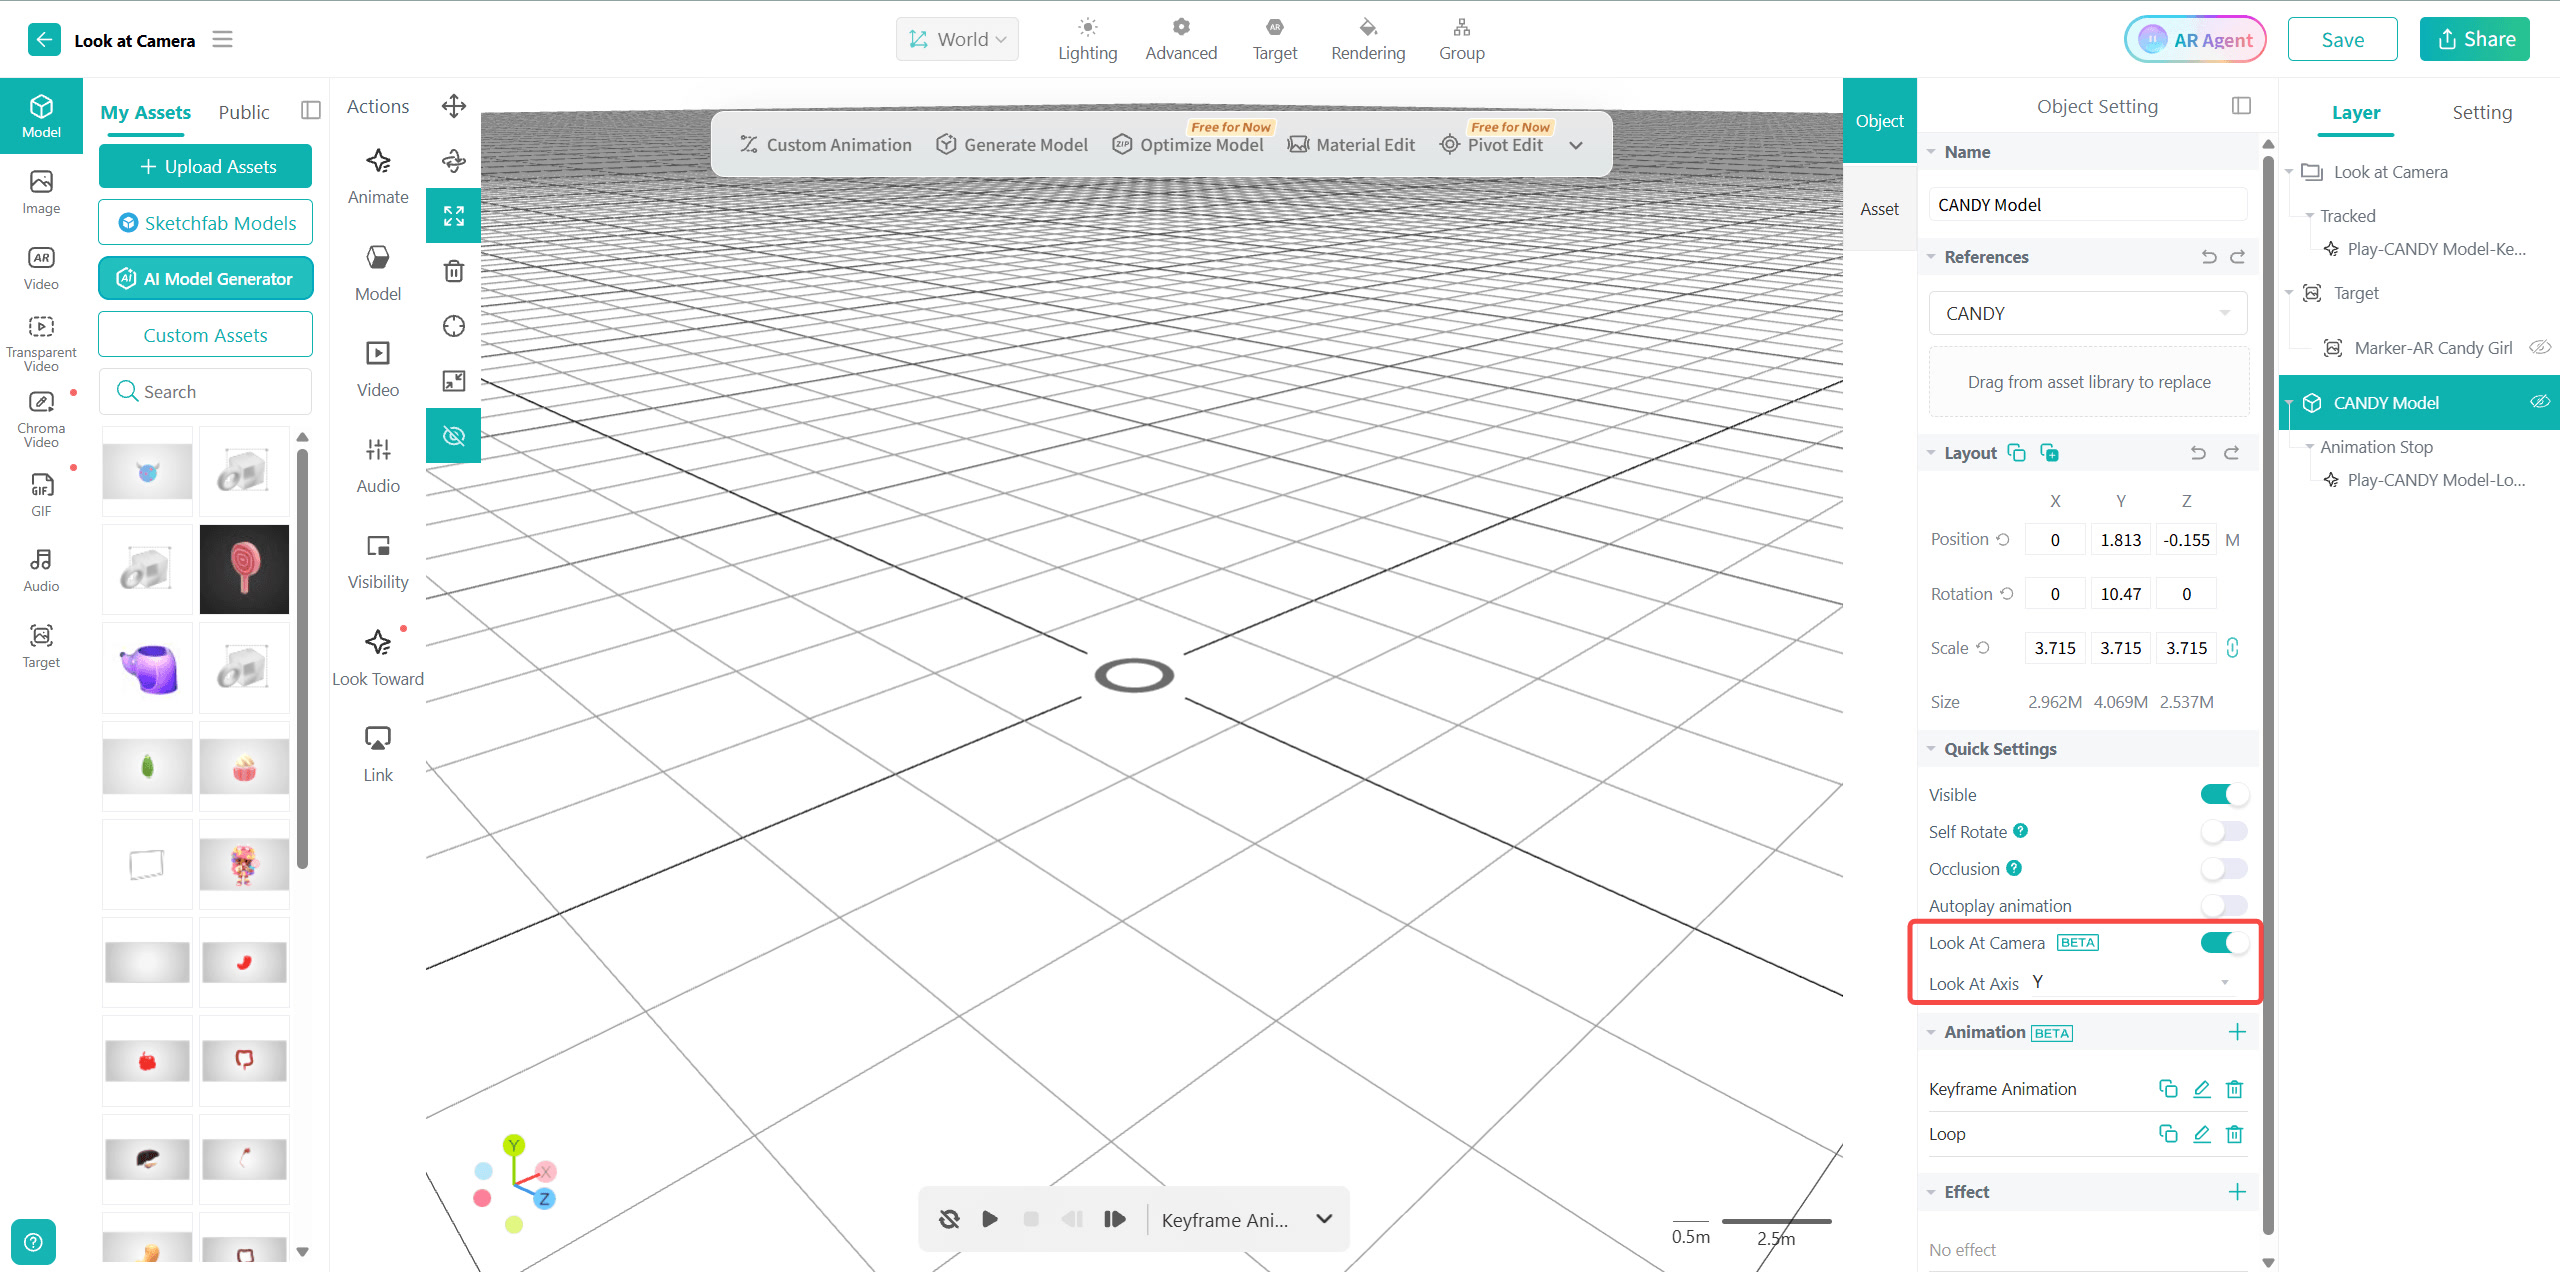
In the scene, select the object you want to configure, click “Look At Camera” under the "Object Settings" list, and then set the orientation axis to ensure that the object always faces the camera throughout the entire AR experience.
Click "Look Toward" under the "Actions" list, select the object to be set, then set the "Look Target", "Duration", "Look At Axis", and "Trigger" in order. Save when finished.
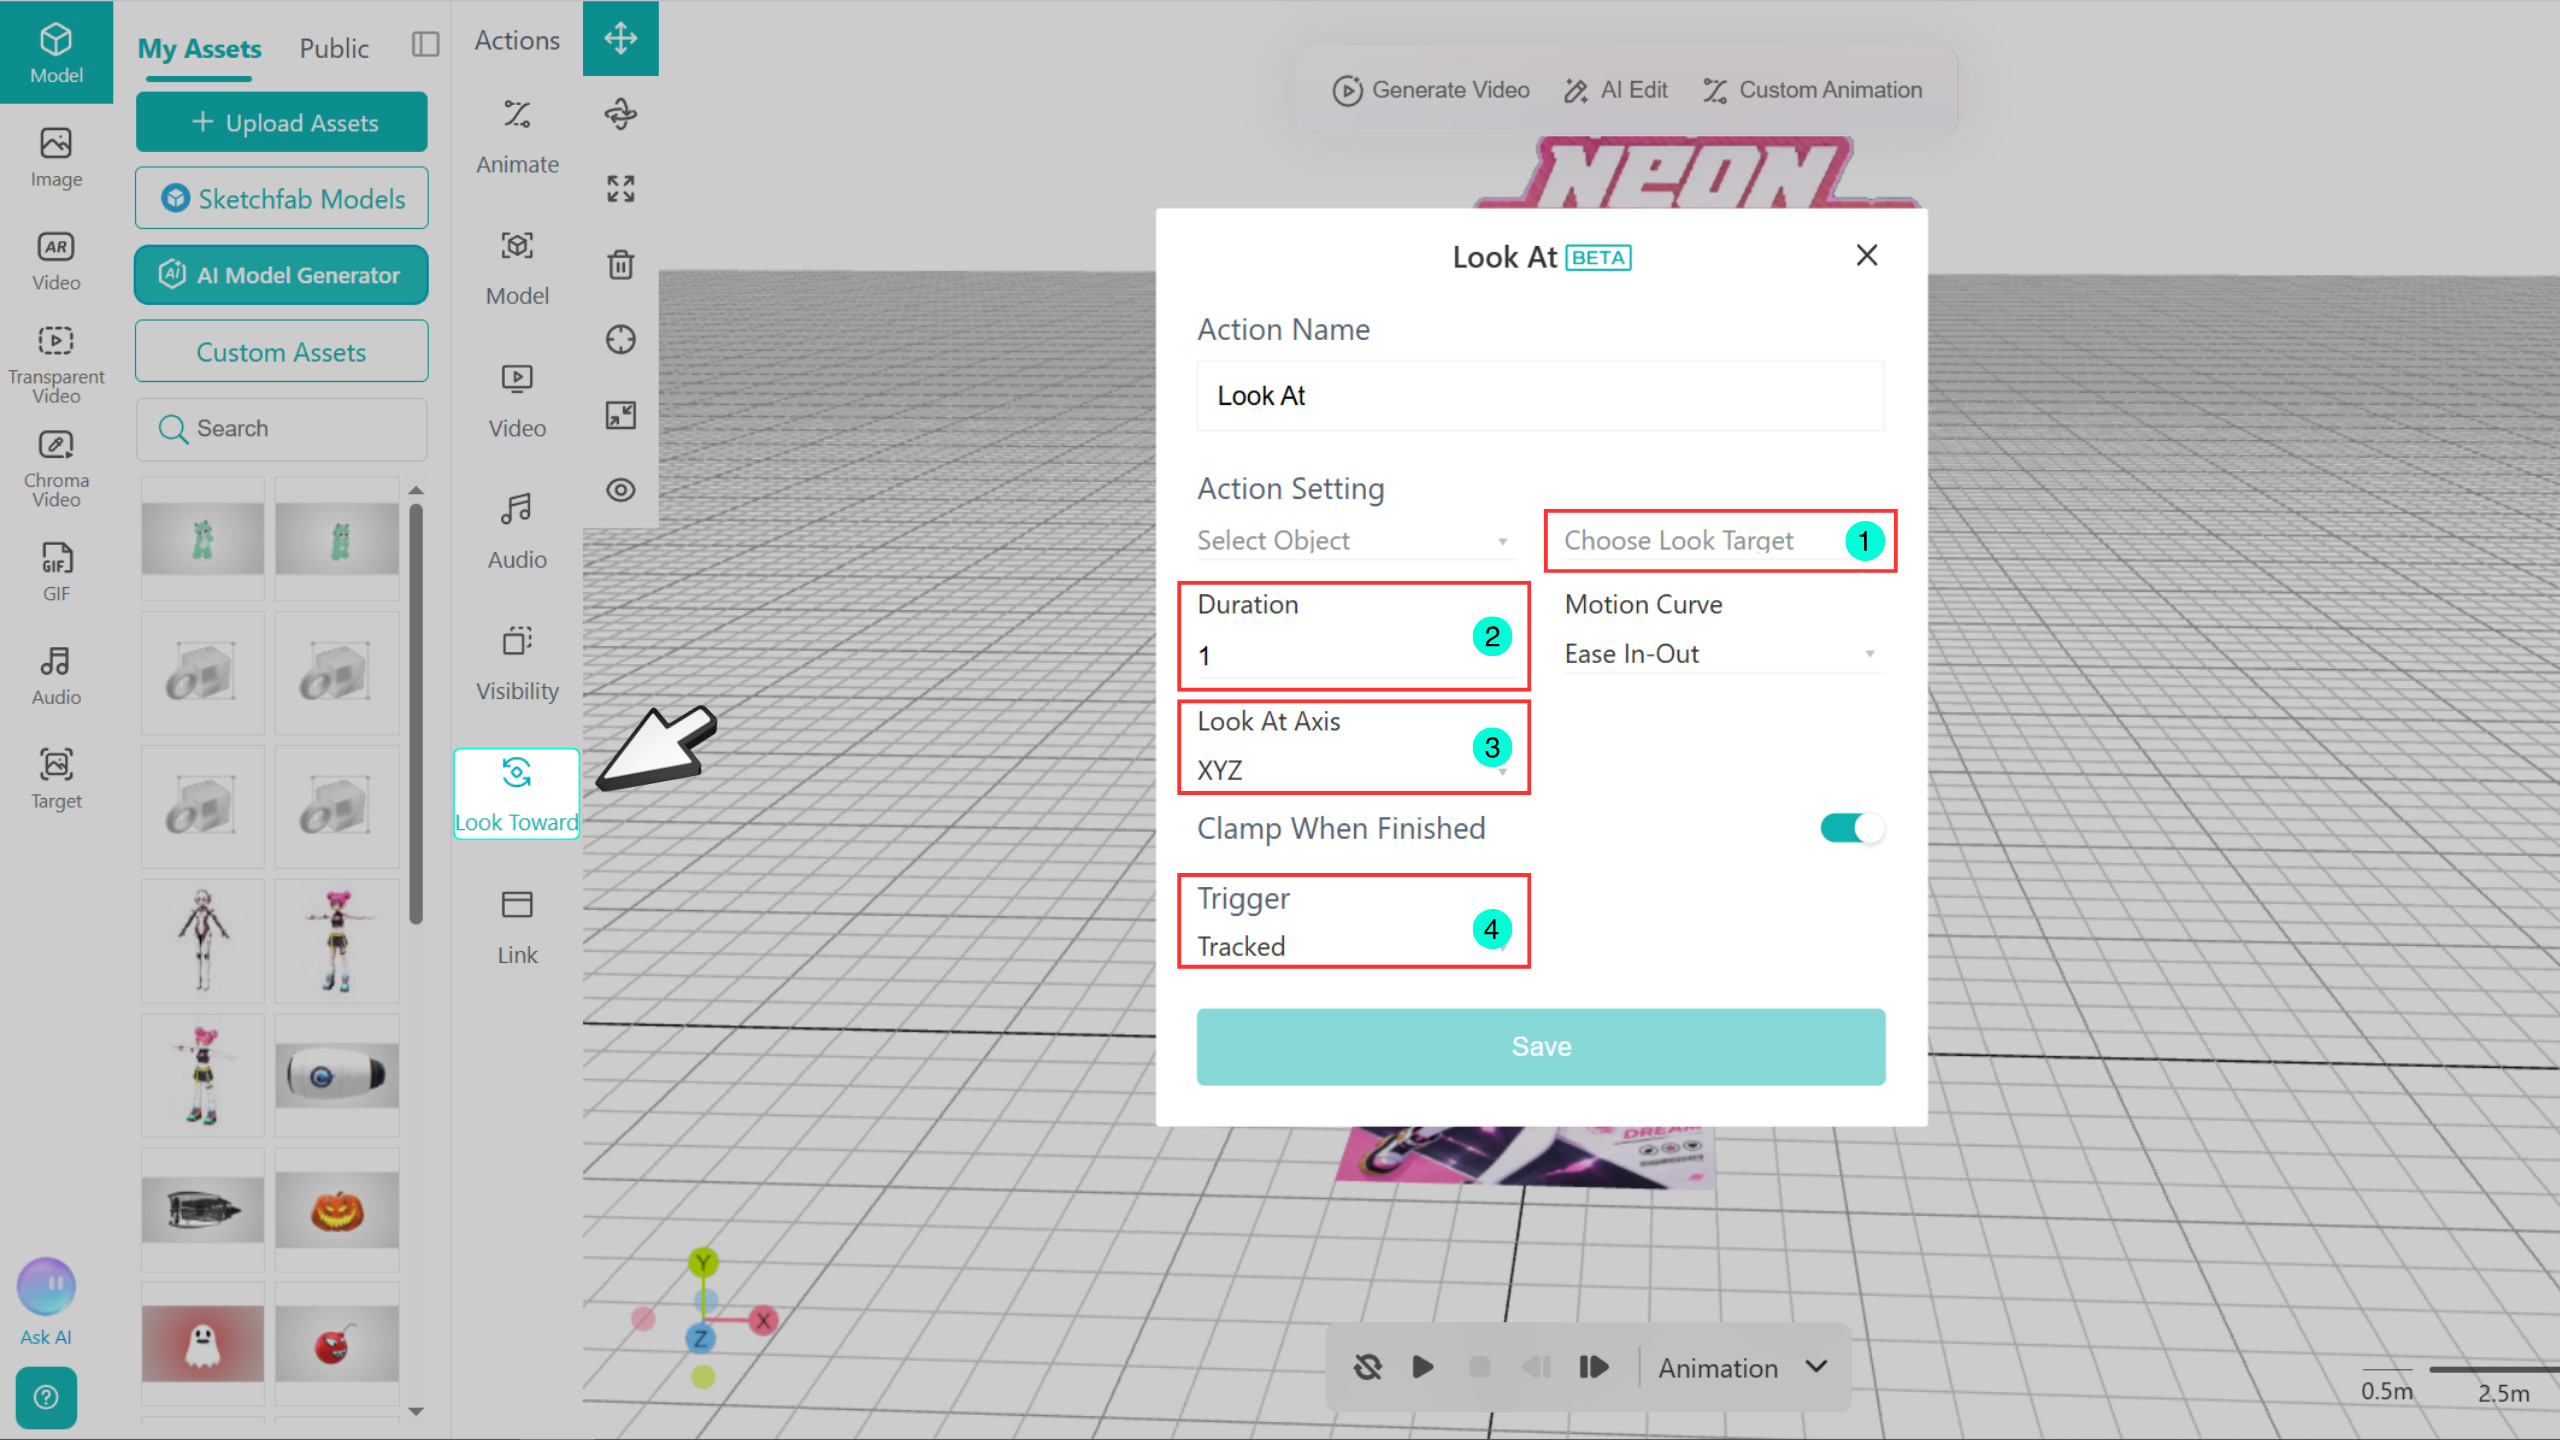
Look Target: Camera, Anchor, or any object in the scene.
Duration: Controls the speed at which the object turns toward the target. The shorter the time, the faster the turning speed.
Look At Axis: Select the directions in which the object is allowed to rotate.
Trigger: Scene Start, scanning target images, positioning to planes, clicking objects, or video/animation play, pause, and stop.
Here we focus on explaining the Anchor in the Look Target, as well as the Look At Axis:
The anchor refers to the origin point at the center of the 3D canvas. Under different AR scene types, the position of the origin in the actual experience varies. Click here for details.
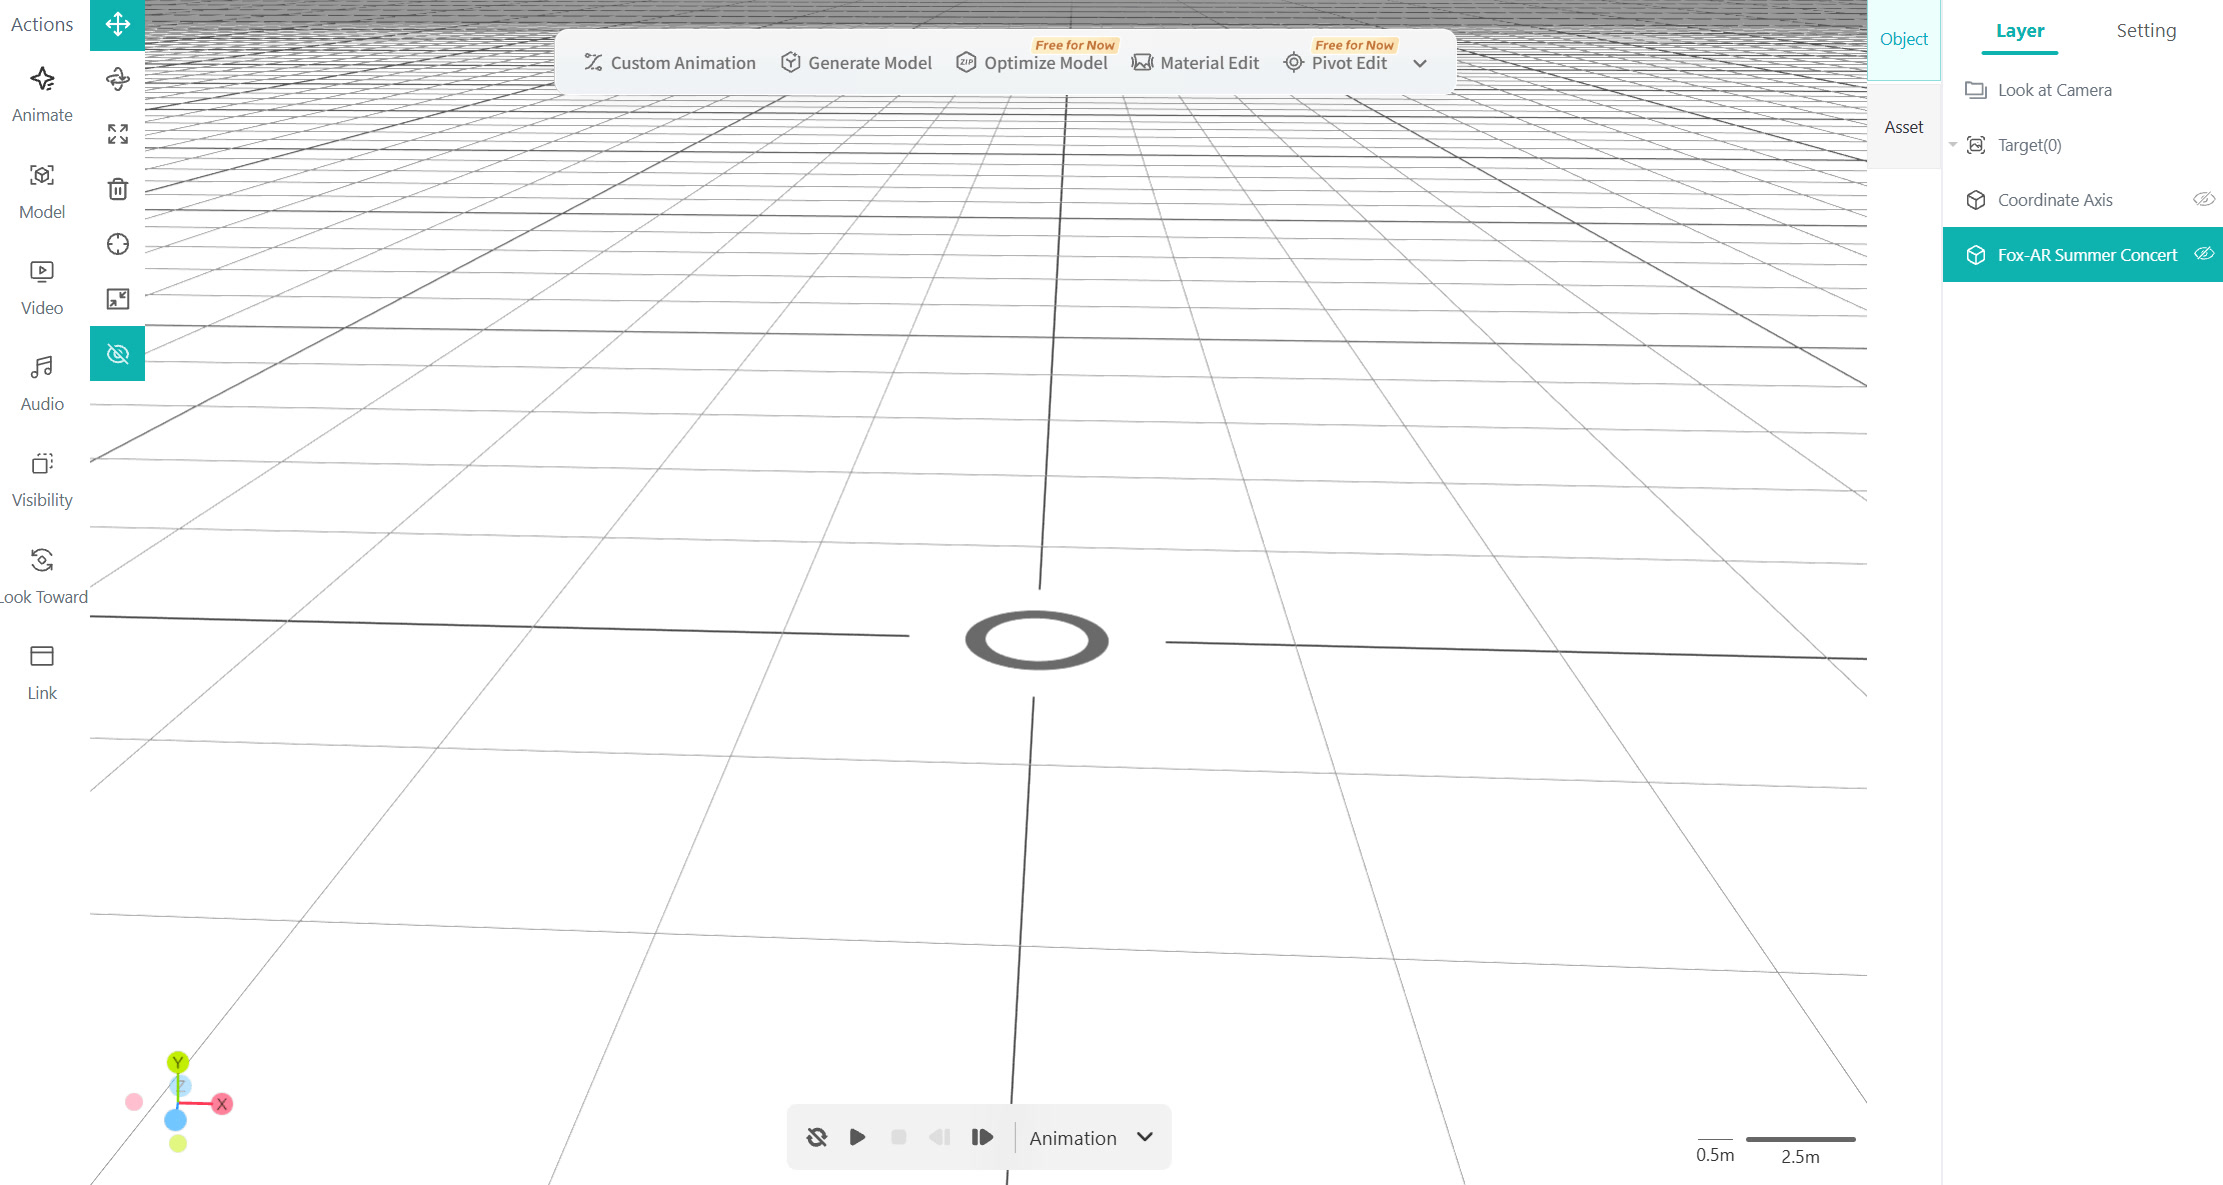
The Look At Axis is used to restrict which axes the object can rotate along. Choosing an axis allows the object to rotate around that axis when facing the target.
You can select a single axis or multiple axes at the same time. For example:
Tips
The Look At Axis restricts the object's rotational freedom. If the selected axes are insufficient for the object to fully turn toward the target, the object may not be able to face the target completely. It is recommended to choose the appropriate axes based on the object's orientation style and the actual effect you want to achieve.
Make a character turn toward the user or other characters after a specific event occurs, suitable for creating interactive effects between characters.
For example: Click Character A → Character B turns toward Character A.
Set 2D assets (images, videos, GIFs) to always face the camera, allowing them to always face the user in AR space.
For example: Make the text information on a greeting card always face the camera.
By combining multiple planes at different positions, you can also create simple pseudo-3D scenes, such as characters, trees, buildings, etc., without the need to create complex 3D models.
Combine facing with triggers such as clicks, animations, videos, or custom animations to create more interactive effects.
For example:
Click an object, and another object turns toward it
When a video starts playing, a character turns toward the video
When an animation finishes playing, a character turns toward the user
After an image is recognized, make multiple objects in the scene face a specified position
By combining triggers, look targets, facing speed, and look at axes, you can freely control the turning effect of objects in AR scenes.